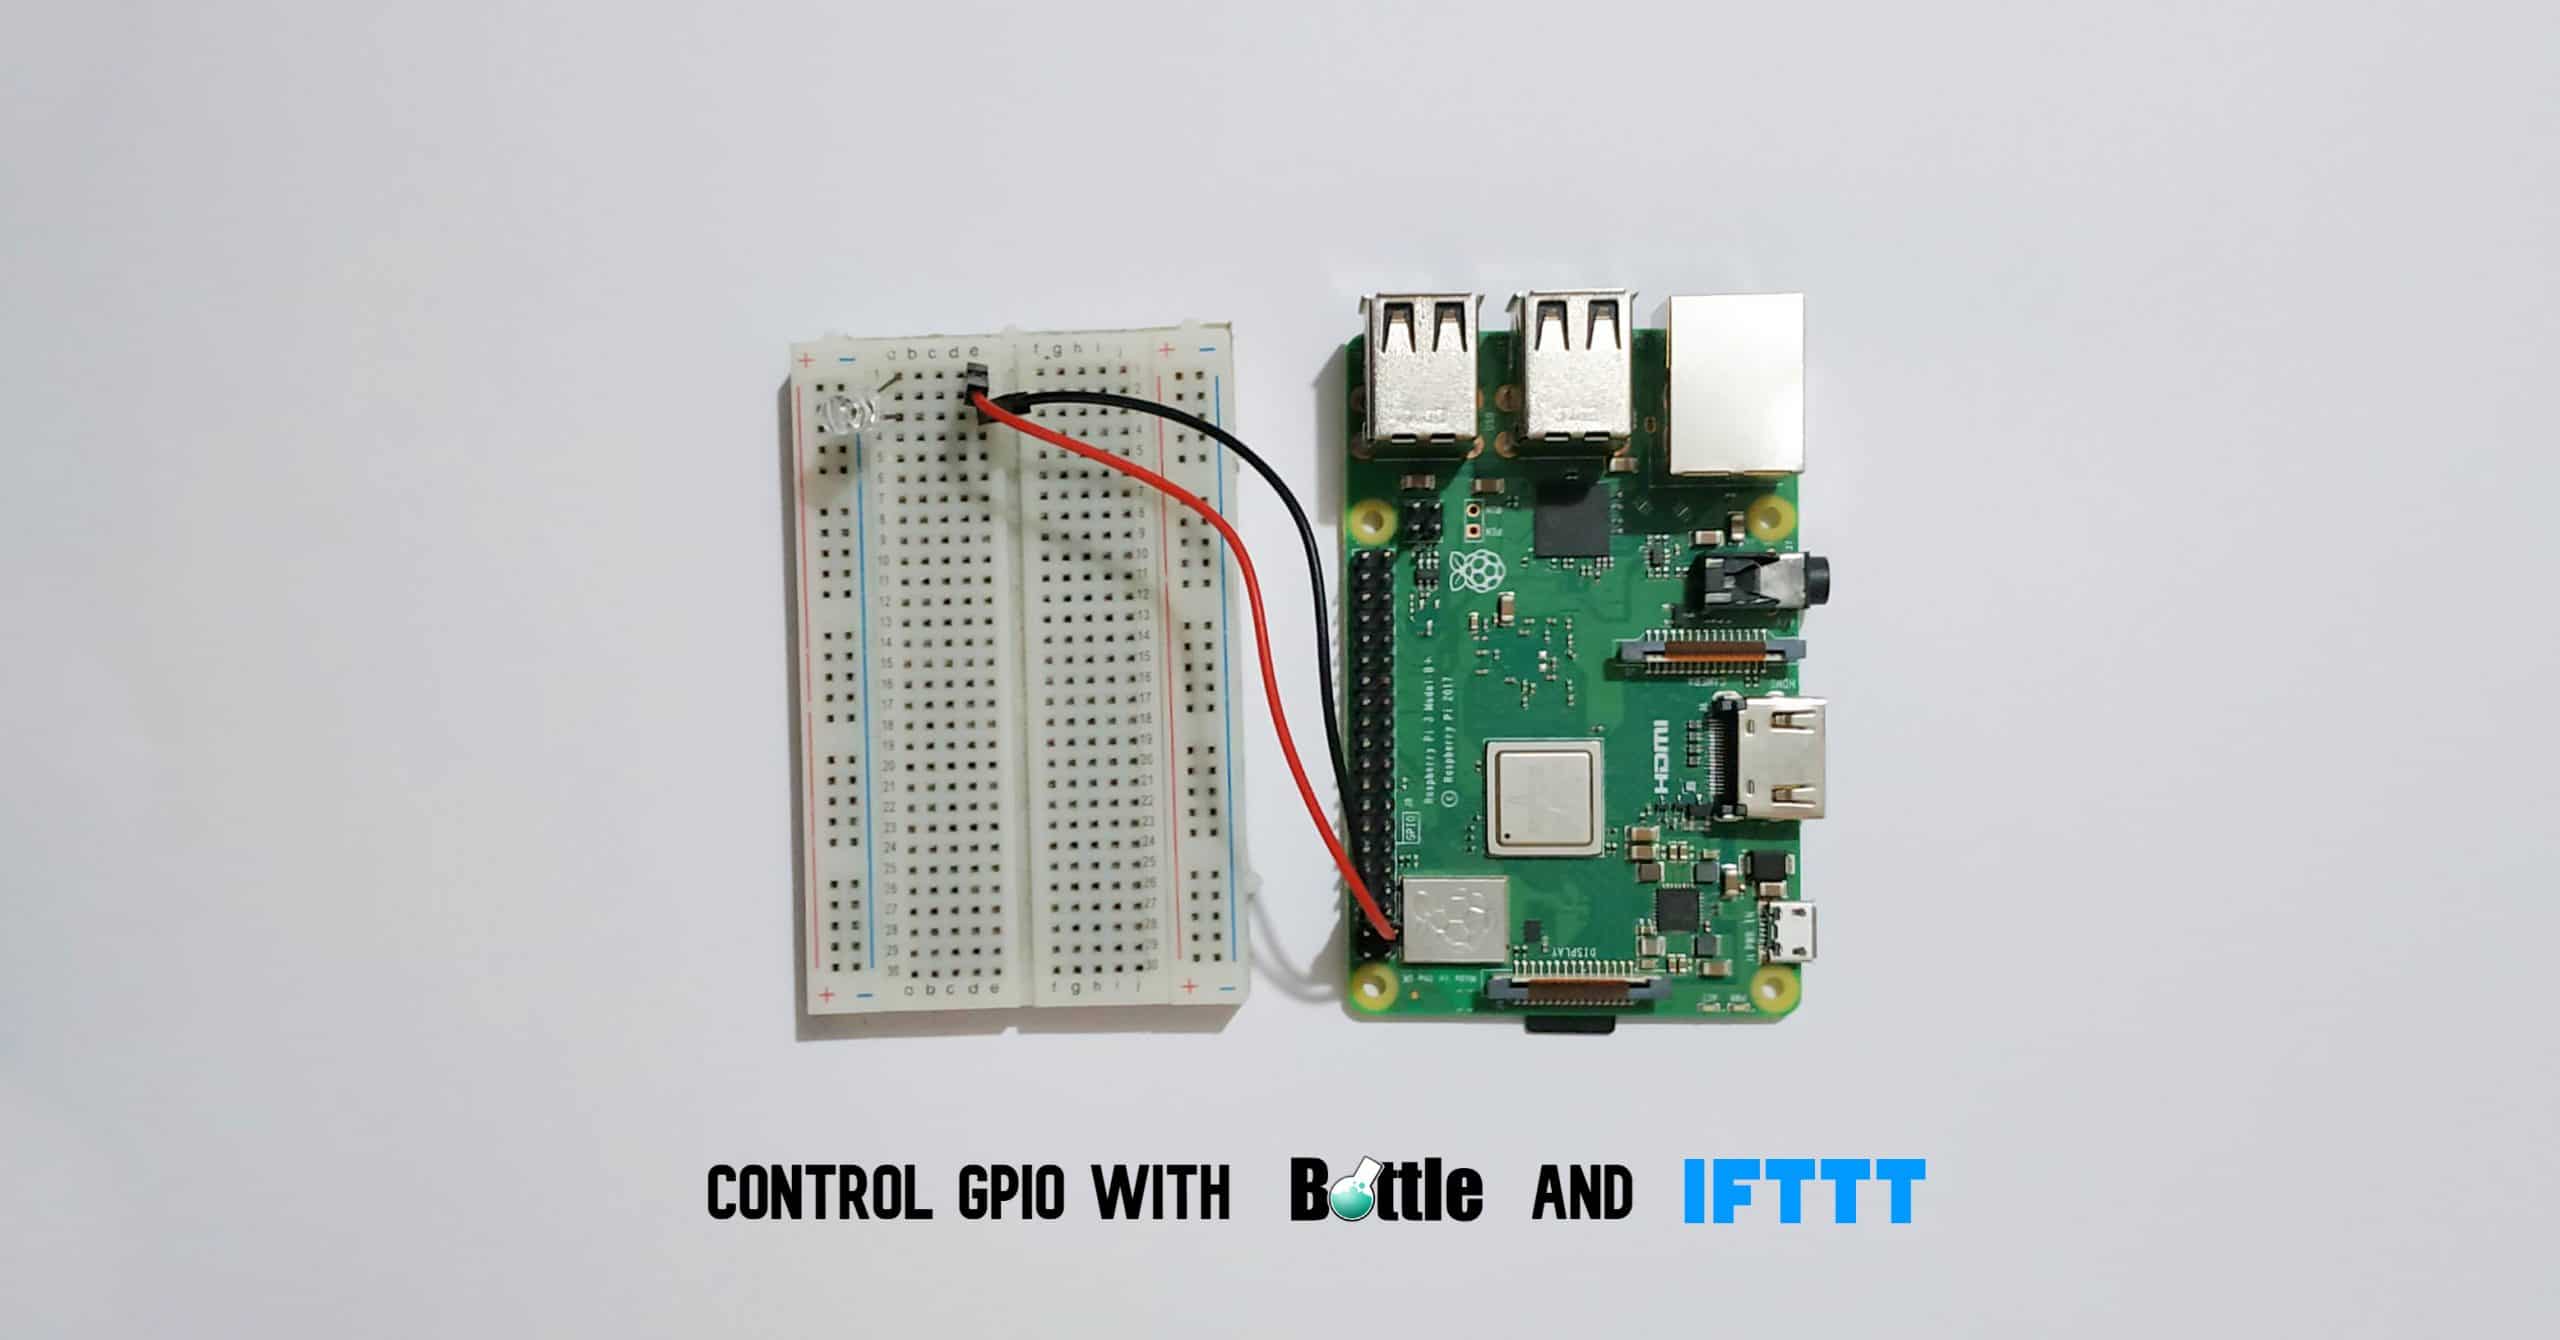
In this tutorial we will learn how to control the Raspberry Pi’s GPIO pins from any device with an internet connection. We will build a project that uses a Raspberry Pi to turn on an LED with the input from an SMS text message sent by an Android device. The LED is just for demonstration – it can be replaced with any device that uses a 3.3V input signal like a relay or a power transistor to control even larger devices.

If This Then That
If This Then That (IFTTT) is a free web platform that connects services like Gmail, Dropbox, Amazon Alexa, and even the Raspberry Pi.
IFTTT works like a standard if statement – if this condition is true, then do that action.
IFTTT uses tiny programs called Applets that trigger IFTTT to carry out certain events.
What are Webhooks?
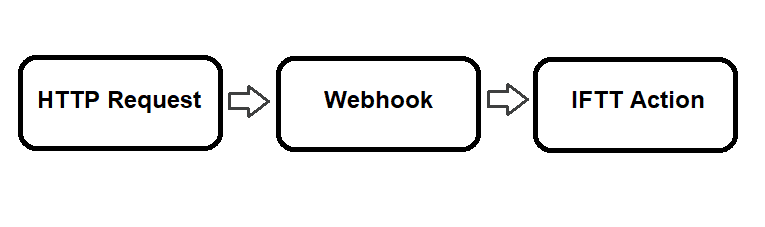
To integrate IFTTT with Raspberry Pi, we need webhooks. Webhooks is a service that triggers events via HTTP requests. HTTP requests, also known as web requests, are messages that a client sends to a server.
There are two types of web requests: HTTP GET and HTTP POST.
HTTP GET is a web request that retrieves data from a web browser. It does not change anything on the server. It just fetches the data from it.
On the other hand, HTTP POST is a web request that transmits data to the server. It adds something new to it.
A typical example of a GET request is browsing a website. You fetch the data needed to display the webpage on your personal computer. On the other hand, POST requests are used to type text into a web page, such as a username and password.
A common webhooks system works like this:
How to Setup the Raspberry Pi
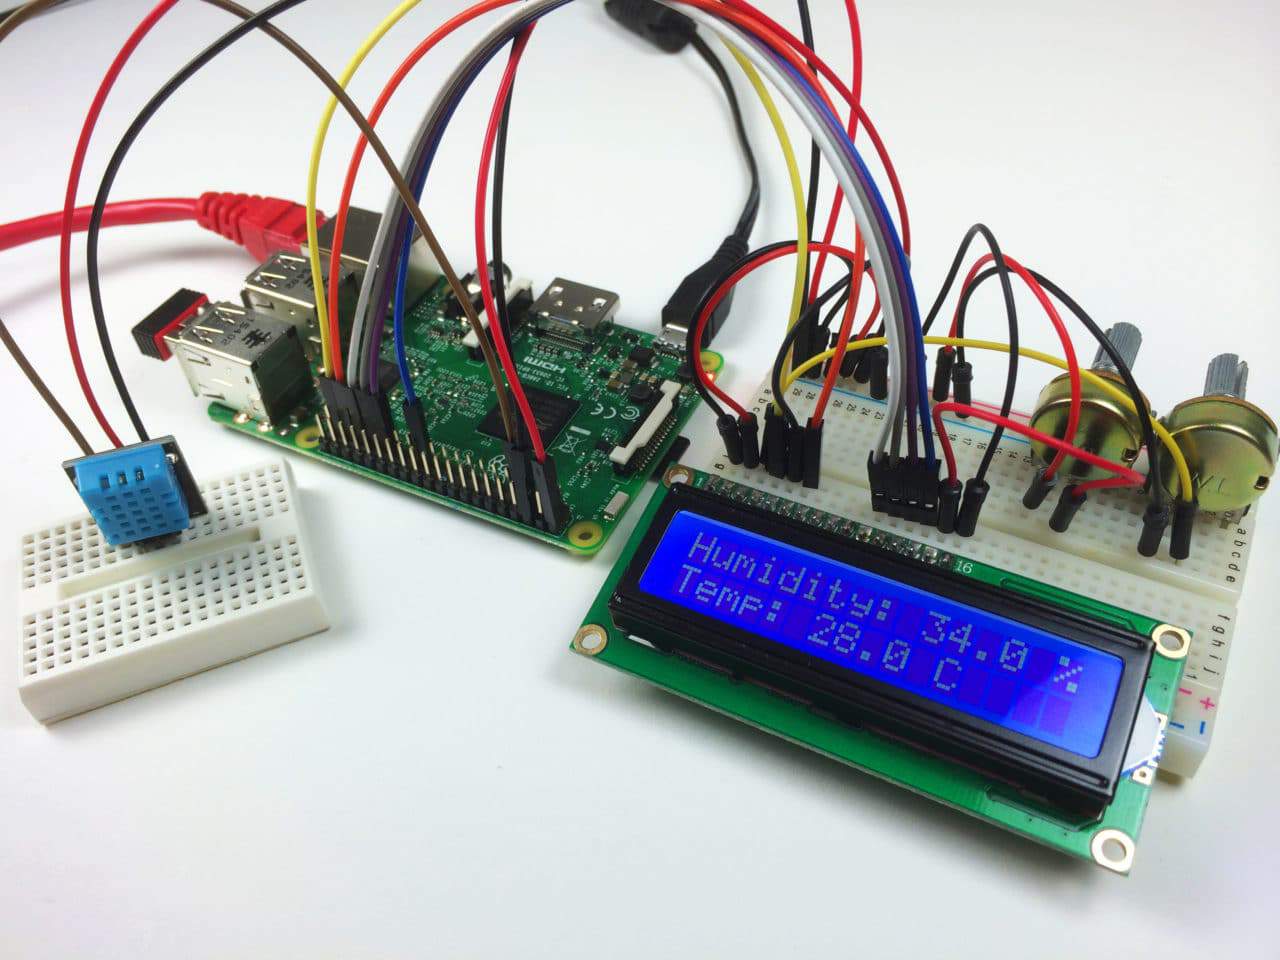
To demonstrate how to use IFTTT to control the GPIO pins of a Raspberry Pi, we will connect an LED to the Raspberry Pi and turn it on and off with a Webhook from IFTTT. Using an LED is just a good way to demonstrate. Any device controlled by a digital signal could be controlled in this manner.
These are the parts you will need:
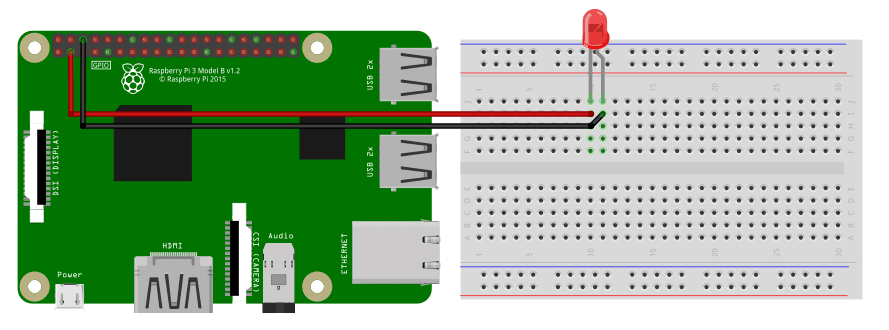
Once you have all of the parts, connect the LED to the Raspberry Pi like this:
How to Setup IFTTT
Go to the IFTTT website and create an account.
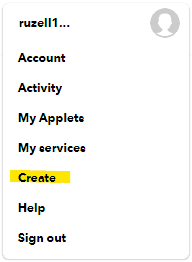
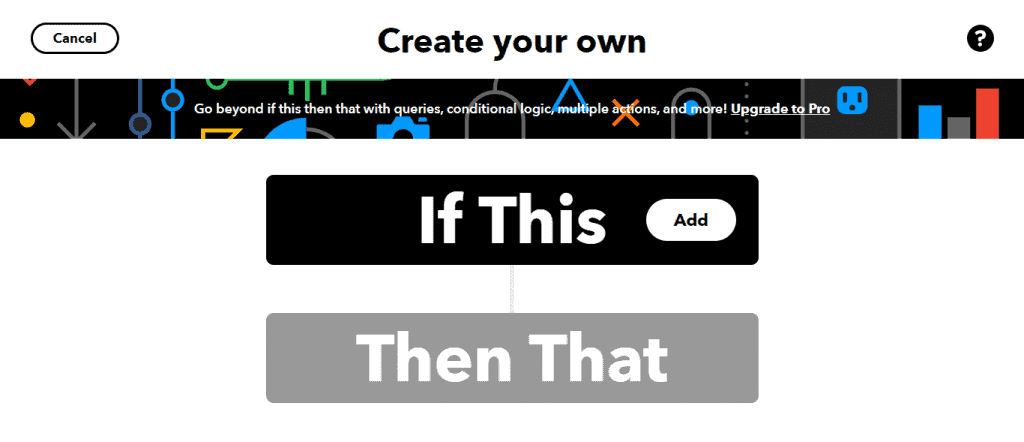
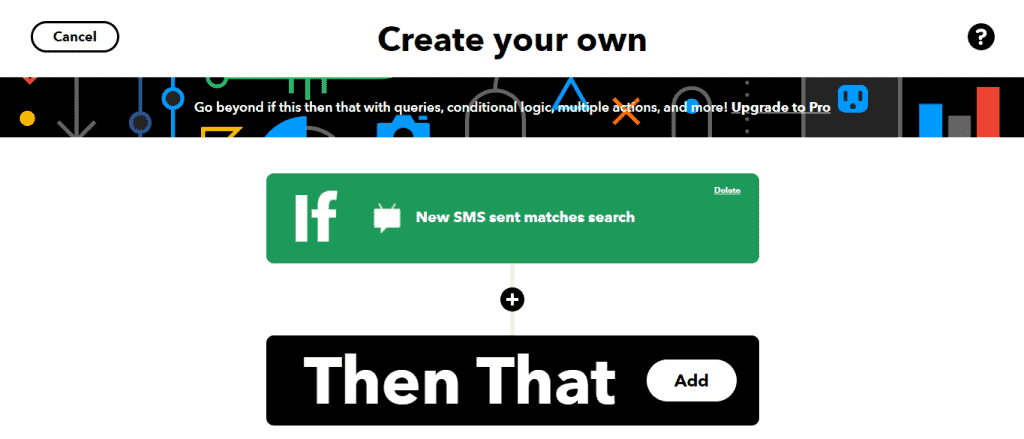
Once you are logged in, go to the top right toolbar on your homepage and select Create. This directs you to a page where you can start creating an Applet.
Now, set a condition by clicking “Add”:
Next, search for “SMS”.
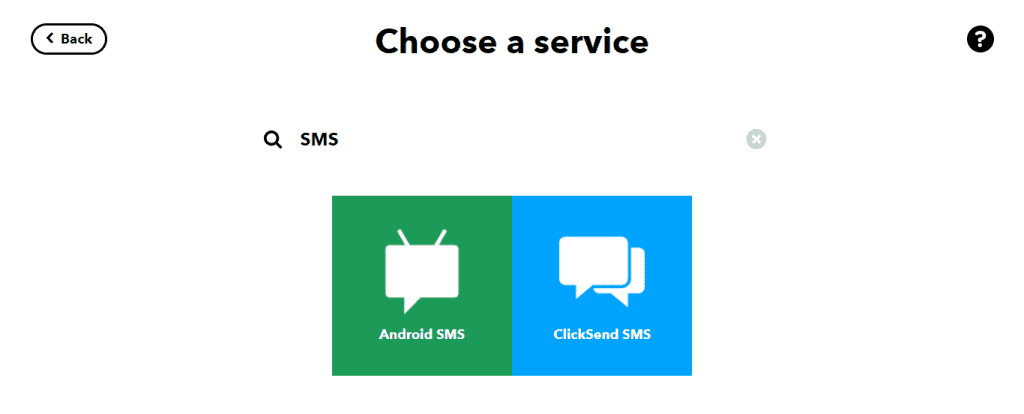
Click on “Android SMS”, then choose “New SMS sent matches search”:
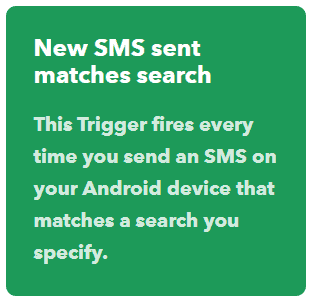
This trigger activates every time you send an SMS on your Android device that matches a certain keyword you specify later. Note that any phone number should work as long as the keyword is in the message.
Next, specify the keyword you want to use to trigger the LED. Let’s use “LED ON”:
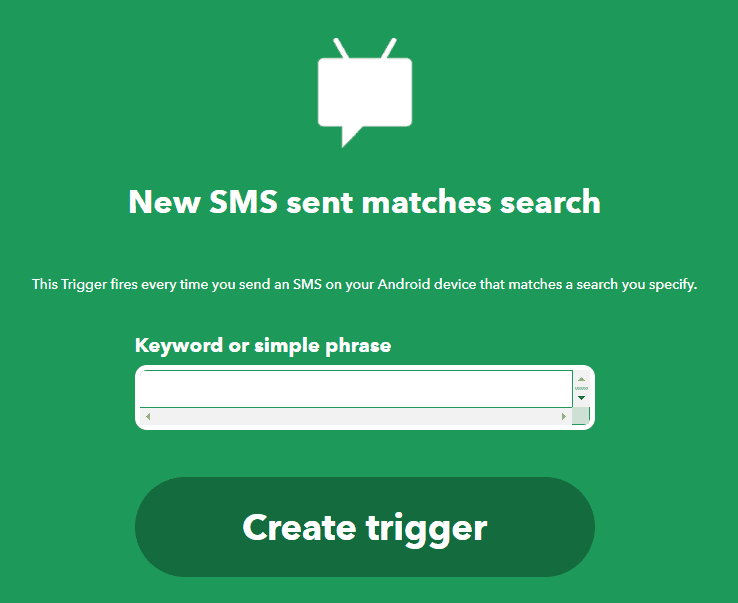
After entering “LED ON”, click Create Trigger. This will take you back to the main menu.
Now click “Add” again:
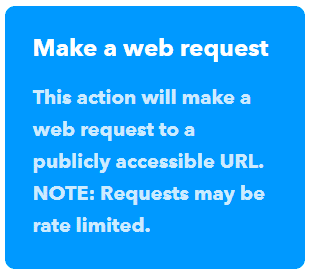
Search for the webhooks service.

Select make a web request.
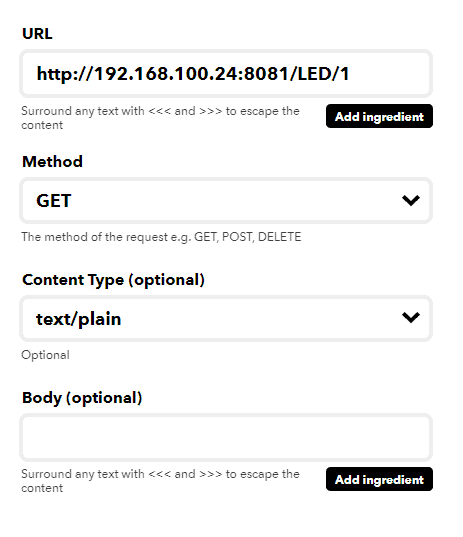
Next, specify the type of web request you want to make:
How do we know what URL to use here? This is where Bottle comes in.
How to Program the Raspberry Pi
Bottle is a micro web framework in Python. Download Bottle to your Raspberry Pi by entering this command in the terminal:
wget https://bottlepy.org/bottle.pyNext, copy the code below into a text editor like Nano on the Raspberry Pi and save it with a “.py” extension:
import RPi.GPIO as GPIO
import time
from bottle import route, run, template

GPIO.setmode(GPIO.BOARD)
GPIO.setup(3, GPIO.OUT)
GPIO.output(3, False)

@route('/LED/:ledstate')
def ledtrigger(ledstate=0):
    if ledstate == '0':
        GPIO.output(3, False)
        return 'LED OFF'
    elif ledstate == '1':
        GPIO.output(3, True)
        return 'LED ON'

run(host='0.0.0.0', port=8081)
Explanation of the Code
First we import the required libraries. Then we set the PIN of your LED as an output and set the default signal to LOW or False.
Next, we setup the web server by handling the requests to specific URLs. @route('/LED/:ledstate') handles the requests in 192.168.100.24:8081/LED/1 or 0. The IP address here is the IP address of your Raspberry Pi.
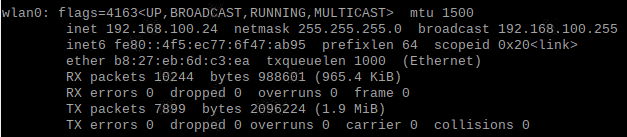
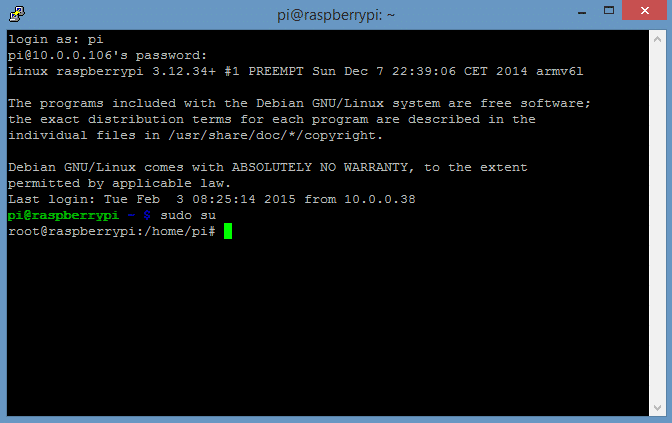
If you don’t know your Raspberry Pi’s IP address, enter ifconfig in the terminal and find the wlan0 section. The address that comes after inet is your IP address.
We then use two if statements to control the status of the LED. The return value is printed to your web browser once the action is triggered.
How to Control the LED
Enter the following URLs into any web browser from any device connected to your home network:
- Turn the LED ON: 192.168.100.24/8081/1
- Turn the LED OFF: 192.168.100.24/8081/0
Now, go back to IFTTT and enter the URL into your webhooks web request. One downside of this configuration is that you will need two applets —one for turning the LED on and another for turning it off. For an applet that turns off the LED, use LED OFF as the keyword.
Hope this article has helped you to use IFTTT with a Raspberry Pi to control an LED from another device. Let us know in the comments below how it works for you!


Love this Website. Interesting Article. Lots of technical stuff
How can a local host be publicly accessible? I don’t get it.
Will this wort with iPhone/ipad
There is an error in your tutorial where you state “You can test the URLs on any web browser from any device connected to your home network. For instance, if I visit 192.168.100.24/8081/1”. This should be 192.168.100.24:8081/LED/1. I was able to figure it out, but someone else may not be able to.
Hello!
I a wondering if you can help with my idea!
I am running a charity event and I want people to vote for my charity cause via SMS so that every time someone sends in an SMS to my short-code 88100 this then triggers a light on a backlit logo to be turned on.
I am not very technical but this is the user journey
Voter sends SMS to 81000
My application receives the SMS
My application then sends a HTTP post (?) to the raspberry PI to turn on the light!
IFTTT webhooks says in your screenshot it requires a publicly accessible URL, however you use 192.168.100.24 which is never publicly accessible (192.168.x.x is only on the local network). So it’s impossible for the IFTTT server to send anything to it. Is the tutorial missing the router port forwarding and modem IP address steps? Or am I missing something…
This seems to require a Pro subscription to IFTTT in order to work. Not expensive but I also pay for a lot of other subscriptions and this isn’t important enough for me to pay money for.
I did get it to work from a PC on my own network though, and it was interesting and fun, so thank you.