This article will guide you on how to configure the Raspberry Pi to send documents to a printer using the Common Unix Printing System (CUPS).

What is CUPS?
CUPS is a modular printing system for UNIX-like computers that allows a computer to act as a printer server. This means that a computer running CUPS is a host that can accept print jobs from client computers, process them, and send them to the appropriate printer for printing.
For our Raspberry Pi to be able to handle printing jobs, we first need to install CUPS. The steps below will guide you on how to do this.
Installing CUPS
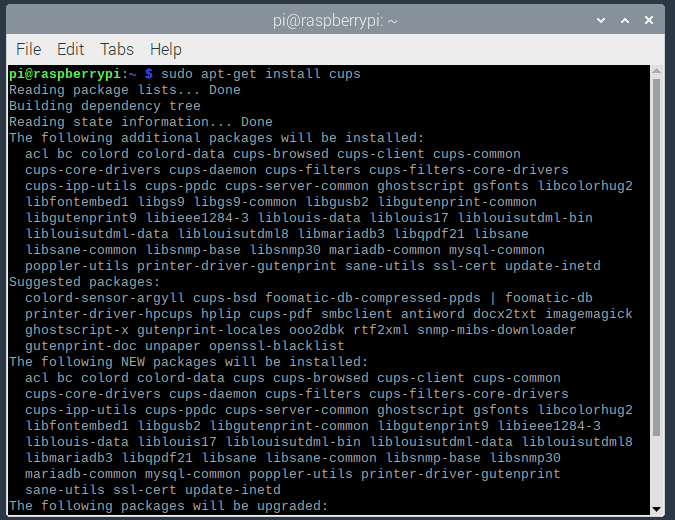
To install CUPS in your Raspberry Pi, open a Terminal Window and enter the following:
sudo apt-get install cupsAnswer ‘Yes’ to the prompt to start the installation. Installation might take a while due to the number of files that need to be downloaded and installed.
CUPS Administration
CUPS uses the user group “lpadmin” to know who is authorized to administer the printers.
After installing CUPS, add a username to the user group “lpadmin” by entering the following in a terminal window:
sudo usermod -a -G lpadmin <user>Replace <user> with the username you wish to have access to the CUPS administration page. If you are using the default username “pi”, then you would add it like this:
sudo usermod -a -G lpadmin pi
Configuring CUPS
After installing CUPS and adding a user, or set of users, to the user group lpadmin, the rest of the configuration can be done via the CUPS Administration page. You can access this page by opening a web browser and going to the address: http://127.0.0.1:631/.
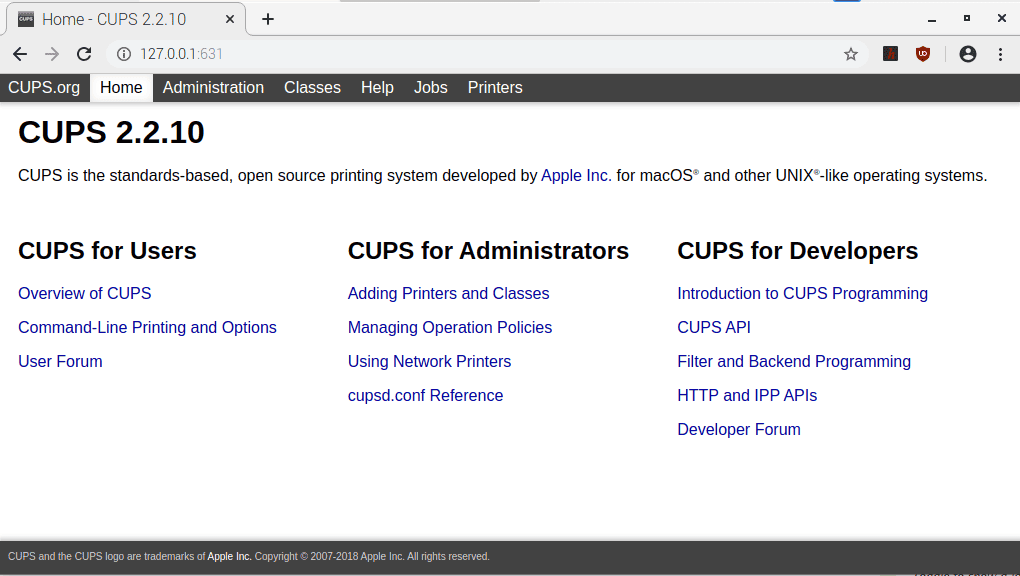
The CUPS webpage is used to configure the print server, manage printers, classes, and jobs, and view logs. For this tutorial, we will only discuss how to add a printer via CUPS Administration Tab.
Adding a Printer
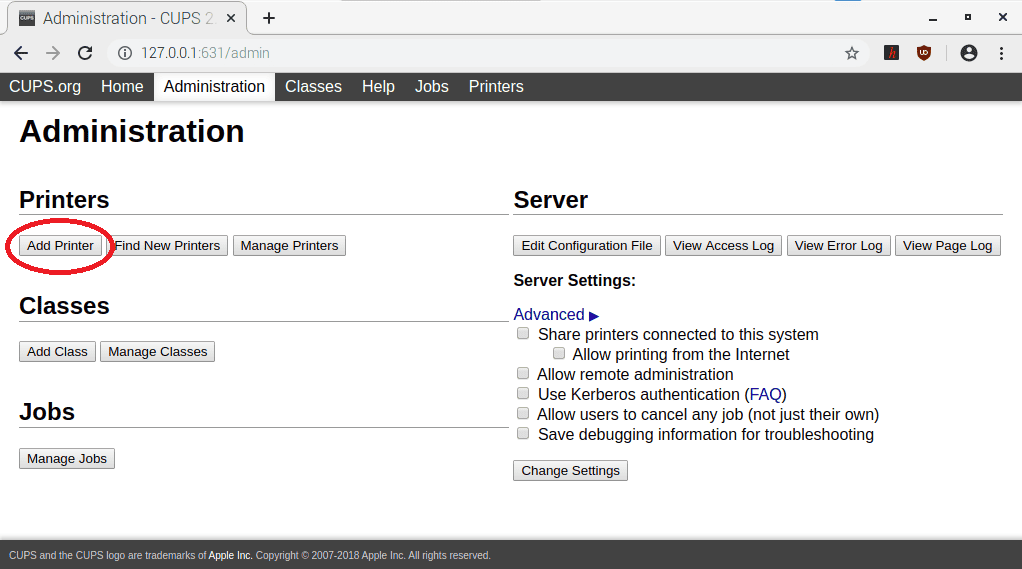
To start adding a printer, go to the CUPS Administration Tab and click ‘Add Printer.’
After clicking ‘Add Printer’, the next page will let you select which printer you want to add from the list.
- Local Printers
- Discovered Network Printers
- Other Network Printers
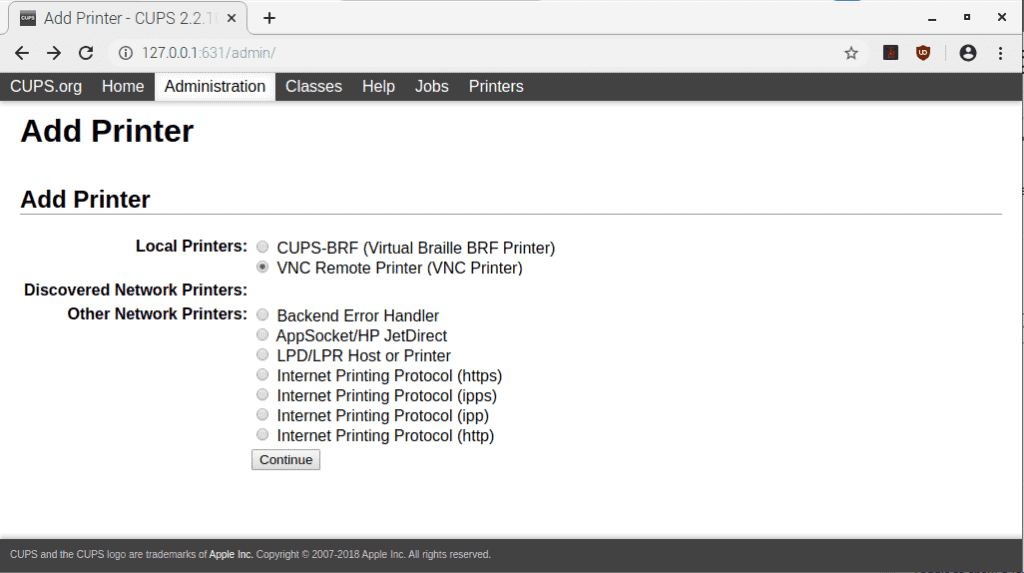
After selecting your printer, click ‘Continue.’ Next page will allow you to edit the description of your printer.
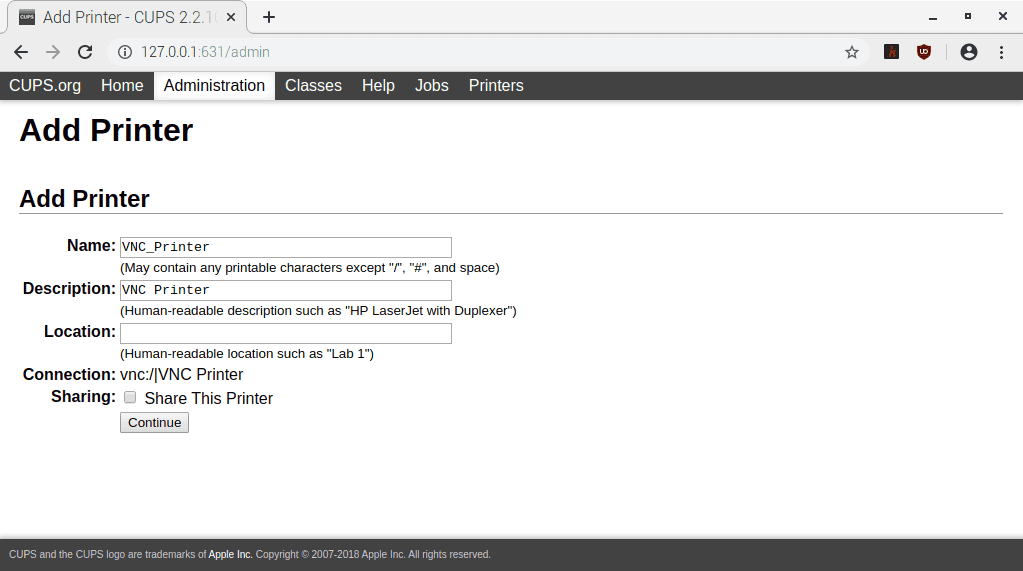
After editing the printer details, click ‘Continue.’ Next task is to select your printer’s make. Or if you have the PPD file of your printer, you can select the file as well on this page.
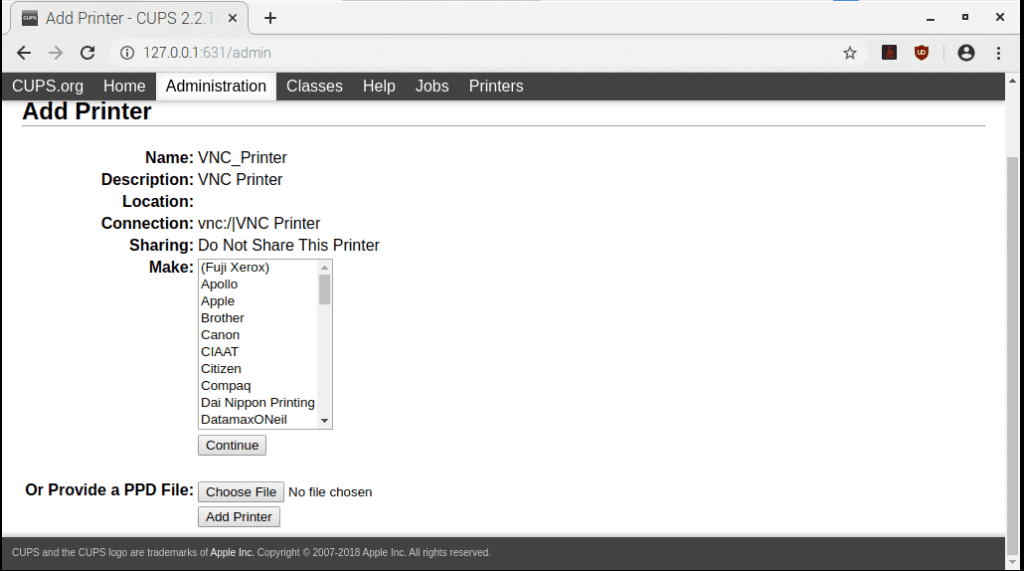
After selecting your printer’s make, click ‘Continue’ (or ‘Add Printer’ if you have the PDD file). The next page will ask you for your printer’s model based on the make you have selected earlier.
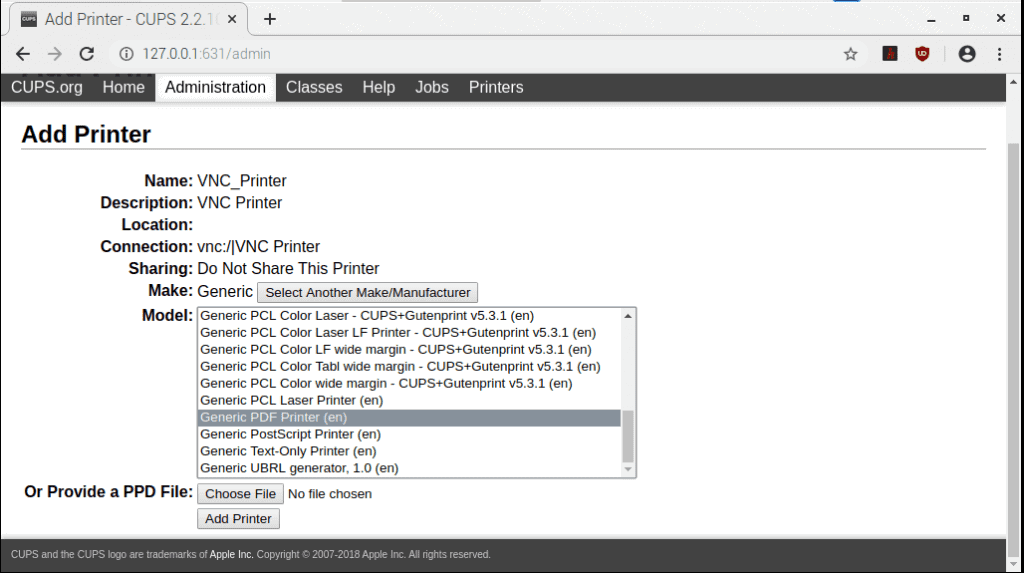
After selecting your printer’s model, click ‘Add Printer’ to continue. Next page will be for the default settings of your printer.
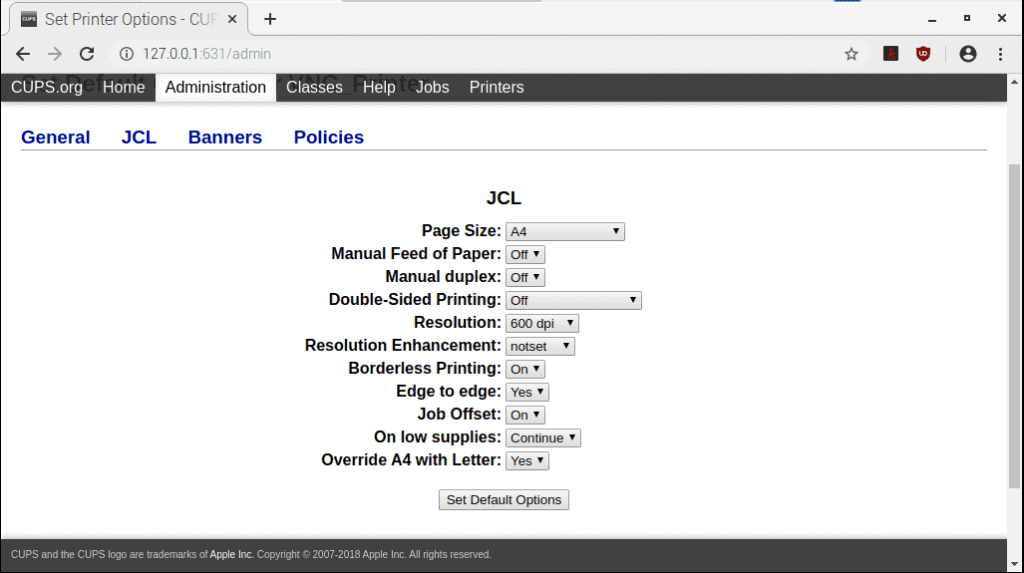
After setting your options, click ‘Set Default Options’ to continue. You will see a message that the printer has been added successfully.
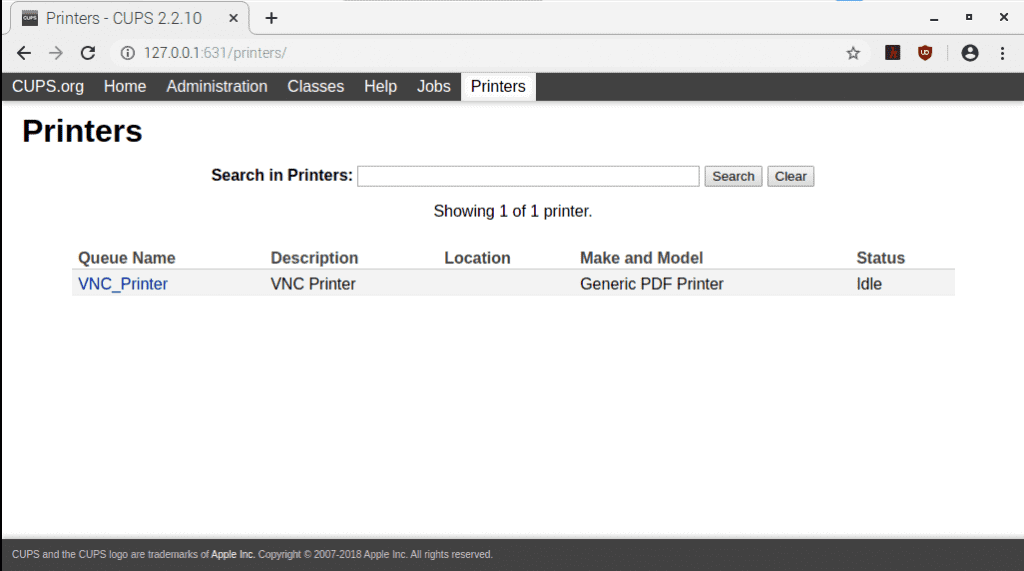
And congratulations! You just configured your Raspberry Pi to work with the printer. You can check the registered printers with their status in the Printers tab.
Thanks for reading and be sure to leave a comment below if you have any questions!


I have installed HP Deskjet 1212 printer on my raspi zero. It is working fine and am able to print pdfs perfectly. However, after enabling overlayFS (making the SD card readonly) printing doesn’t work. Again when I disable overlayFS (make the SD read/write) it works fine as earlier. All functions of raspi work fine when overlayFS is enabled except for printing. Enabling overlayFS is crucial for the deployment of my application. What I see in /var/log/cups/error_log is a ‘filter-failed’ error. I’m sure it’s not the real problem as filter is working fine when overlayFS is disabled. Any help would be appreciated.