Variables are probably the most basic thing you’ll learn in programming but they’re also the most useful. In this tutorial we will focus on using variables, declaring variables, naming variables, and doing math with variables on the Arduino.

Watch the video for this tutorial here:
What is a Variable?
A variable is a container that is used to store data. Variables represent locations in the Arduino’s static RAM memory that are reserved for the data the variable is storing. Variables can store constant values like the number five, and they can store values that change like the input from a sensor. They can also hold strings, functions, and even other variables.
Naming Variables
To create a variable, give it a name and set it equal to something. It’s good to give variables descriptive names that will remind you of their purpose later on. Variable names can be formatted a variety of ways, but there are a couple conventions that are common in Arduino programming. One format uses an underscore to separate words like this:
variable_name =The other format capitalizes the second word in the variable like this:
variableName =However you decide to name your variables, it’s a good idea to stick with the same format throughout your program. That way they will be easier to distinguish from other parts of your code.
Numbers can be used in variable names, as long as the variable name doesn’t start with a number. For example, this would work:
variable4 =But this would give an error message:
4variable =Variables also can’t be named as Arduino keywords. Keywords are the core Arduino functions, operators, and data types. Everything you see on the Arduino reference page is a keyword. Libraries have their own special keywords as well. In the Arduino IDE, keywords are easy to spot because the text is colored.
Declaring Variables
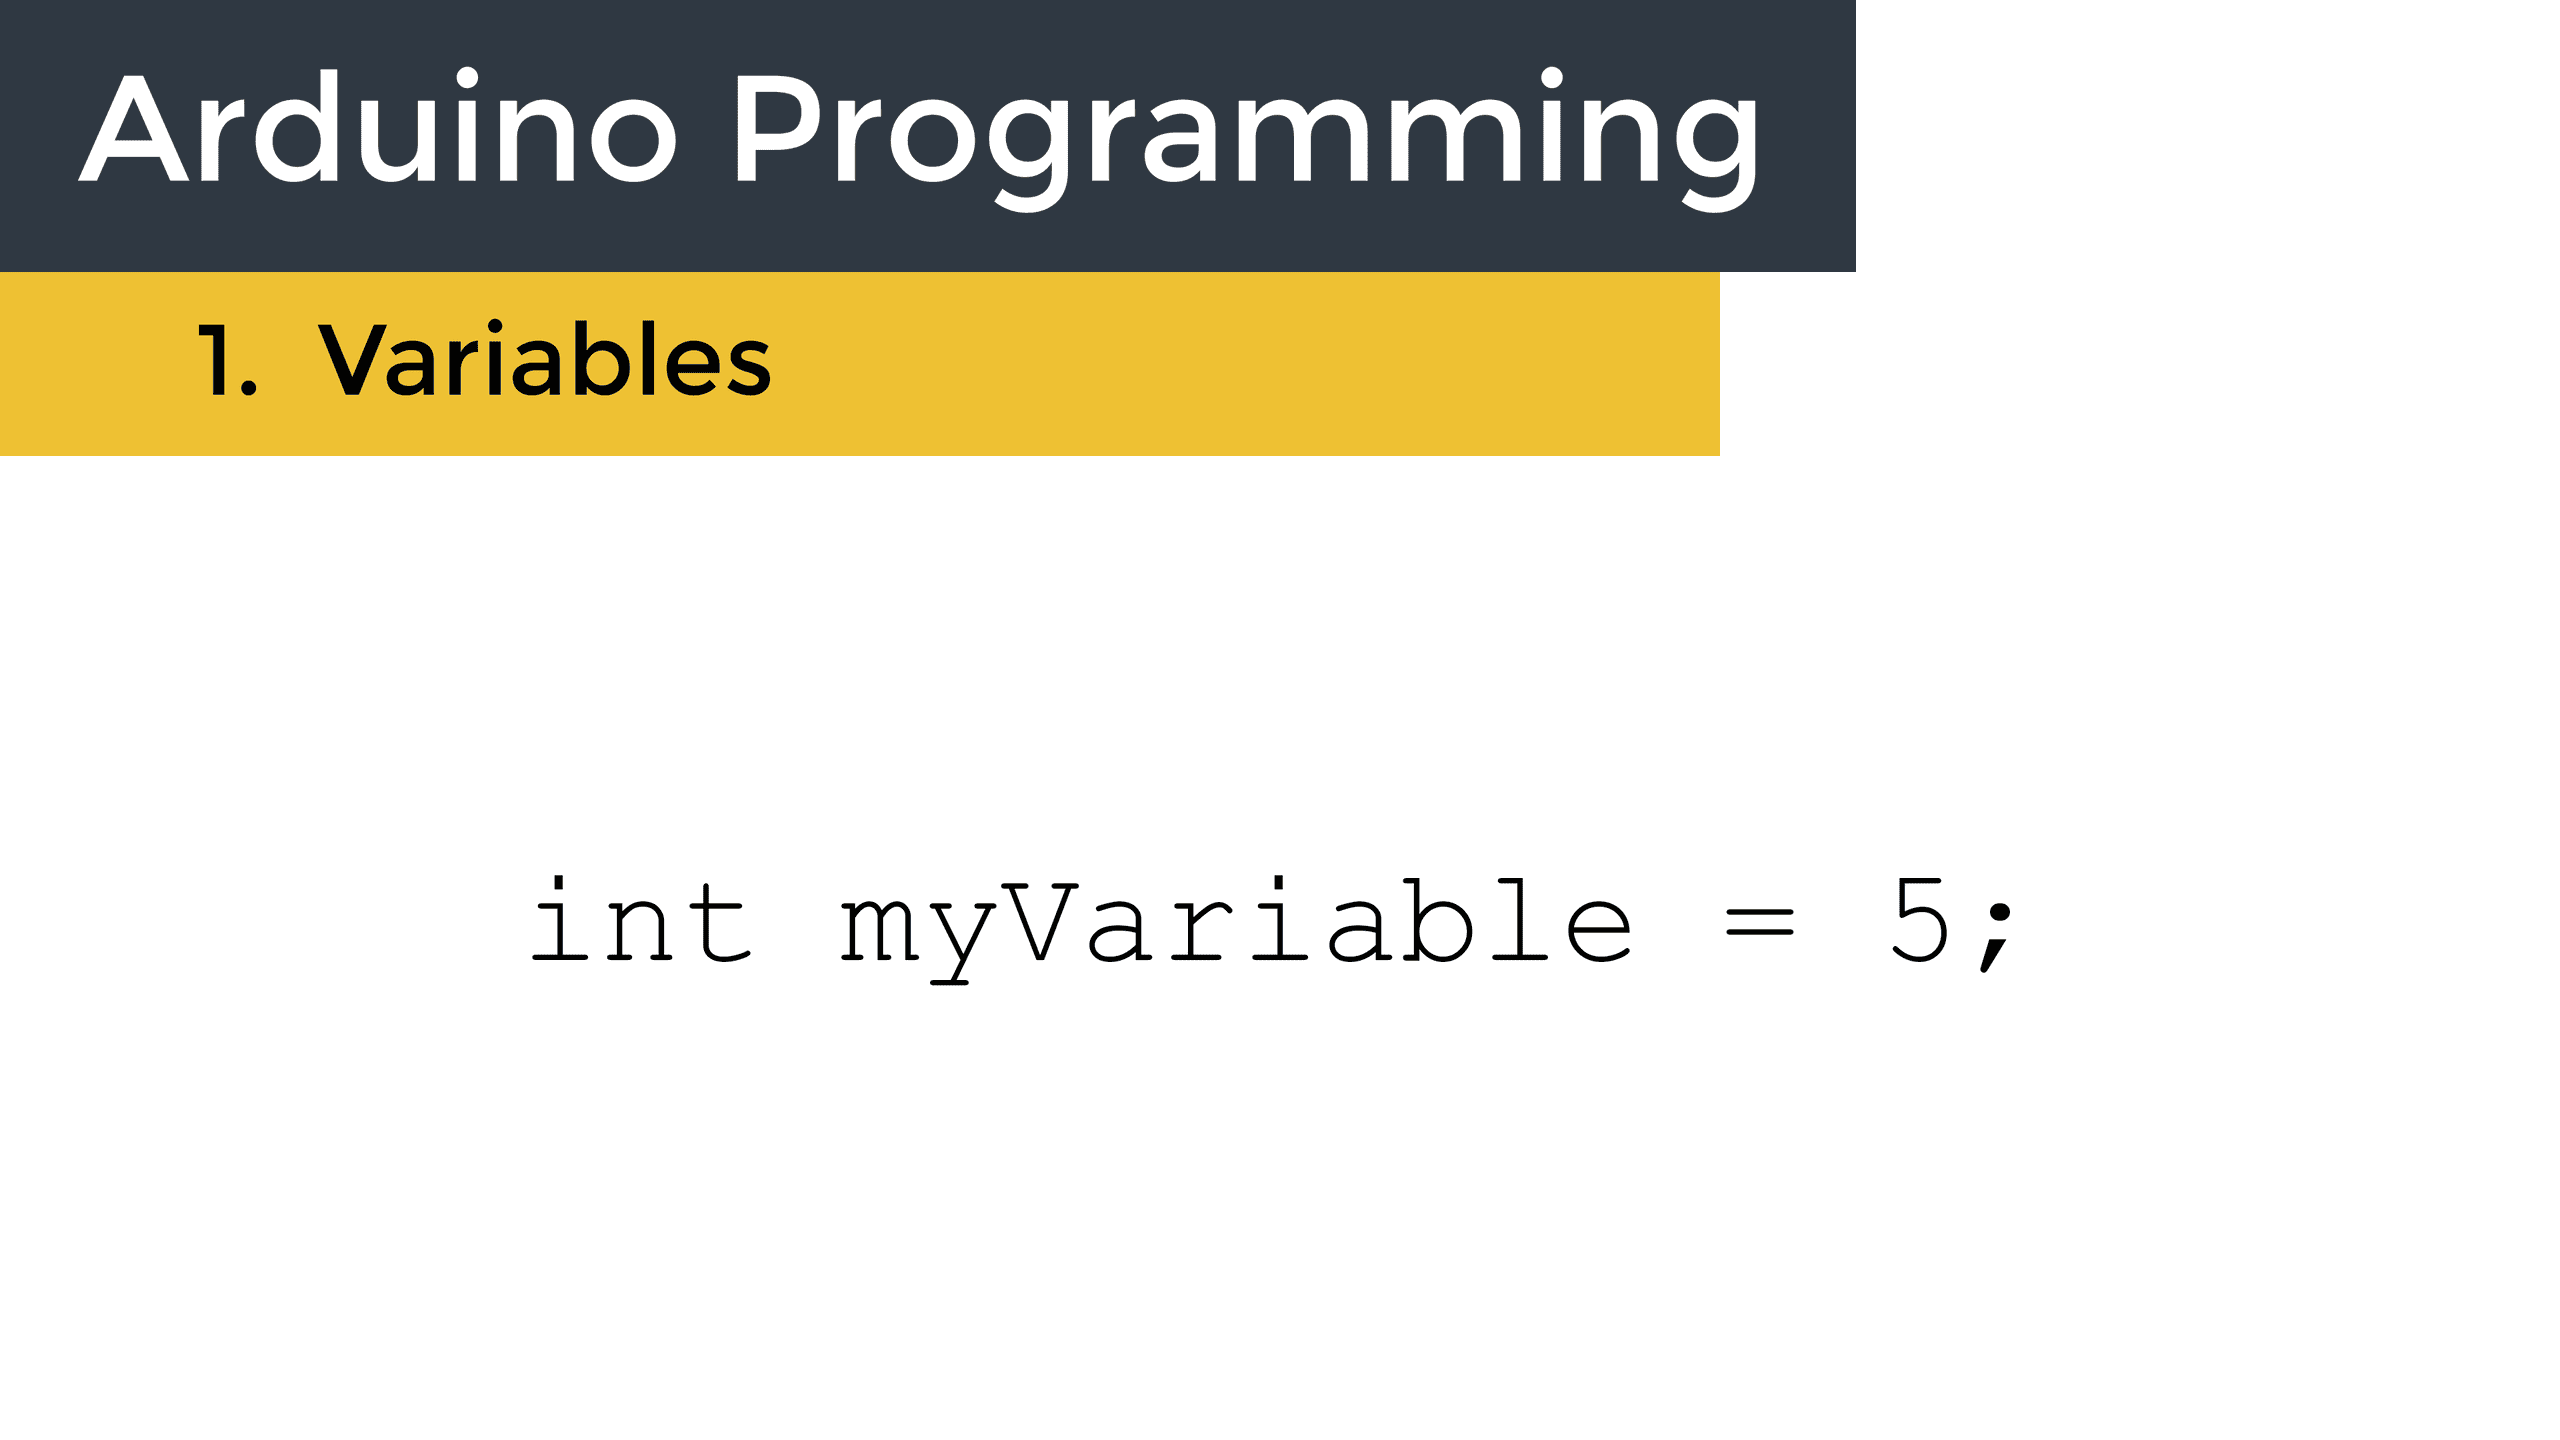
Creating a variable is called declaring a variable. To declare a variable, first write the data type of the variable. For example, to declare an int variable called myVariable, we would use the following:
int myVariable = 5;int is written first, followed by the name of the variable. Then the variable is set equal to a number, variable, or function. In this case, myVariable is set equal to the number five. Finally, we end all variable declarations with a semicolon (;).
Doing Math With Variables
Since variables can hold numbers, we can do math with variables. Variables can be added, subtracted, multiplied, and divided by other variables. In addition, more advanced math like trigonometry and calculus can be applied to variables.
Let’s make a simple calculator to demonstrate how to do math with variables. The code below will add, subtract, multiply, and divide two numbers, then print the results to the serial monitor:
int addition;
int subtraction;
int multiplication;
int division;

void setup() {
  Serial.begin(9600);

  int a = 6;
  int b = 3;

  addition = a + b;
  subtraction = a - b;
  multiplication = a * b;
  division = a / b;

  Serial.print("Sum = ");
  Serial.println(addition);

  Serial.print("Difference = ");
  Serial.println(subtraction);

  Serial.print("Product = ");
  Serial.println(multiplication);

  Serial.print("Quotient = ");
  Serial.println(division);
}

void loop() {
}
We need variables to store the results from each calculation, so we declare int variables called addition, subtraction, multiplication, and division. Since we don’t know what the results of these calculations will be, we are declaring these variables without setting them equal to anything.
We only want the calculator to run once, so the code is in the setup() section. We can leave the loop() section empty. The results will be printed to the serial monitor, so we initialize the serial port with Serial.begin(9600);.
Now we declare two int variables a and b to store the numbers that will be used in the calculations.
Global Variables
This brings us to the topic of variable scope. The scope of a variable defines where it can be used in a program. There are two types of variable scope – global and local.
Global variables can be used anywhere in a program – in the loop() section, the setup() section, and in any other function. They’re usually declared at the top of the sketch like our addition, subtraction, multiplication, and division variables.
Local Variables
Local variables are declared inside of a function and they can only be used inside that function. In the sketch above, we declared two local int variables a and b to hold the numbers input into the calculator. Since we declared a and b inside the setup() function, they can only be used inside the setup() function. Using local variables in other functions generates an error message saying “variable was not declared in this scope”.
We already declared global variables at the top of the sketch to store the results of each calculation. Now all we need to do is define the variables by setting them equal to something.
To define a variable, write the variable name and set it equal to something. There’s no need to declare the data type again. In this case we set each variable equal to the appropriate equation for each mathematical operation:
addition = a + b;
subtraction = a - b;
multiplication = a * b;
division = a / b;
Now we can print the results of the calculations to the serial monitor. We do that with a series of Serial.print() and Serial.println() functions that print some explanatory text and the value stored in the variable. For example, the result from the addition calculation is stored in the addition variable. So first we print some text that says “Sum = “, then we print the value stored in the addition variable:
Serial.print("Sum = ");
Serial.println(addition);
Then we do the same thing for the subtraction, multiplication, and division variables.
This calculator is a simple example, but the same principles apply when using more advanced equations and functions with variables on the Arduino. Be sure to leave a comment if you have any questions!


Thank you so much for this series of tutorials. Very clear and thorough.
Glad you found it helpful!
Dear Scott Campbell,
Hats off! for creating this brilliant site.
You deserve acknowledgement for providing ideas to the newbie like me. I am very glad to write this note to praise your work.
I must admit that I am a beginner in the coding field, particularly Arduino. I have been looking for someone who would have made it “bite sized”, and I was lucky that I stumbled across this site.
Thank you so much!!
grate site and articles…the things are explained very well as well as simple manner….keep it up