
Having spent 50 years of my life sitting at work at an electronics workbench in a professional R&D lab, or at home in a spare room or garage, I have developed a particular way that I like to layout my electronics work bench. In this article, I will share some of the advice and tips about building an electronics workbench that I have learned over the years.

The most fundamentally important criteria in deciding how to set up an electronics work bench is not the space you have available, but the type of electronic work that is going to be done there. Is this for a hobby or a living? Is this R&D or repair? What range or frequencies will be worked on? How much are you willing to spend on instruments?
Hobby vs Professional
If you are going to be using your workbench for professional electronics work, you will need a lot more space and storage. You are going to need a lot more tools and equipment, and therefore more space. If this is just a hobby, some shared space like a desk in a garage or basement will work. But if you plan to get serious, a dedicated room is the way to go.
R&D vs Repair
If you’re doing repairs on a regular basis, you will need extra space for the spare parts of the devices you repair most often. You will also need extra shelf space for the items waiting for repair, the items waiting on parts, and the repaired items waiting for collection. For R&D work you will need to keep a much wider range of parts and components in stock, and dedicate more space for books, datasheets, and a computer to research things on the internet.
High Frequency vs Low Frequency
This will be the one thing that will largely govern your budget. As the frequency of a circuit goes up, the tools to analyze them (oscilloscopes, signal generators, network analyzers) get more expensive. For low frequency circuits, some instruments like signal generators and oscilloscopes can be made yourself.
The Electronics Lab
If you have the space and resources, the ideal electronics workspace would be set up in a room or garage dedicated to electronics work.
The room lighting should be bright – electronic parts are small and it can be hard to read component values in low light. Strong lights like fluorescent overhead room lights are good, but some sort of adjustable desk light can be great to have too. In some situations, a hiking headlamp can be also useful.
Tools and Instruments
High quality tools will probably last your whole life, so avoid buying the cheap stuff. Below is a list of what I consider to be the most important tools to keep on hand at an electronics workbench.
Absolutely Essential:
- High quality, temperature controlled soldering station with different shaped tips. This is your main tool so get the best you can afford
- Solder remover
- Helping hands to hold components while soldering
- Small bench vice to hold larger components
- High quality side cutters
- Long nose and needle nose pliers
- Medium and small adjustable wrenches
- Basic screwdriver set
- Precision screwdriver set
- Digital multimeter
- Analog multimeter
- Continuity tester
- Variable power supply with current limiting
- Component tester
- Oscilloscope
- Breadboards
- Temporary mains connector
- Hand held Dremel mini drill with assorted attachments
- Hobby knife set
- A set of needle files
- Small hacksaw
- Banana to alligator test probes
- Alligator clip wires
- An assortment of wires
- Two part epoxy
- Silicone sealant
- Super glue
- A hot air gun
- A hot glue gun
- Electrical tape
- Double sided tape
- At least one surge protector to supply power to all of your equipment
- 91% isopropyl alcohol for cleaning
- Acetone (nail polish remover) for cleaning
Nice to Have:
- Cordless drill with various drill bits and screwdriver bits
- Audio and radio frequency signal generators
- Inductance meter
- 12V rechargeable lead acid battery
- A Variac to generate a variable AC voltage
- A mains isolating transformer
- Headband magnifier
- Caliper measuring tool
- Battery chargers for lead acid, NiMh, NiCad and LiPo batteries
- A frequency counter
- Dremel tool drill press for drilling PCB’s
- Hand reaming tool and hole de-burring tool
- Some heavy duty resistors, dummy loads or globes for load testing
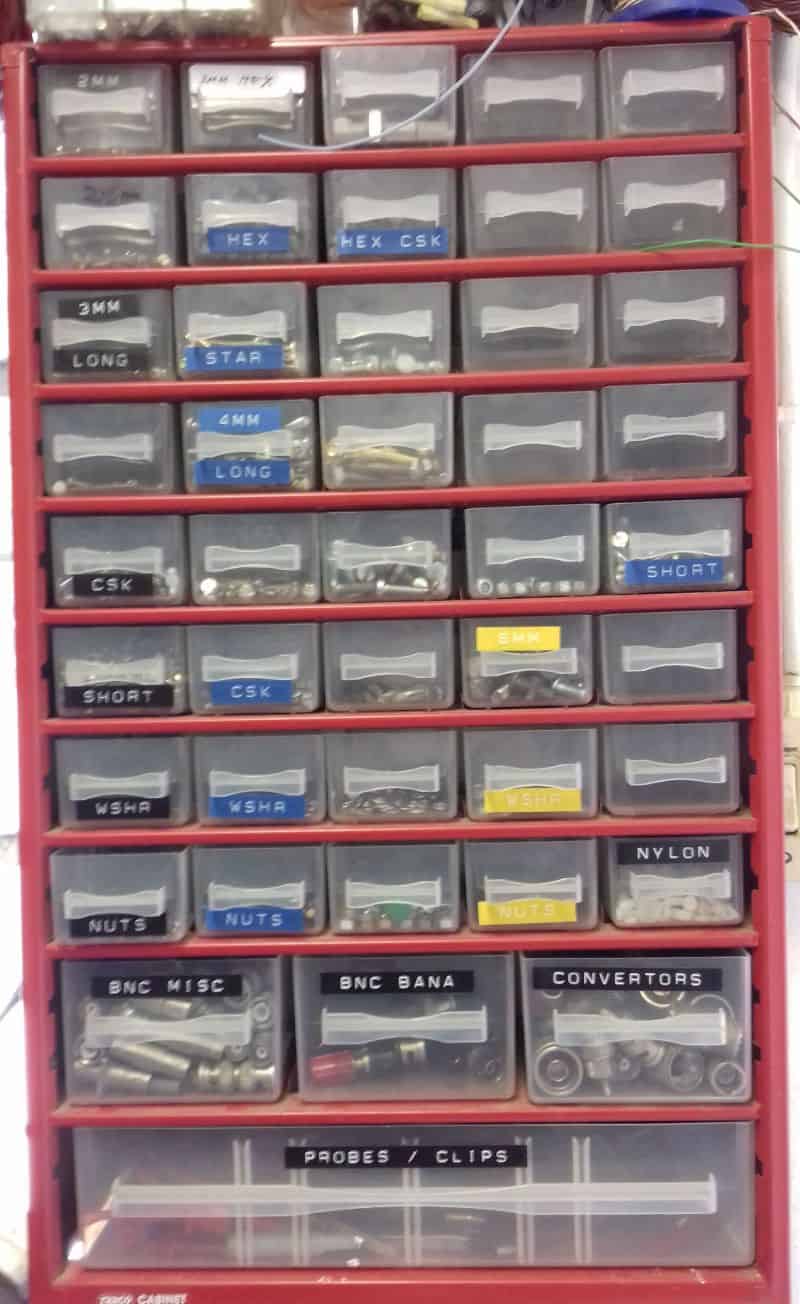
- A range of nuts, bolts, and washers in the range 2.5mm, 3mm, 4mm, 5mm and 6mm in a set of small drawers
- A small fire extinguisher
Continuity Testers
One of the most useful tools for working with electronics is a dedicated continuity tester. You will use this often to check for shorts or breaks in PCB traces, solder joints, wires, and wire connectors.
I need to stress that you should not use your multimeter to do this. The reason is that many multimeters will give an OK when the actual resistance is a few ohms. A proper continuity tester should reject this. Here are some links to a very suitable continuity tester you can make yourself:
Electronic Parts and Components
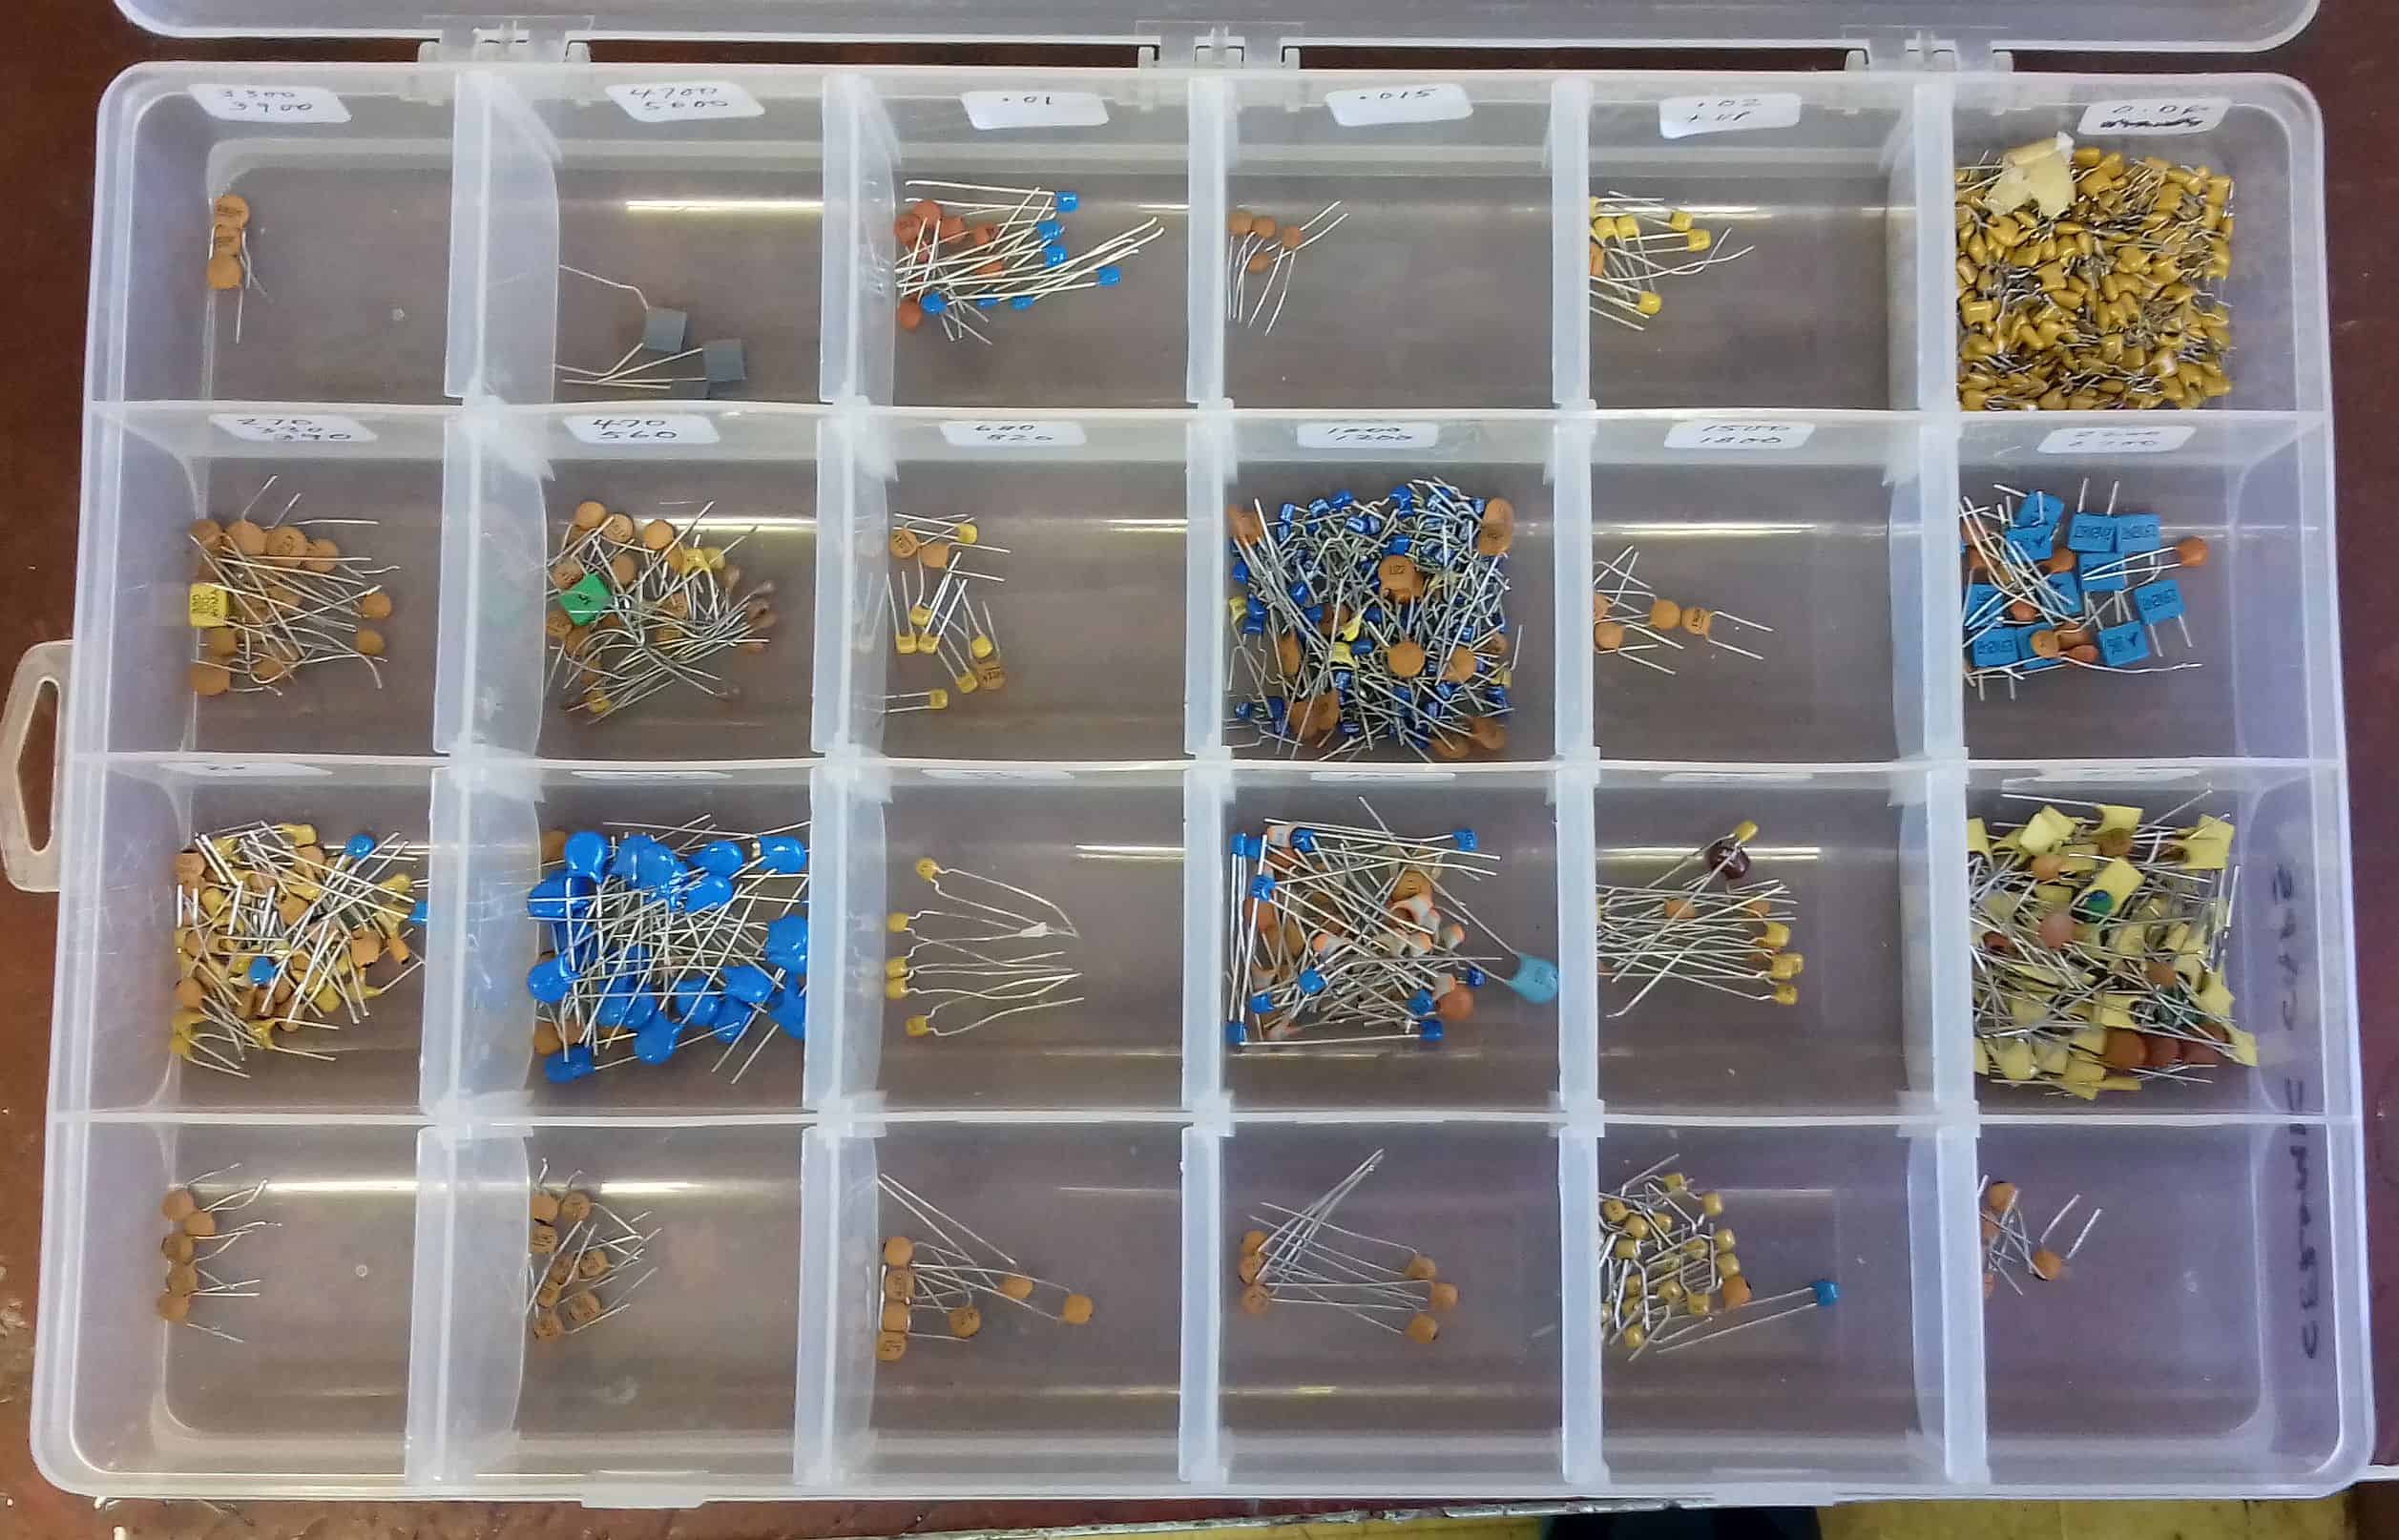
Absolutely essential will be a comprehensive selection of resistors and capacitors. For resistors, you want a range from 1 Ohm to about 100M Ohms. I only like to use the tan colored resistors because reading color bands on a blue background makes it hard to read.
For capacitors, you will want a range of small value ceramic capacitors in the 1pF to 100pF range. You will also want a range of tantalum capacitors or film capacitors from about 0.01uF to 0.1uF. Then you will also want a range of electrolytic capacitors from about 0.1uF to 2000uF.
Some small signal diodes such as the 1N914, and some 1A diodes like the 1N4004 are essential to have. A range of zener diodes is also nice to have.
A set of LEDs is essential. Get a mixed bag of 3mm and 5mm LED’s in different colors and you will be good to go. A selection of glass fuses is also useful if you’re going to be building higher voltage projects.
Semiconductors are of course a whole other ball game and the types you use will be dictated by the projects you are going to build. It’s best to just order IC’s as you need them. Order a few extra in case you burn one out while prototyping.
Nonetheless it is helpful to keep a moderate stock of different transistors, voltage regulators, field effect transistors (MOFET, JFET), and general purpose op amps.
Best Layout for an Electronics Workbench
Think about ergonomics when setting up your electronics workbench. Frequently used tools like the soldering station, variable power supply, and oscilloscope should be less than an arm’s length away.
A high back office chair on wheels is also really nice to have.
A heat resistant silicone mat is good to prevent the benchtop getting burned with drops of molten solder.
If you’re working with IC chips that can be damaged by static electricity like MOSFET and CMOS chips, you should use an anti-static mat on the benchtop while working with them. And if you work in a dry climate, an anti-static wrist band is essential when handling MOSFETs and CMOS chips.
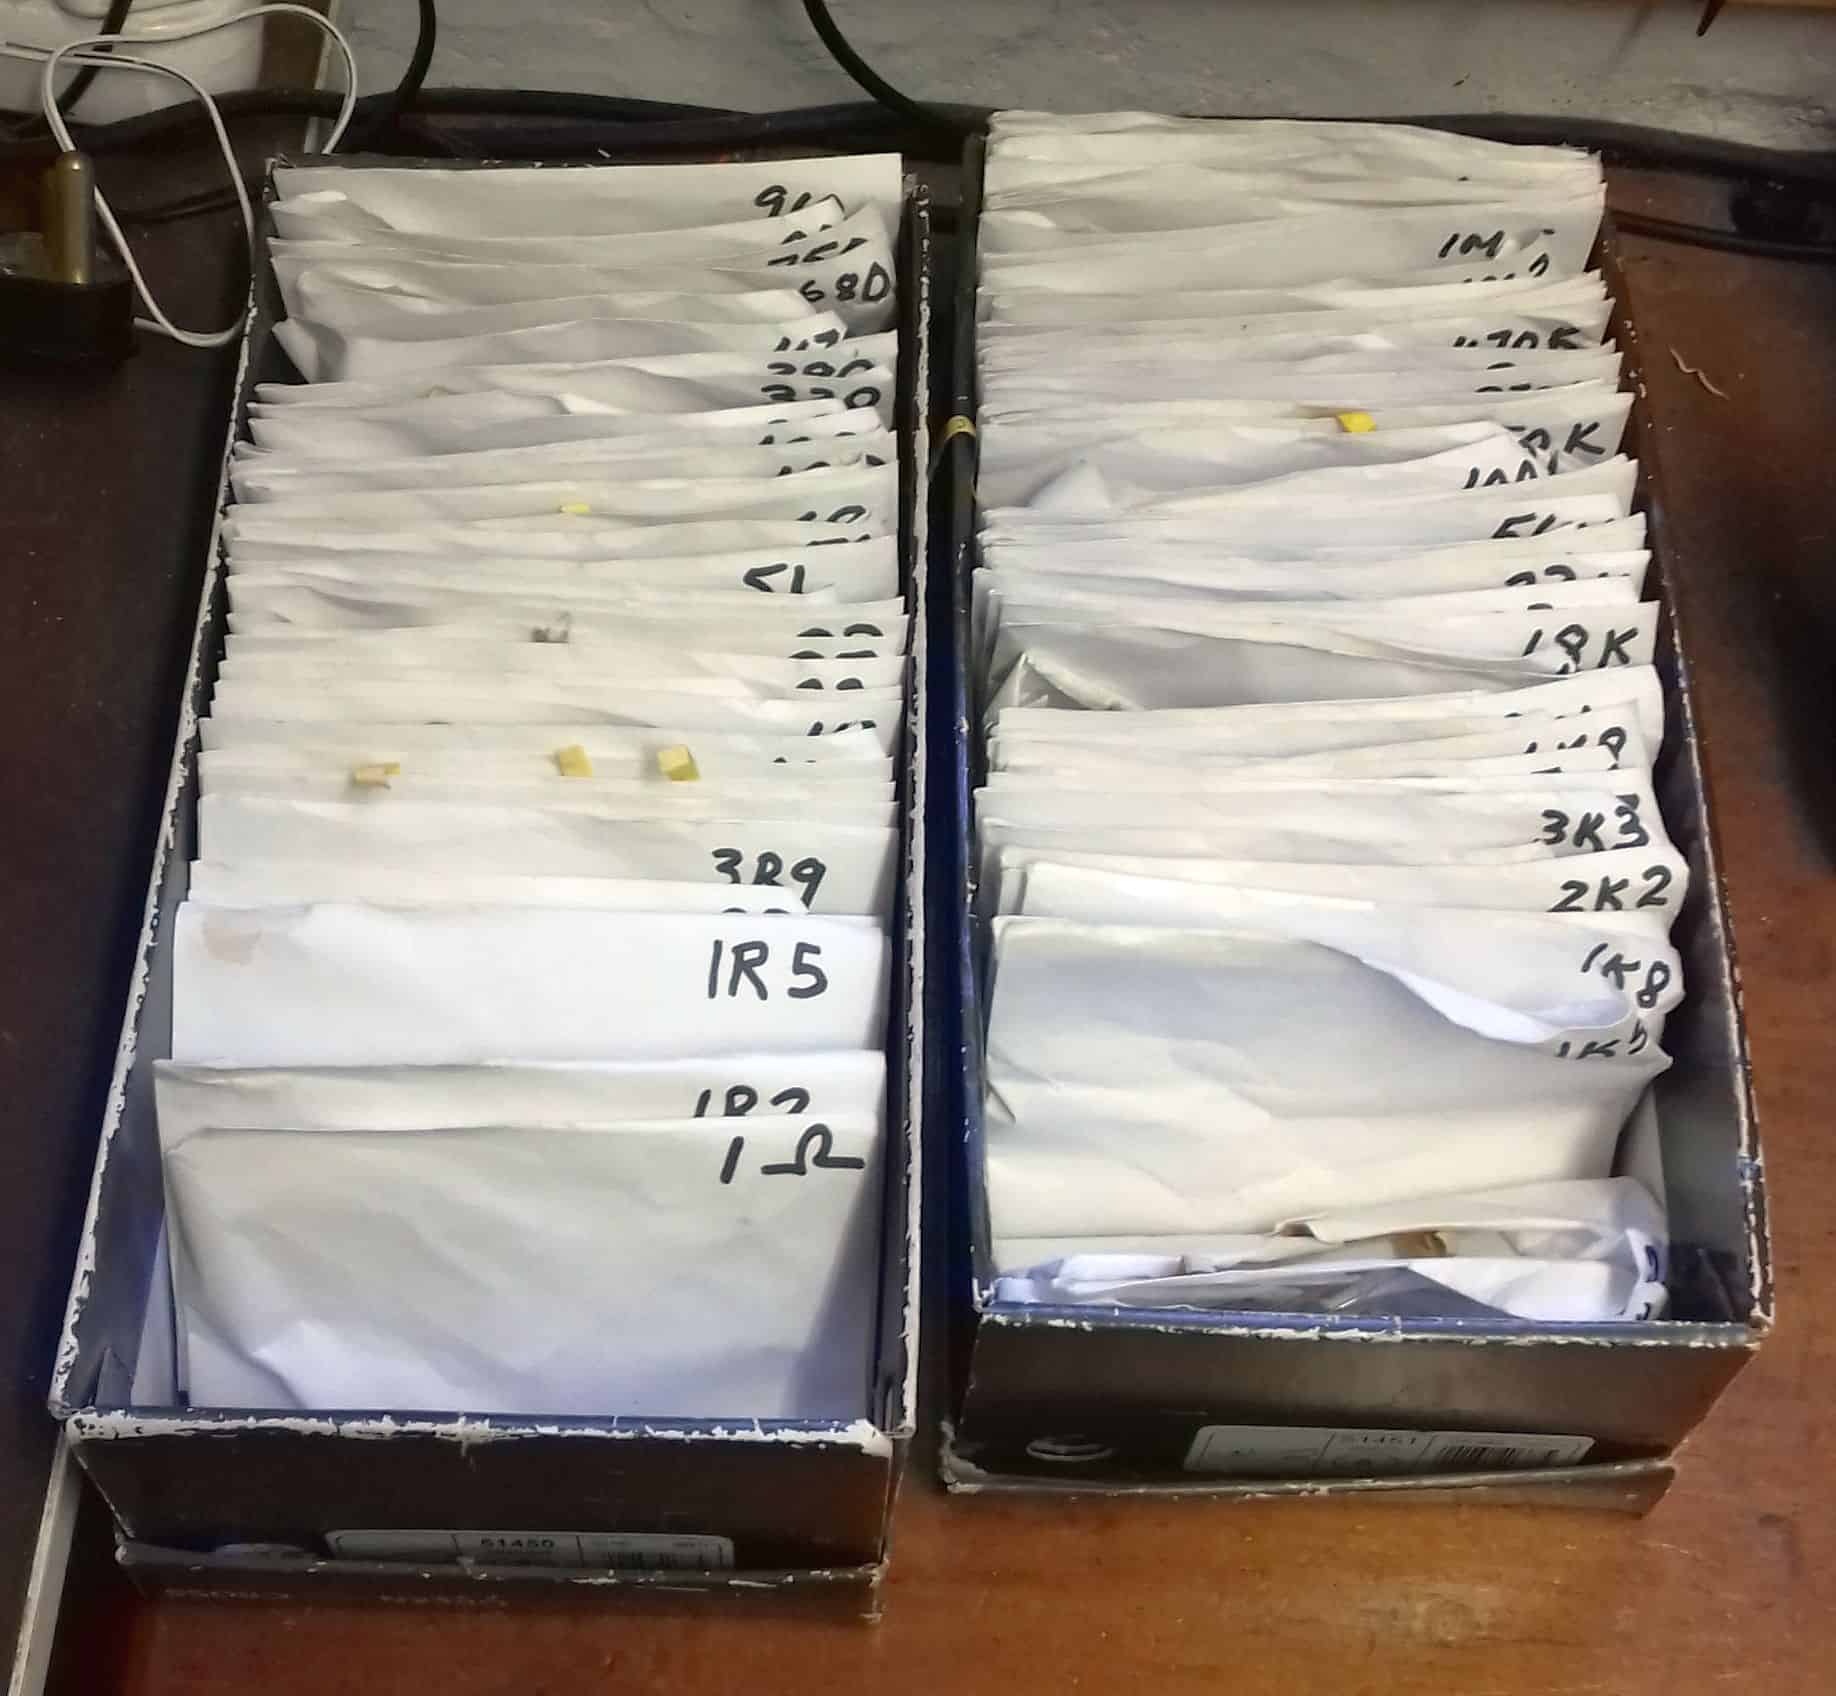
Organizing Your Electronics Workbench
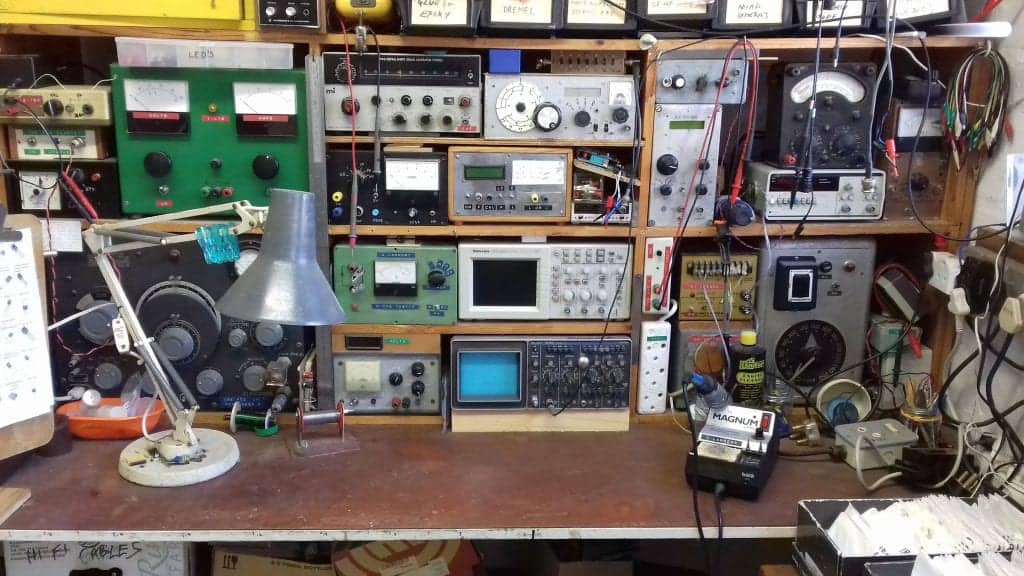
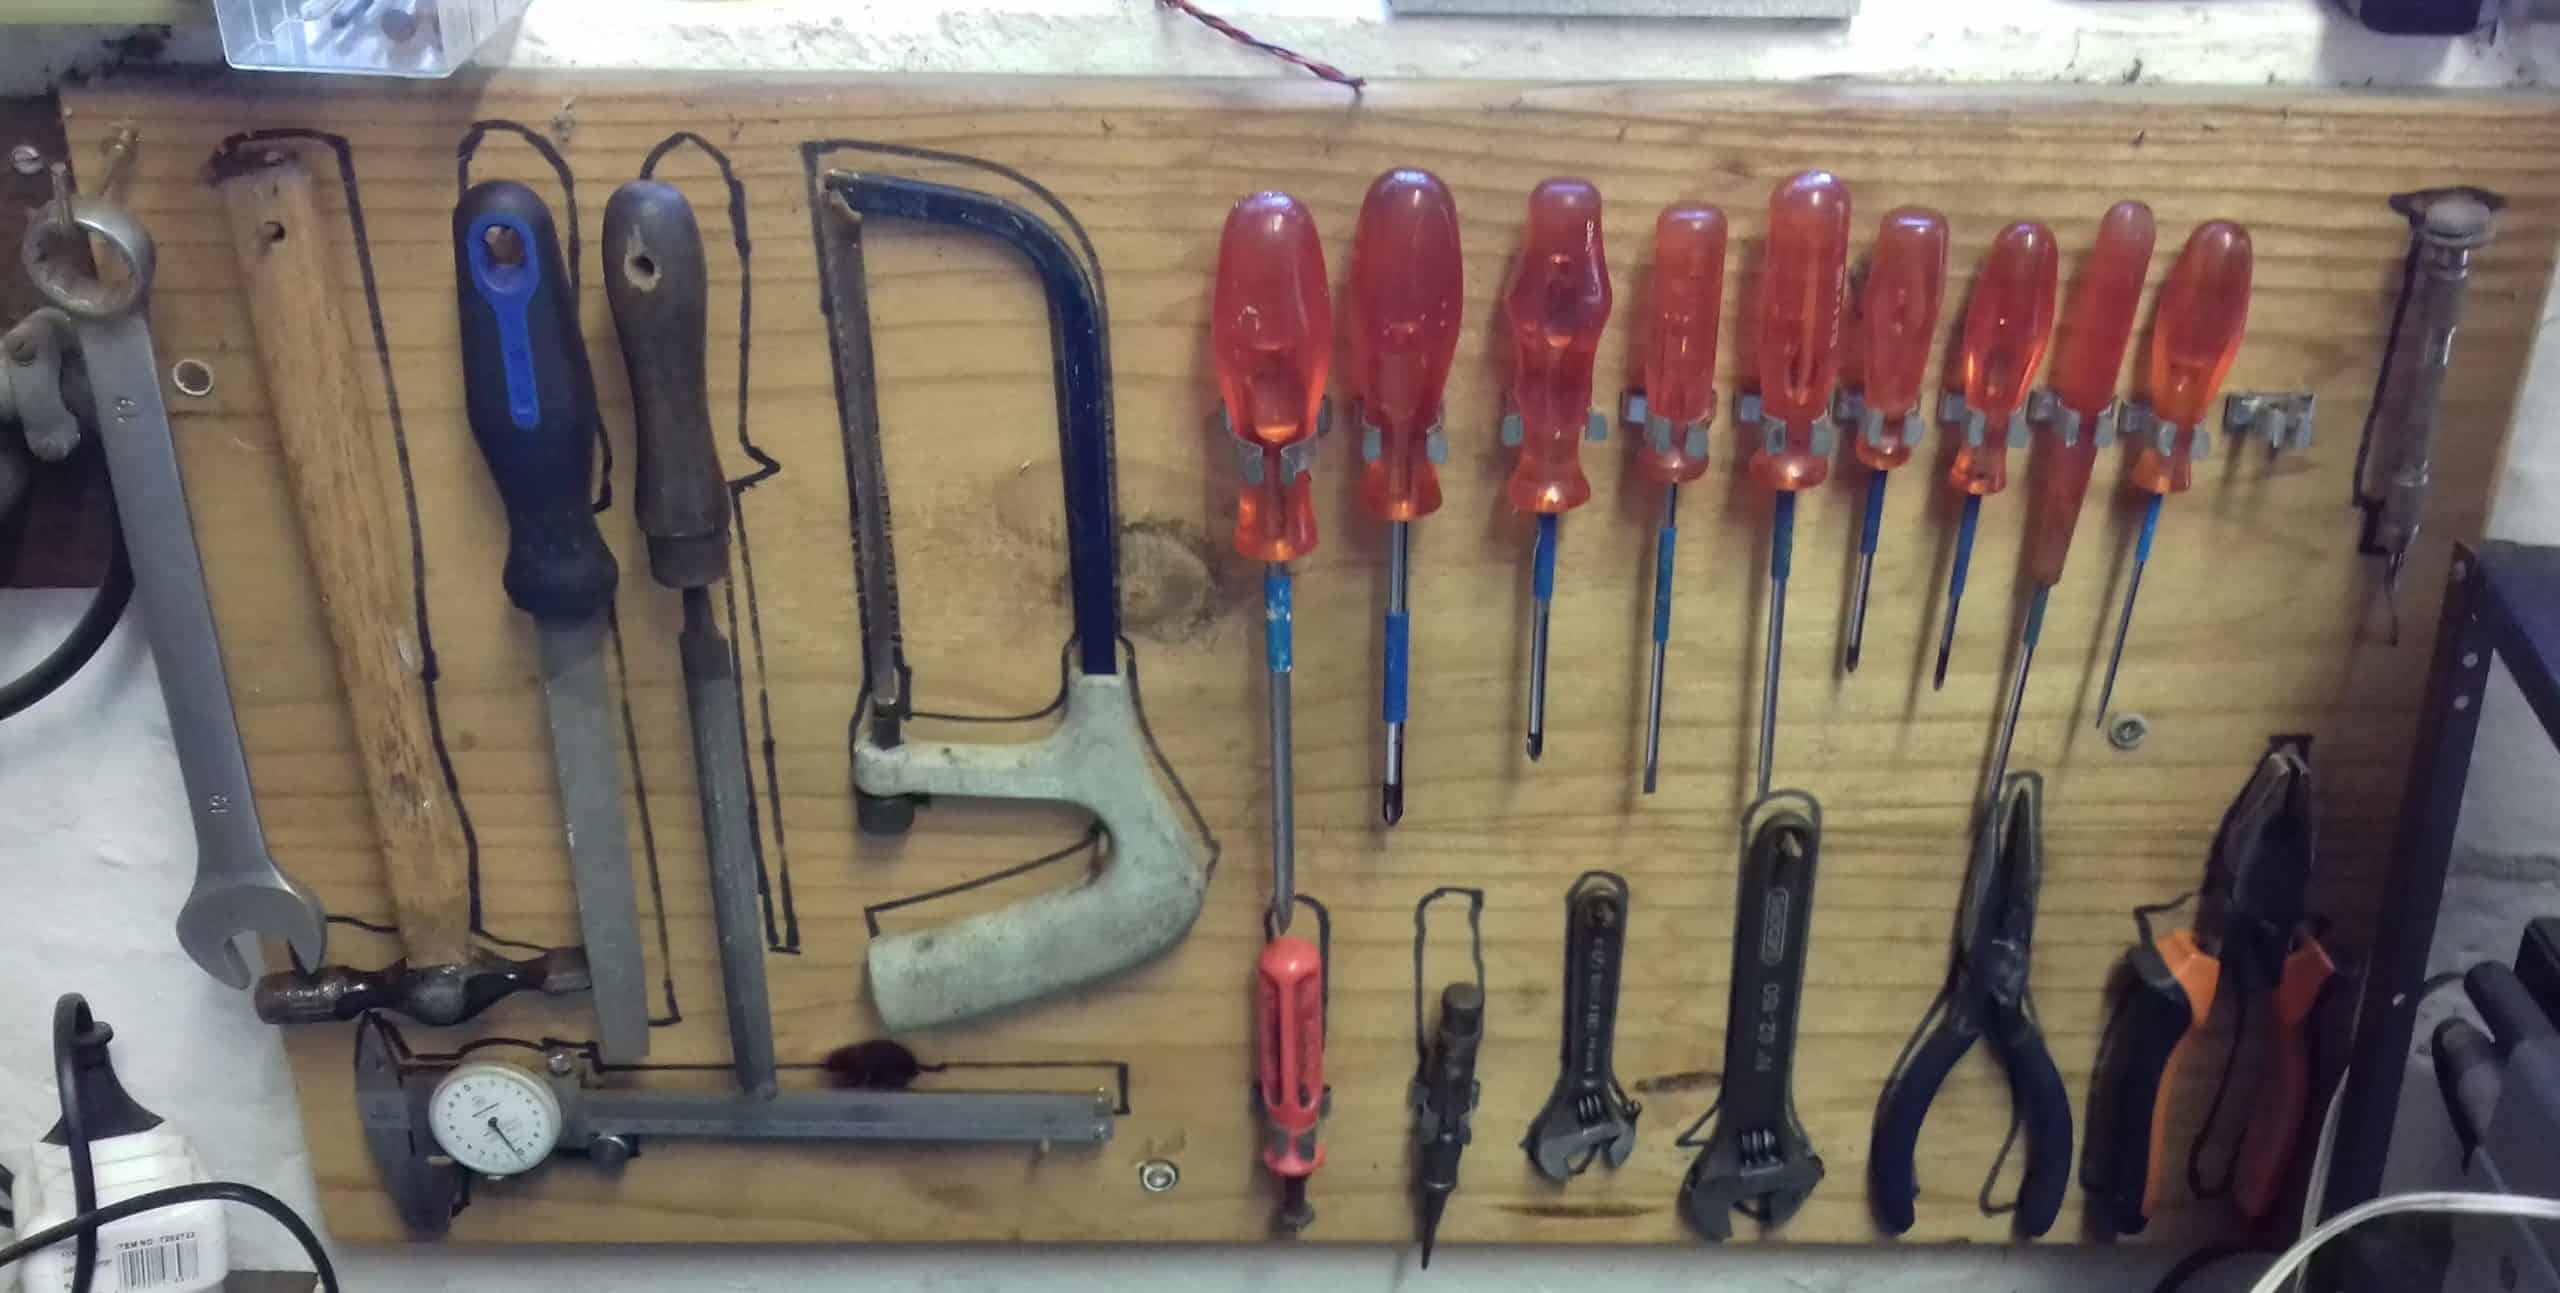
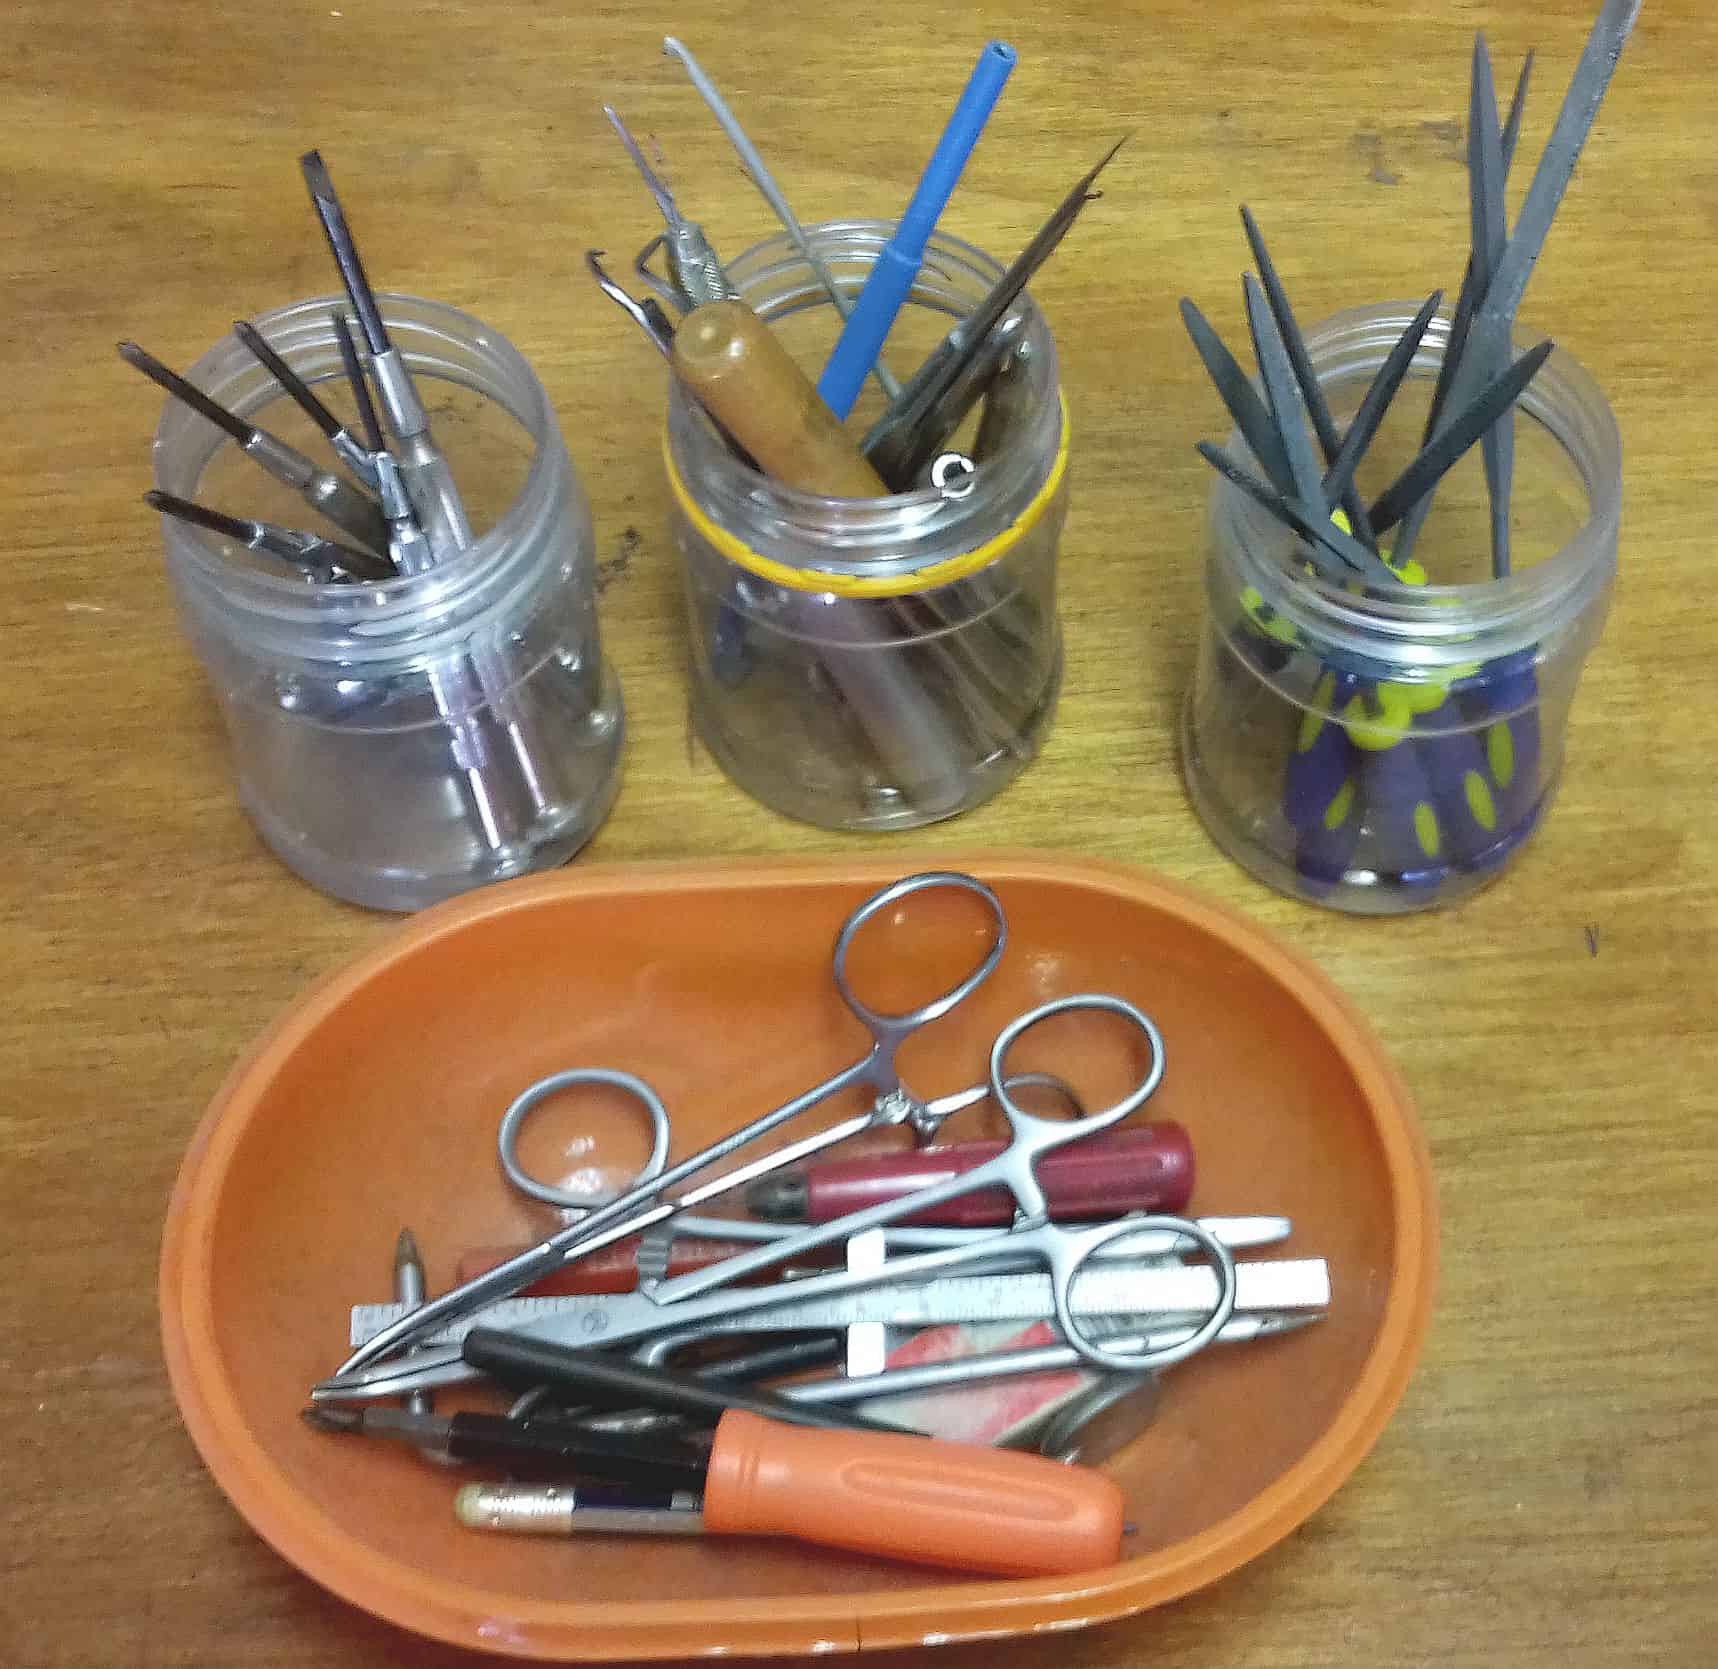
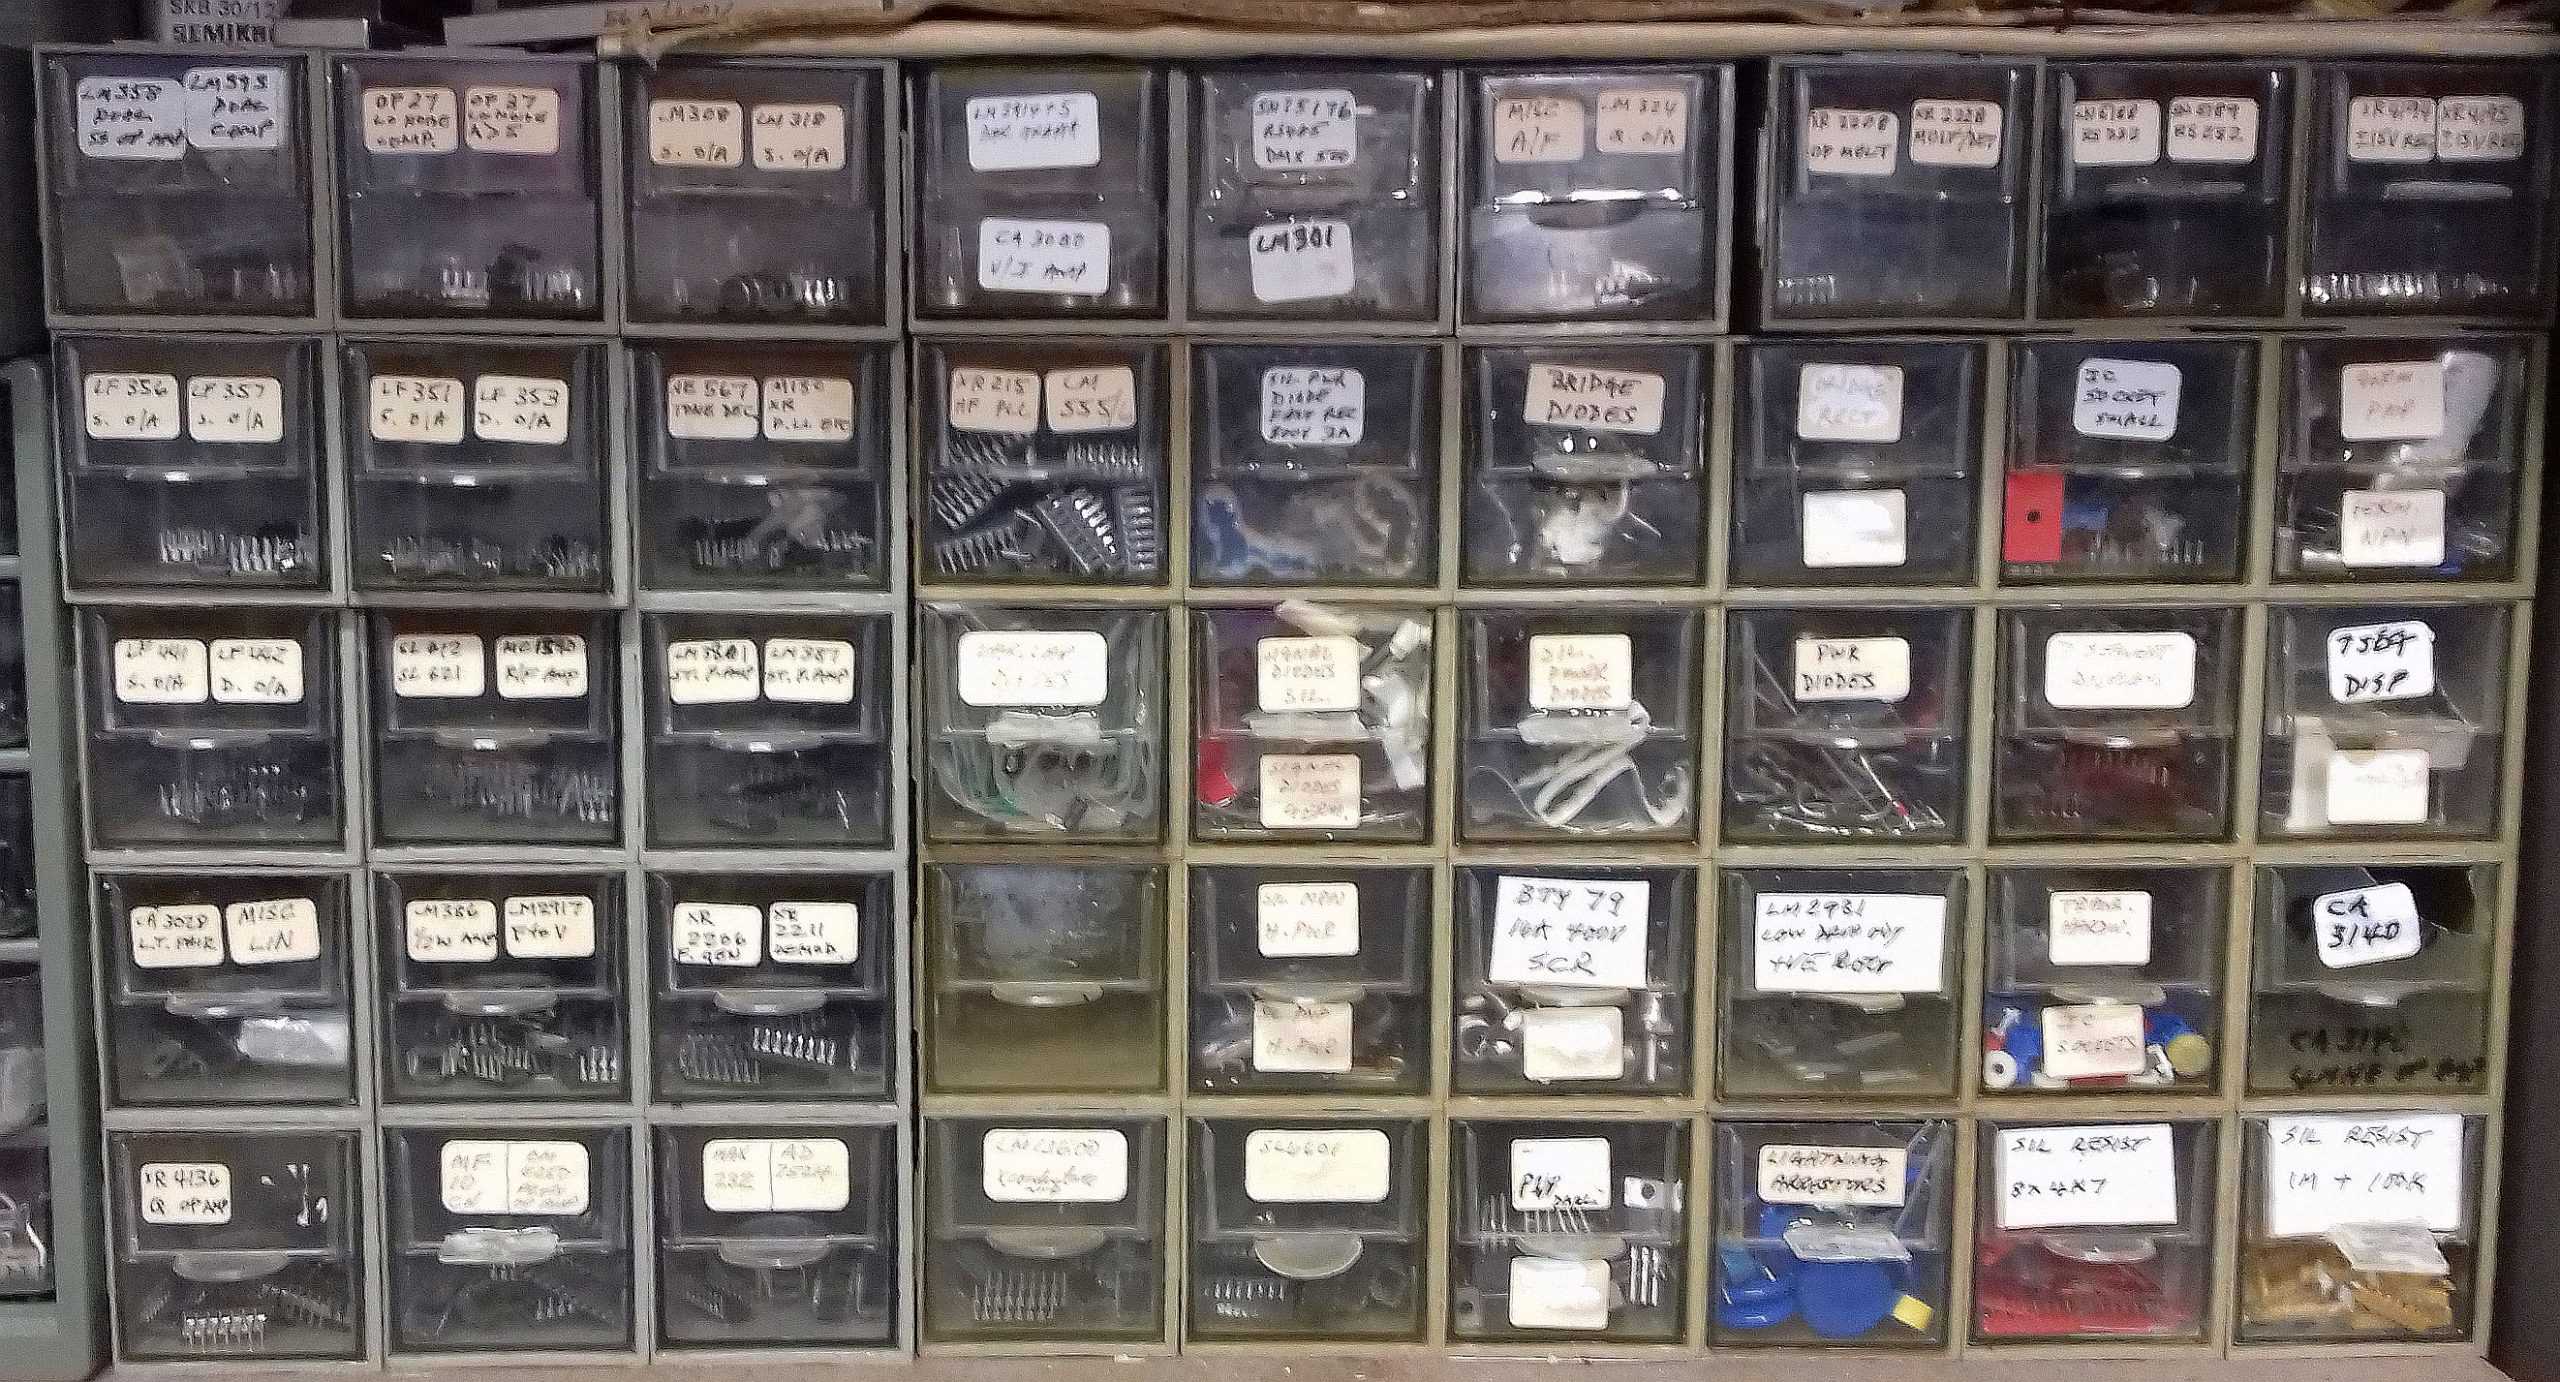
Below are some pictures of my workbench so you can get an idea of how I organize everything:
Time and experience will show you the best way to design an electronics workbench. But don’t be scared to rearrange the layout and try new things. That is the best way to learn what works for you.
Thanks for reading and be sure to let us know in the comments below if you have any questions!

This is an outstanding and immensely helpful article. Even though I’ve been dabbling in electronics for a few years, I’m just now setting up my own dedicated work station, and was really helpful. Most appreciated!
Hello there, very interesting. You have an amazing work bench. May i ask, if someone with very little knowlefge of electronics would like to get atarted in the wor./hobbie, what would you recommend to do? Are there electronic workshops, groups? Any suggestions would be greatly appreciated…thanks
How does the frequency of circuits being worked on impact the budget and selection of tools for an electronics workbench?