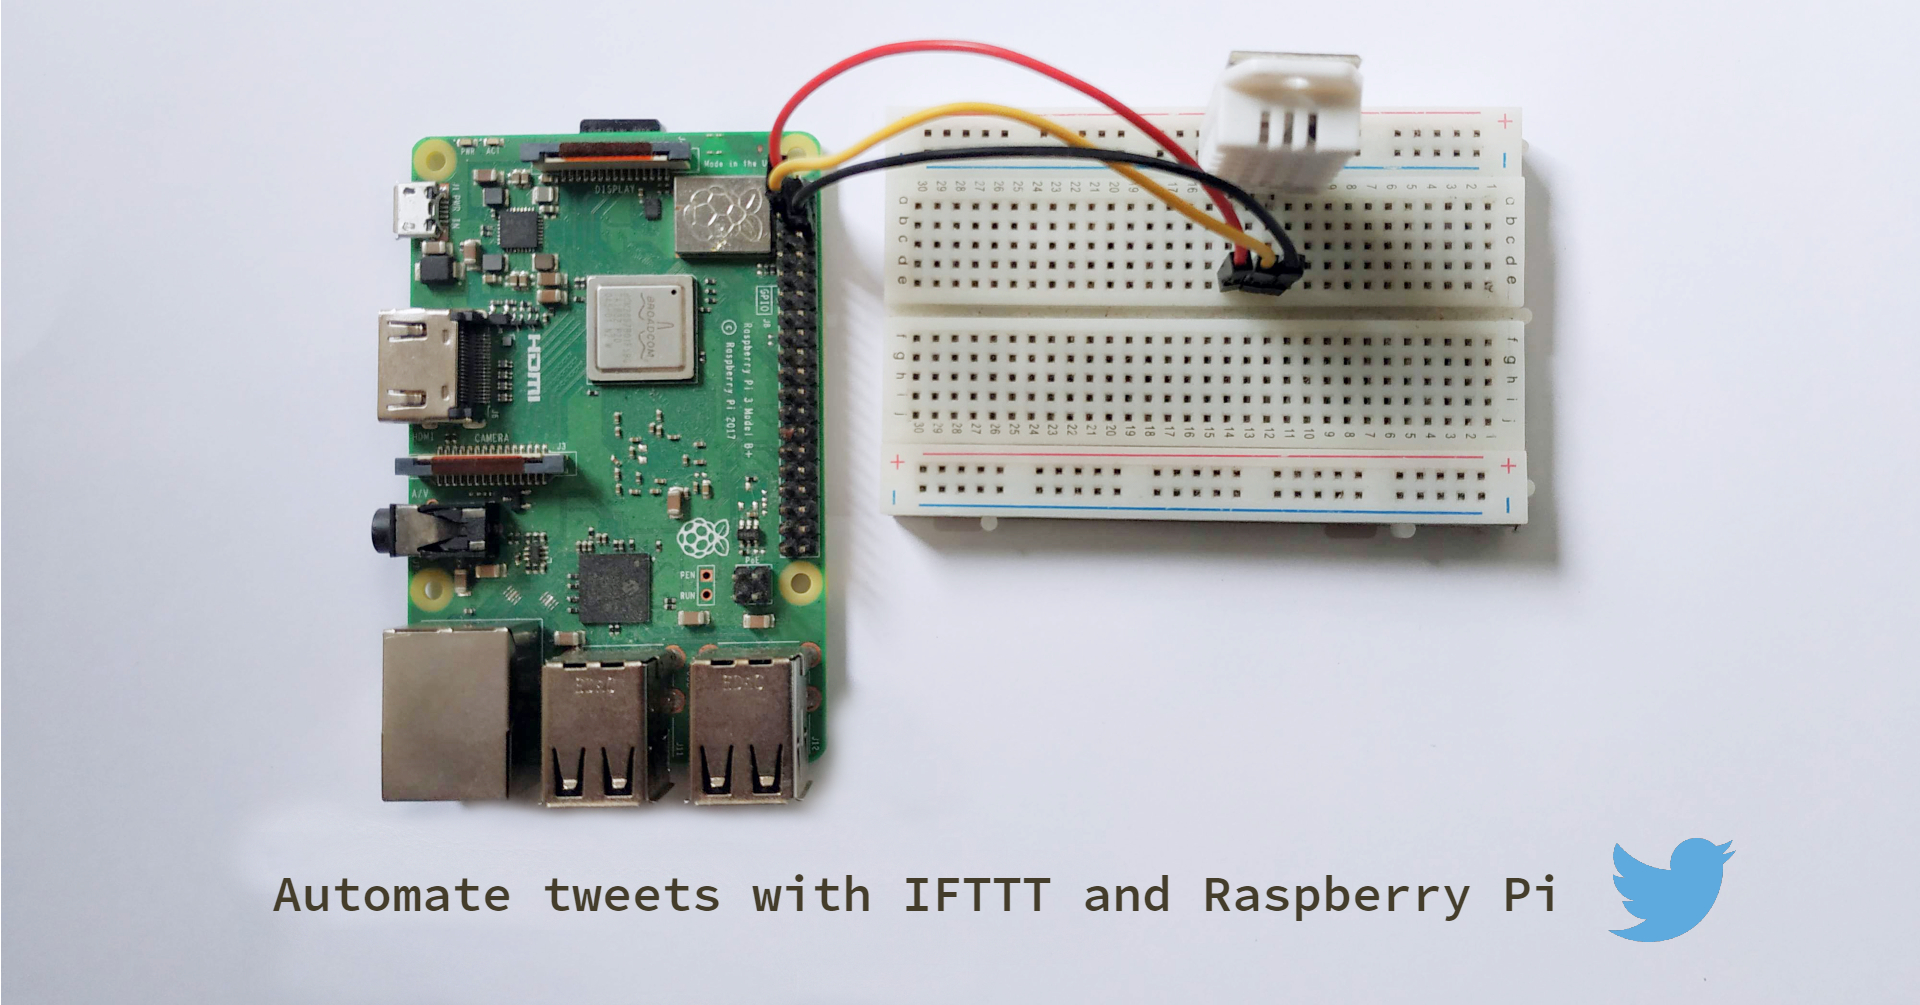
If you ever wanted to create a Twitter bot with the Raspberry Pi, this tutorial is for you. In this tutorial, we will build an example project that takes the readings from a DHT22 humidity and temperature sensor and posts them to Twitter once every hour.

IFTTT
IFTTT (If This Then That) is a free website that connects devices and services online to provide an extra layer of functionality. With IFTTT, the features of different web services can be combined and used to perform a wide variety of internet related tasks automatically.
IFTTT works just like a standard if statement. If a certain condition is triggered, the website performs a specific action. To do this, IFTTT uses programs called Applets to trigger certain events.
To integrate IFTTT with the Raspberry Pi, we need to use webhooks. Webhooks is a service that triggers events via HTTP requests.
We go into more detail about how IFTTT works and HTTP requests in our article How to Control the Raspberry Pi’s GPIO Pins Remotely, so check that out if you’re interested.
Connecting the Components
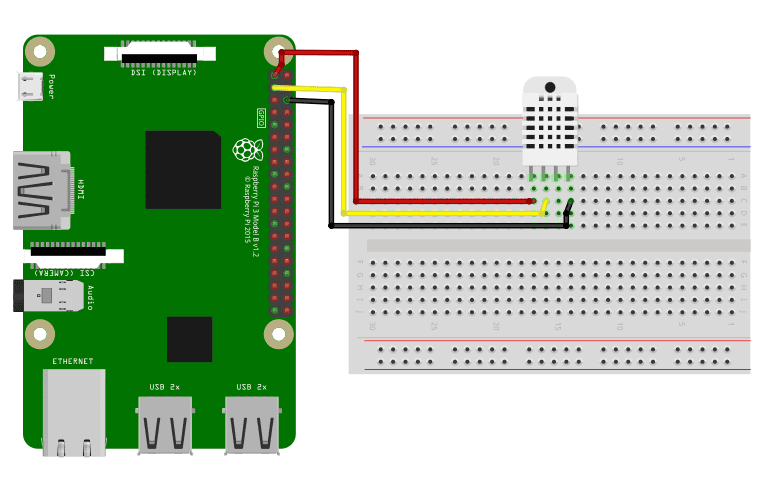
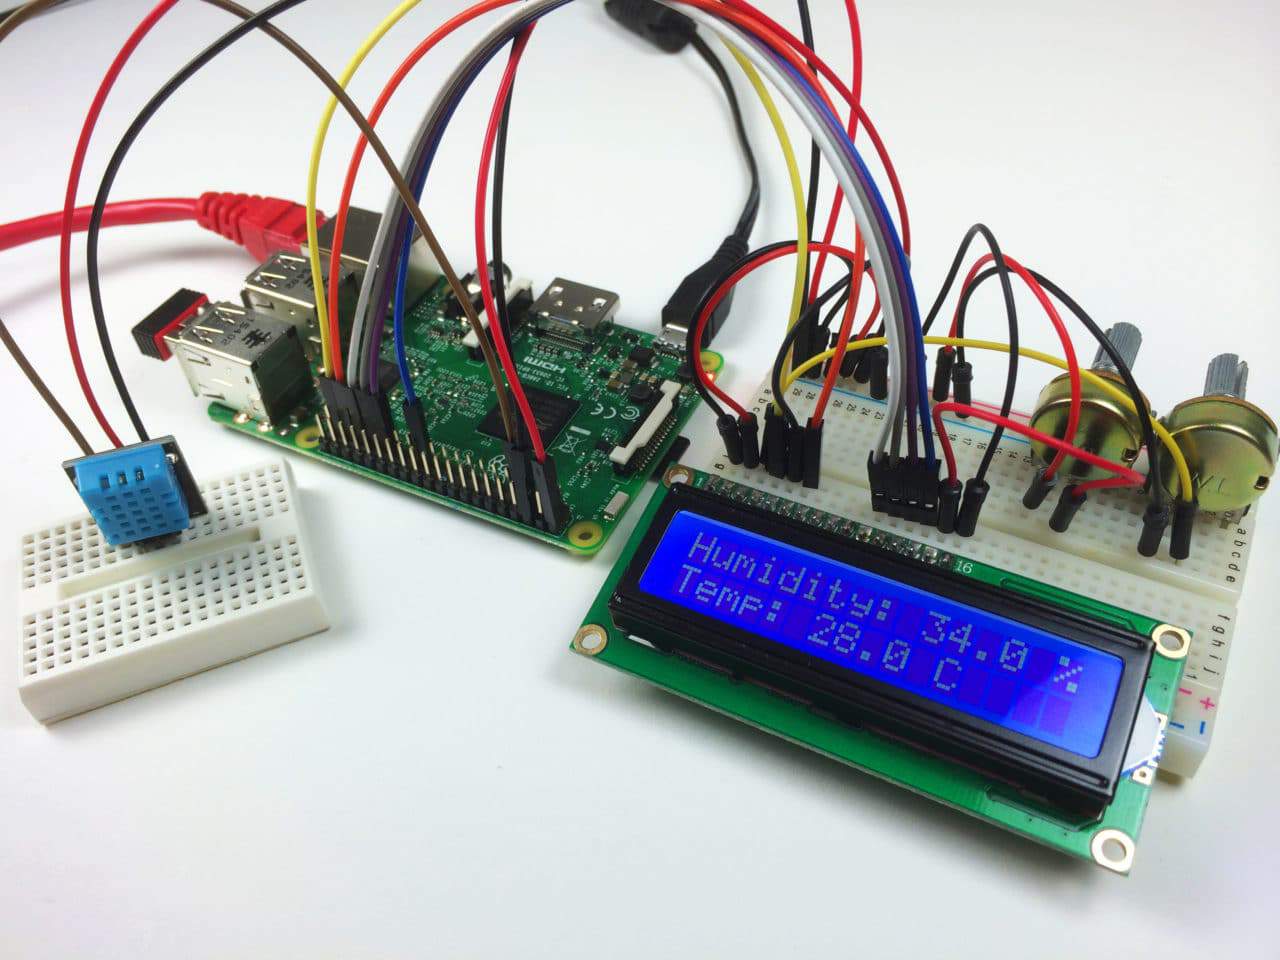
Start by connecting the DHT22 humidity and temperature sensor to the Raspberry Pi.
These are the parts you will need:
Connect the parts as shown in this wiring diagram:
Setting up IFTTT
Go to the IFTTT website and create an account.
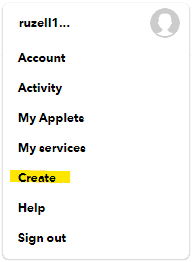
Once logged in, go to the top right toolbar on your homepage and select create. This directs you to a page where you can start creating an Applet.
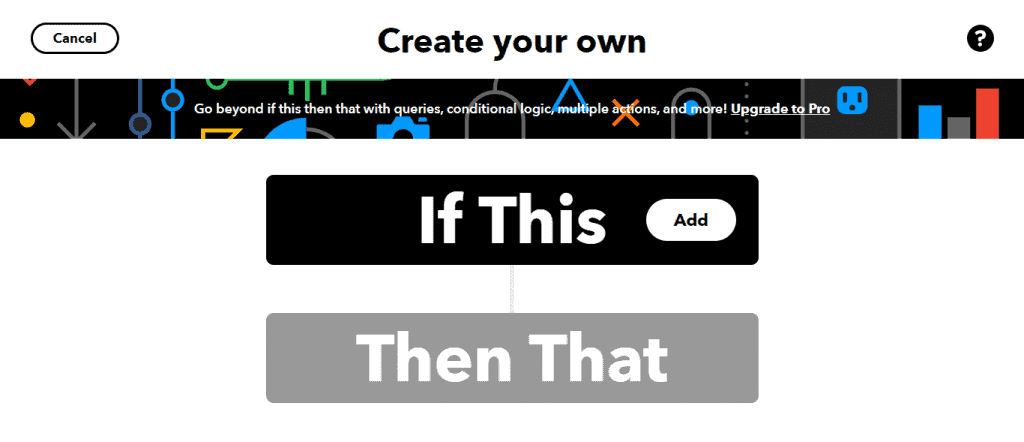
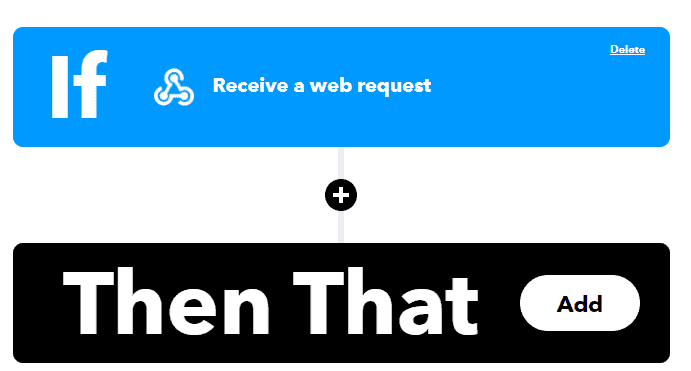
Then, set a condition by clicking Add beside “This”.
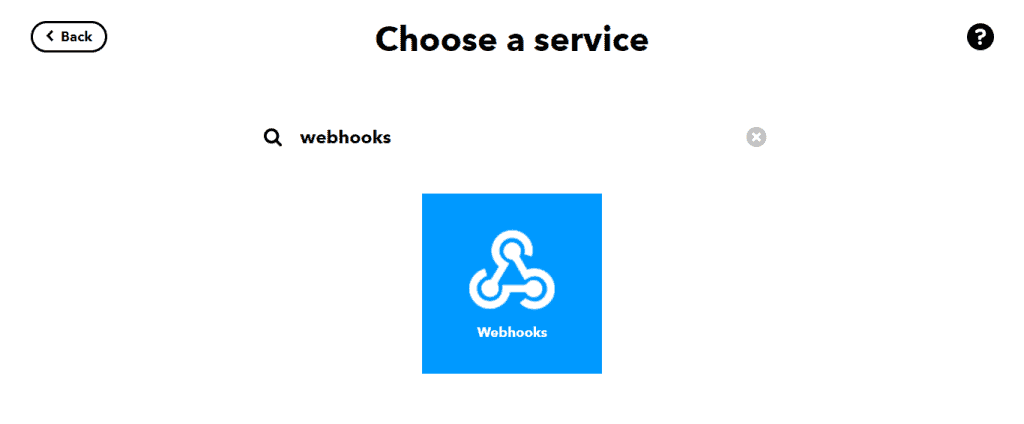
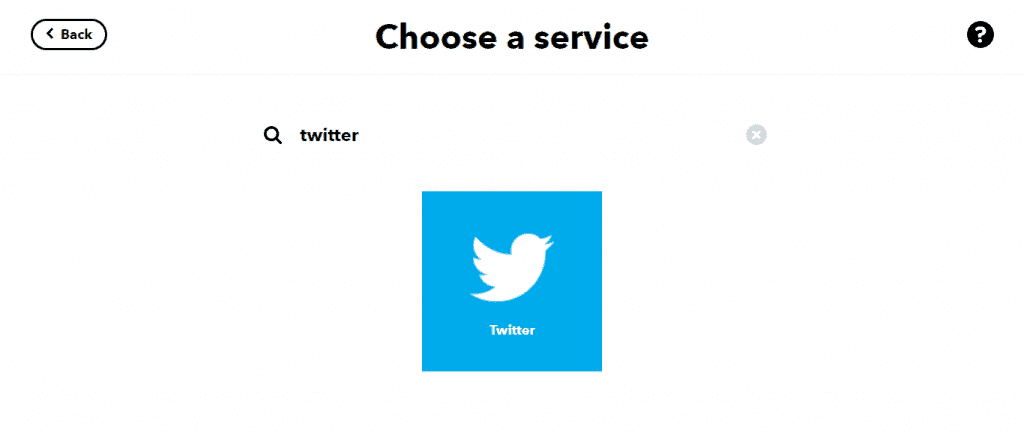
Choose Webhooks as the service.
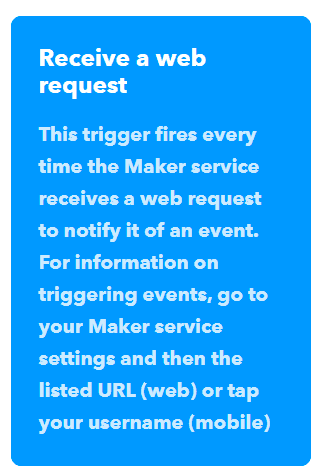
Select Receive a web request. This trigger will give you a URL to which you can send a web request so that it activates and posts the tweet.
Next, name your event. The event name should be short and should describe your applet. This way, you won’t have a hard time using several applets in a single program.
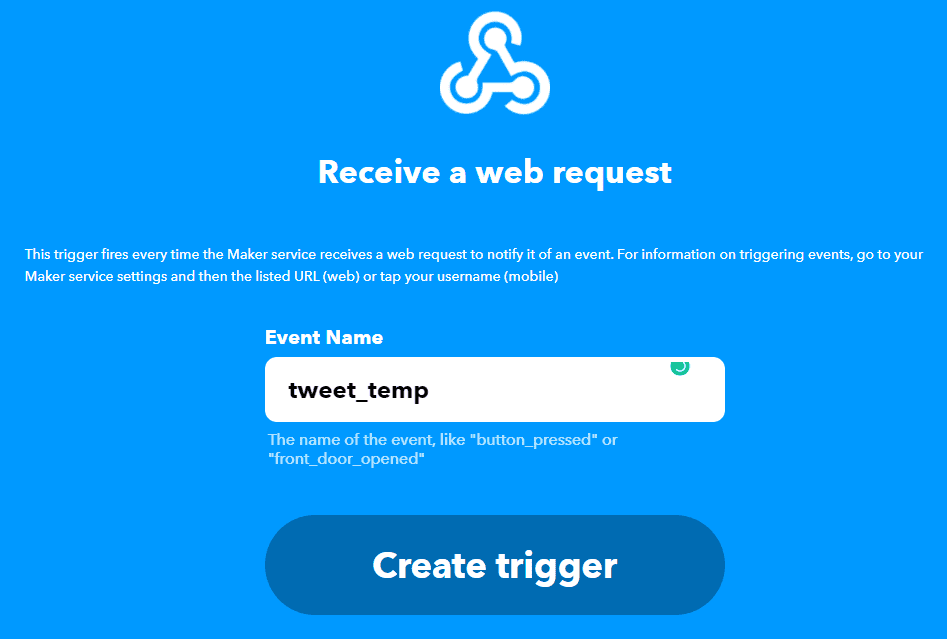
Create the trigger then proceed with the effect. Click Add beside “That”.
Then, choose Twitter as the service you want to trigger.
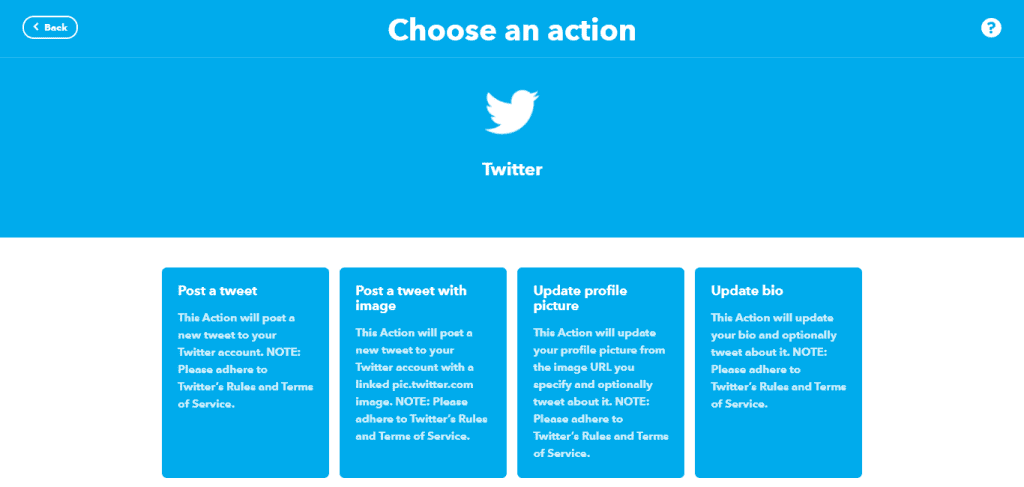
As you can see below, there are several actions you can do using the Twitter service. You can post a tweet, post a tweet with an image, update your profile picture, and even update your bio. For our sample project, we’ll just post a simple text tweet.
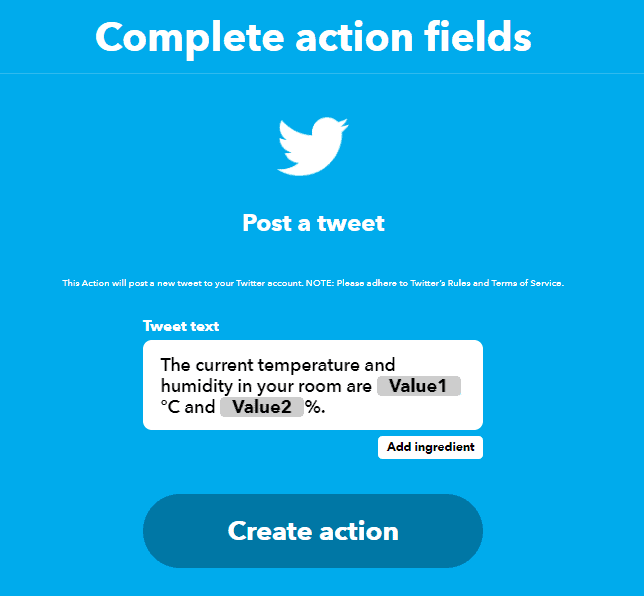
Finally, create the tweet that will be posted on your Twitter feed. You can add elements—variables containing useful data such as the event name, time of occurence, value containers, etc.
After creating the tweet, IFTTT will prompt you to your Twitter account. Log in with your credentials and authorize IFTTT to post on your behalf. Then, finish up by reviewing the applet.
Now, we will get the trigger URL you’ll want to add to your Python program. Go back to the menu bar and click My Services.
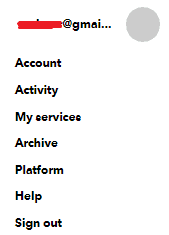
Select Webhooks.

Go to the webhooks home page and click Documentation on the top-right corner. This will open a page that will show you your personal key. The key prevents other people from activating your applet, making sure no one else activates it.

Python Code
Copy the code below to any Python editor or IDE in your Raspberry Pi.
import requests

import Adafruit_DHT

def readDHT(temperature, humidity):
    report = {}
    report["value1"] = temperature
    report["value2"] = humidity
    requests.post("https://maker.ifttt.com/trigger/tweet_temp/with/key/REPLACEWITHYOURKEYHERE", data=report)

h, t = Adafruit_DHT.read_retry(11, 2) # DHT11 on pin 2
readDHT(t,h)
The two libraries we will use are the requests library and the Adafruit_DHT library. The requests library is the go-to library for HTTP handling. The Adafuit_DHT library will be used to read the DHT22 sensor.
The first part of the code contains a function called readDHT(). This function will take the readings from the sensor, convert them into a dictionary format, then send them to the URL we got from IFTTT. Be sure to replace the event name and personal key depending on your IFTTT applet. Also, you can change the sensor and pin with Adafruit_DHT.read_retry() depending on your available DHT sensor and connection.
The code is actually pretty straightforward. Thanks to the power of both libraries we can do everything with less than ten lines of code.
How to Automate the Program with Cron
To send one Twitter post every hour, we need to run the Python program above once every hour. We can use Cron to do this.
Open crontab by entering this in the Raspberry Pi terminal:
sudo crontab -eYou might be asked to choose a text editor. You should see something similar to this if you use Nano:
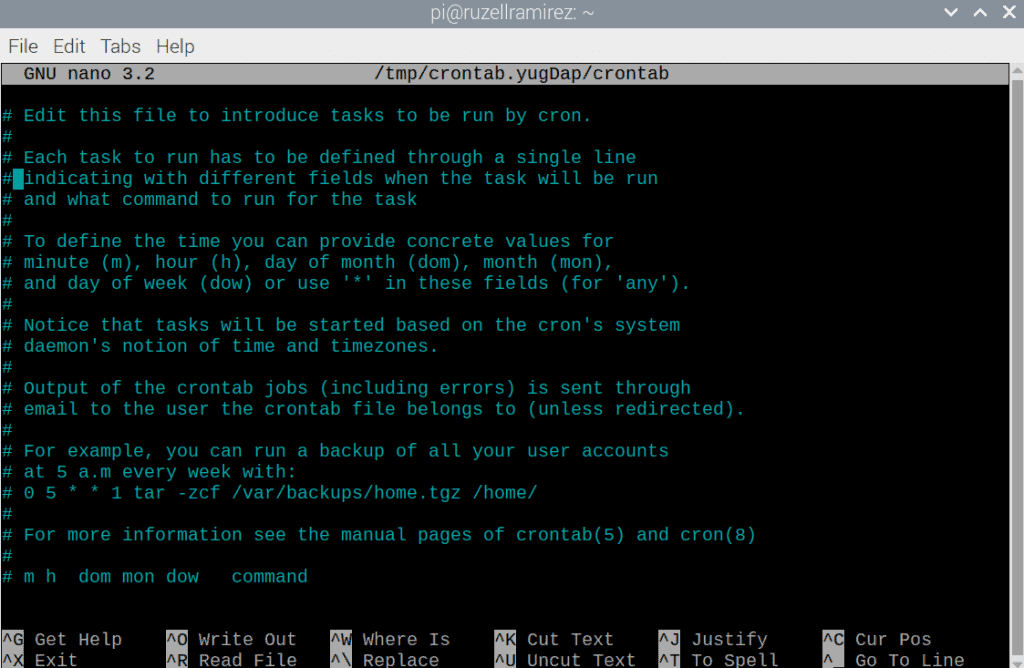
Now we need to add a line of code to the bottom of this file. But first we need to get familiar with the format of a cron table entry.
The layout for a cron entry looks like this:
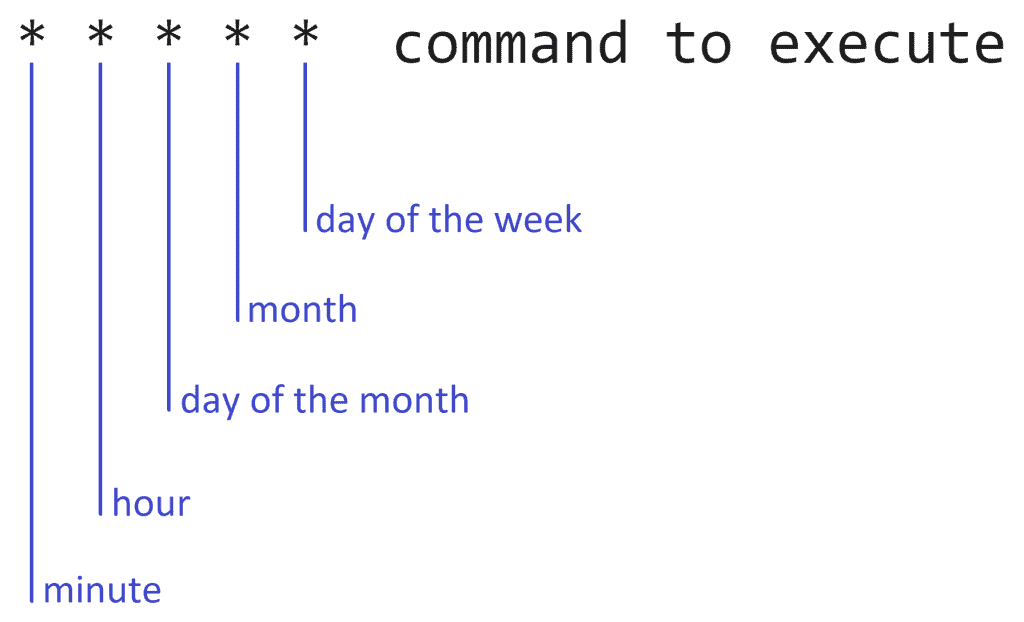
Each position of the cron entry is separated by a space. The * implies no specific value is entered. Use these values at each position:
- Minute: 0 – 59
- Hour: 0 – 23
- Day of the month: 1 – 31
- Month: 1 – 12
- Day of the week: 0 – 7 (0 is Sunday and 7 is Sunday)
- Command to execute: the command that will be triggered when the specified time is reached
Since we want to run the tweet.py program once every hour, we need to add this at the bottom of the file:
* 0 * * * python3 /home/pi/tweet.pyAfter you have added the line above to the cron file, save and exit.
Now check your Twitter account to verify that the program is working. You should see something like this getting posted to Twitter:

In this article we posted the temperature and humidity data from a DHT22 senor to Twitter once every hour using a Raspberry Pi. However, the code we used could easily be modified to post any other type of data.
Thanks for reading and be sure to leave a comment below if you have questions about anything!

Hi,
I tried to view the Adafruit_DHT library you used in this project but I did’nt find the correct one which contains the function Adafruit_DHT.read.retry(). May someone provide a link to the source code of this library? Thanks a lot.
https://github.com/adafruit/Adafruit_Python_DHT
Thanks a lot, Scott. You’re an angel.
Lahcene.
Will the original RPi work for this project?