Soldering is used in electronics, metalwork, jewelry, plumbing, and even in making musical instruments. This process provides permanent connections between two or more elements or metals. Soldering is a fundamental skill needed for building circuits for electronic projects.

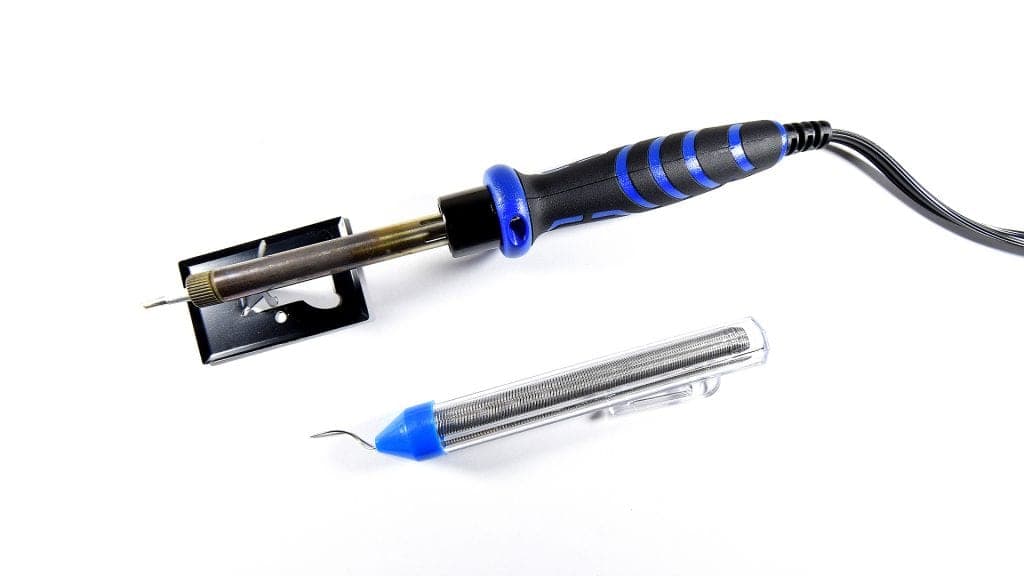
So what does it take to solder? The tool we use is called a soldering iron. This tool is composed of a heated metal tip and an insulated handle. A soldering iron supplies heat to melt the solder. Melting the solder allows it to flow into the joint between the metals. Upon cooling, the solder hardens and securely joins the metals with an electrically conductive connection.
Soldering Irons
Wattage is one of the most important factors to consider when choosing a soldering iron. For small electronics projects, the ideal wattage of a soldering iron is around 40 to 60 watts. However, keep in mind that wattage does not control how hot the soldering iron gets. Wattage controls how fast the iron heats up or how fast the iron regains its normal temperature after heating a solder joint.
Between the range of 20-60W, a soldering iron with 50W is the most common. While 40-60W provides sufficient heat, 50W would be the best choice. On the other hand, soldering irons with 20-30W can lose heat faster which then results to bad solder joints.
Different Types of Solder
Lead-based Solder
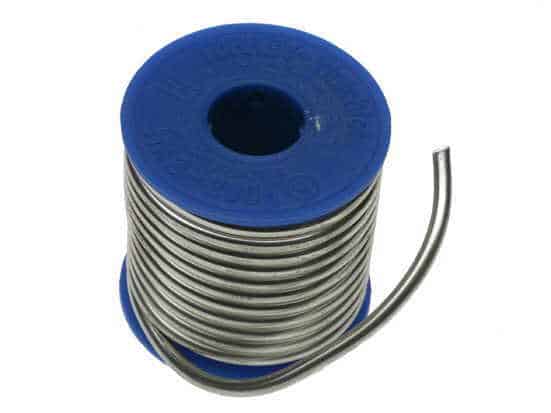
Lead alloy solders are usually made from an alloy of tin and lead. The most common mixture is 60/40 (tin/lead) with a melting point of around 180-190°C. The combination of tin and tin and lead results in an alloy with a low melting temperature. This was commonly used in the past but lead-free solder is dominant in the market nowadays due to the damaging effects to the health of lead. So remember to wash your hands thoroughly after handling lead solder. This is harmful if ingested, especially for children.
Lead-free Solder
From the word itself, this type of solder is without lead. Lead-free solder started to be commercially available when manufacturers started to move away from lead-based solders because of the health hazards it poses to people. One of the most popular lead-free alloys is a 96.5/3/0.5 alloy with 96.5 percent tin, 3 percent silver, and 0.5 percent copper. However, it is harder to work with this solder as it has higher melting point than that of lead solder. Nonetheless, they are safer and more environment-friendly. Lead-free alloys are typically more expensive than lead alloy solders.
Silver Alloy Solder
Silver alloy solder is typically used by jewelers and machinists. It requires a higher temperature source than lead based solders. However, it is much stronger than lead solder. Silver alloy solder can be either lead-free or combined with lead. To prevent an effect called silver migration, silver was originally added to lead solder. Lead alloy solders with silver, such as 62/36/2 solder with 62 percent tin, 36 percent lead, and 2 percent silver are expensive, and the benefits aren’t always worth the extra cost.
Tips for Good Soldering Technique
There are many different ways to solder an electrical connection. And as always, practice makes perfect. Below are some tips for a good soldering technique:
- Have a soldering iron that suits you. Soldering stations make soldering easy and straightforward..
- The soldering iron should be hot.
- Hold the soldering iron against the components to be joined until they are both at the same temperature.
- Add solder to the joint. Use enough solder to fill the joint.
- Do not move the parts until the solder has cooled.
- The ideal finish of a good solder joint is a concave fillet.
- A good solder joint should be smooth, bright, shiny and clean.
- Don’t settle for a poor joint – if in doubt, heat the joint with the soldering iron until the solder melts and try to get a better connection.
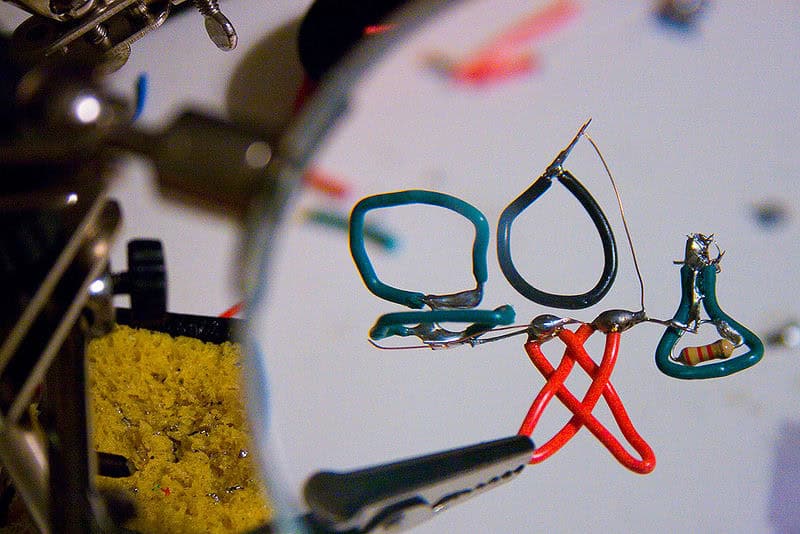
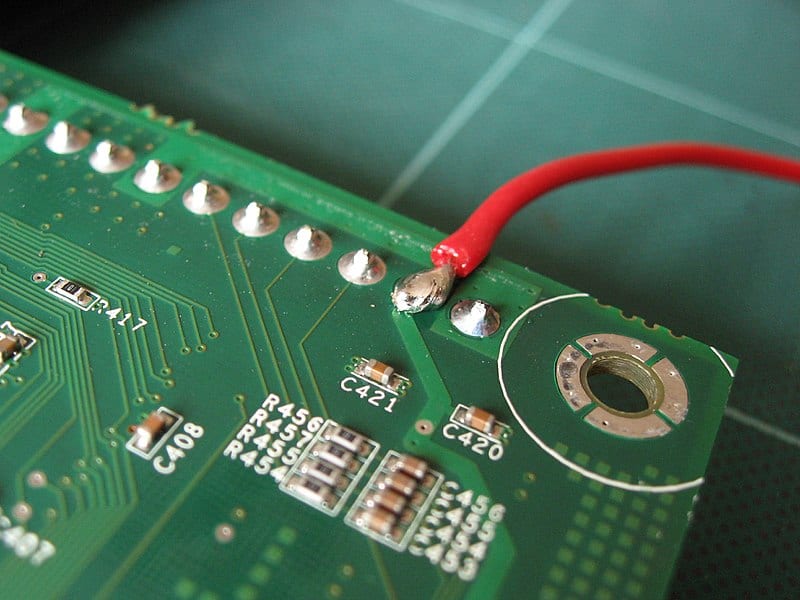
This is what a good solder joint looks like:
This is what a bad solder joint looks like:
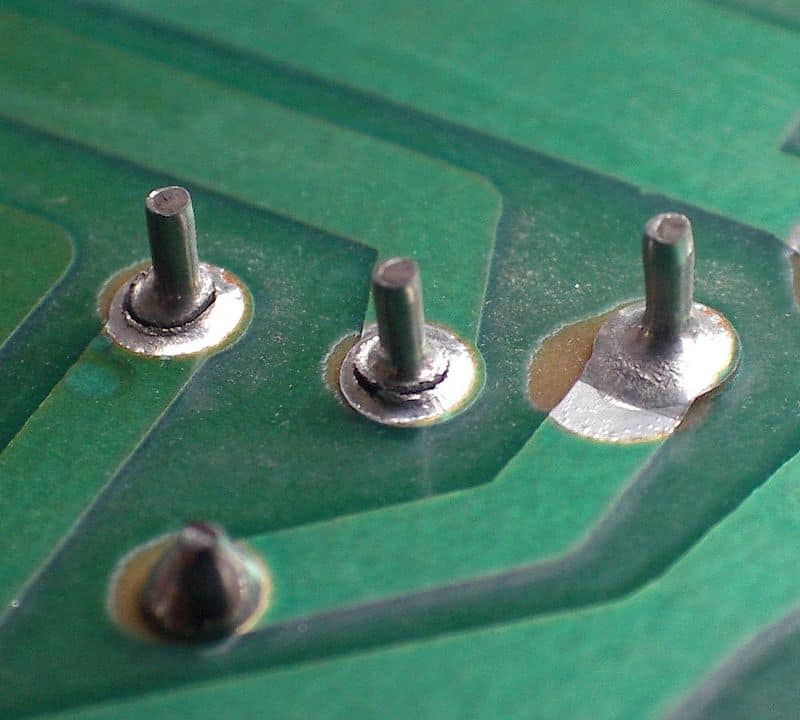
Cold Solder Joint
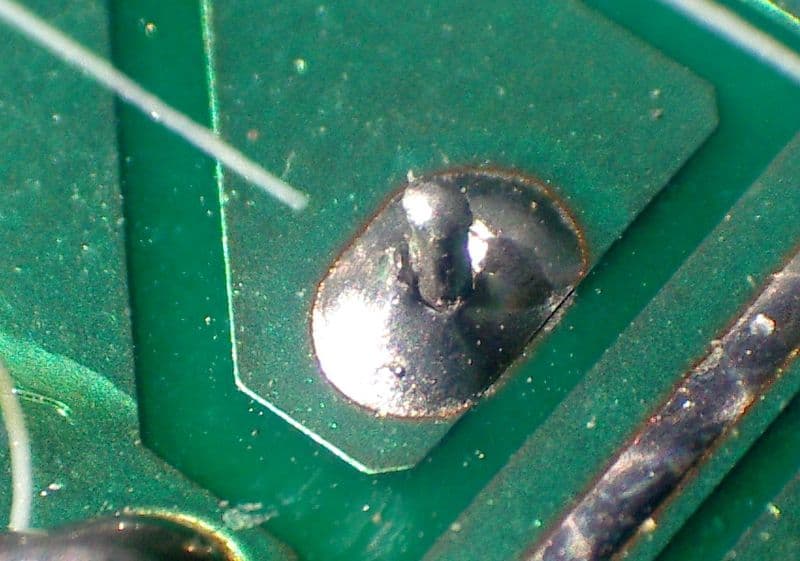
A cold solder joint occurs when the solder fails to melt completely, often characterized by a rough and lumpy surface. The solder bond will be poor and unreliable, and cracks may develop over time. To prevent cold solder joints, make sure the soldering iron is hot before starting to solder.
When fixing a cold solder joint, you can re-heat the solder joint with a pre-heated soldering iron until the solder flows. Some cold solder joints are caused by applying too much solder. You can easily take out the excess solder using the tip of the soldering iron. But remember the tips for good soldering technique to avoid this kind of problem; do not rush over when soldering.
Other Reminders
- It is important to have clean copper pads or solder pads. If your copper pad has a little damage, remove and tidy it up. You can use a sharp knife to do this. There will then be an exposed track, so you will have to stick copper tape over the exposed track. Next, you can solder the copper tape joints and pierce to make a hole. You can now use the solder pad and solder in your component.
- Clean solder pads means good connections.
- Be sure that you have clean wirings so you can easily track connections in case of problems. Plus, no one wants incomprehensible wirings.
How to Fix Excess Solder Between Pads
Sometimes you will find unnecessary solder between pads. This excess solder can be stressful for it can form unintended connections between pads. One solution for this would be dragging the tip of the hot soldering iron between the solder joints. Another solution would be using a solder sucker which is much easier.
De-soldering
Desoldering is the process of removing a solder. There can be a lot of reasons for the need to desolder but the most common is for troubleshooting. Thus, it is also important to know how to remove a solder.
Removing solder can be a challenge. Excess solder creates short circuits or structural problems. You can heat the solder until it melts, and then push your components through. However, if the old solder poses problems, then you have no choice but to remove it. Here are ways to de-solder your components:
- Use a pre-heated soldering iron to remove solder.
- Grinding the solder away with a rotary tool can also be an option. However, it can take some time.
- Use commercially available solder removers. Currently, this is the most popular method to remove solder because they are really easy to use.
- Drill out the solder joint with a drill. Be sure to use small drill bits or you could damage the circuit board.
Removing Solder from the Soldering Iron Tip
A material that can be easily found in your home for this purpose is a wet sponge. Wipe the soldering iron tip on a damp sponge. This can help remove oxides easier and allows wastes to fall away. You can also use a dry cleaner or otherwise called a brass wool. A brass wool consists of soft metal shavings that are coated with flux. You can remove solder from the soldering tip by thrusting the iron into the shavings for a few times. Always remember to clean the tip of your soldering iron because regular cleaning means easier soldering and longer soldering iron tip life.
Soldering Flux
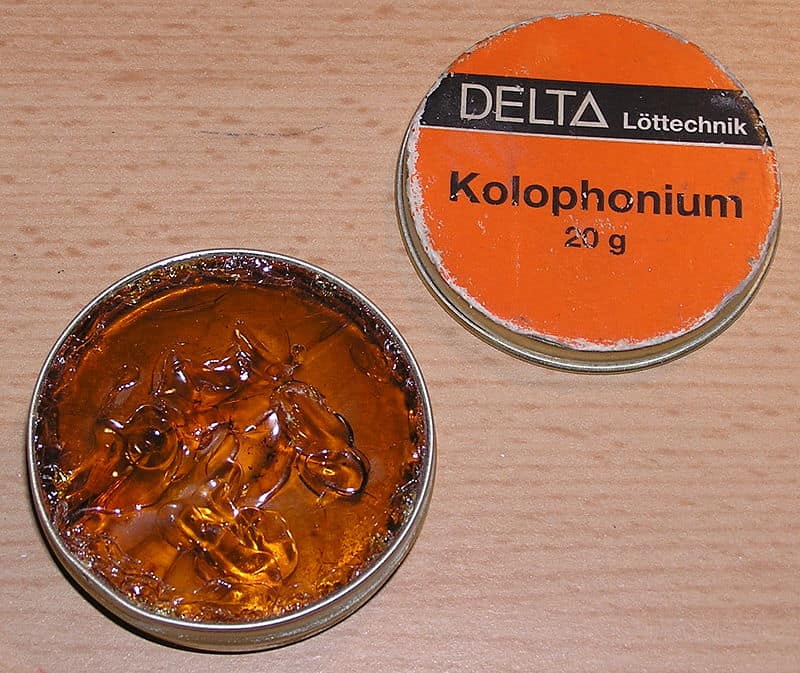
Soldering flux is a chemical cleaning agent, flowing agent, or purifying agent. Fluxes can have more than one function. One function is for metal joining. Rosin used as flux is commonly used in soldering. The pasty consistency allows one to print solder paste onto the pads of a circuit board. The tackiness of the paste holds the components in place. The amount of flux in solder pastes and solder wires should just be enough to form acceptable solder joints for electronic components. Flux helps the solder to melt evenly, preventing heavy oxidation during heating. Flux also aids the ability of the molten solder to “wet” properly.
Flux allows the “reflow” on solder joints to correct an issue with the solder joint. Flux prevents oxidation and facilitates wetting of the solder as it reaches its molten state. Reheating solder without flux will likely lead to a defective solder joint. These undesirable results are due to the lack of a necessary condition called “wetting.”
How to Tin a New Soldering Iron Tip
- Wear eye protection.
- Clean the tip using a wet sponge.
- Coat the tip with a thin, even layer of solder.
- Apply a small amount of fresh solder to the iron tip. Melt a small dot of solder over the tip in a thin coat. If applied evenly, this will keep the iron’s heat flow in check when it is next used in addition to preventing rust accumulation.
- Wash your hands with soap and water after tinning.
- Keep the solder in place with an alloy cleaner.
- After turning the solder iron off and letting it cool, apply a small layer of alloy cleaner over the tip with a microfiber cloth. This will prevent dust build-up over the solder and further diminish the chances of oxidization
Tinning greatly helps in achieving a good joint and should be done whenever possible. A continuously tinned surface must be maintained on the soldering iron tip’s working surface to ensure proper heat transfer and to avoid transfer of impurities to the solder connection. Reapplying a very small amount of solder improves thermal contact of the soldering iron and solder joint for the solder to flow more easily.
Safety Precautions When Using Lead Solder
Lead is a highly toxic metal, therefore it poses health hazards. It is important to wash your hands thoroughly after handling lead solder. Be sure to keep this out of reach of children to avoid accidental ingestion of lead residue. If inhaled, lead can result in occupational asthma or worsen existing asthmatic conditions. It can also cause eye and upper respiratory tract irritation. So it is best to use eye and mouth protection when working with lead-based solder.
Safety Precautions When Working with Heat
Soldering involves melting and melting requires the use of heat. You must be careful in handling your soldering irons. Be sure that you are only touching the insulated handle to avoid contact with heat which could leave you with burns or bruises. Also, be mindful of where to put your pre-heated soldering iron. If you accidentally put it on top of a paper, it can possibly cause a fire. It is better to have a soldering stand for this matter. Or if you don’t have one, be mindful of where you are putting your soldering iron. Work on a fire‐proof or non-flammable surface that is not easily ignited. Last and most importantly, never solder on a live circuit (one that is energized).
Thanks for reading, and leave a comment below if you have questions about anything!