Functions are the code in your program that get things done. They contain the code to do things like getting data from a sensor, setting the voltage state of a pin, or displaying text on an LCD display. In this article, we will learn what functions are and how to use them in your Arduino projects.

Watch the video for this tutorial here:
What is a Function?
All functions have an input and an output:
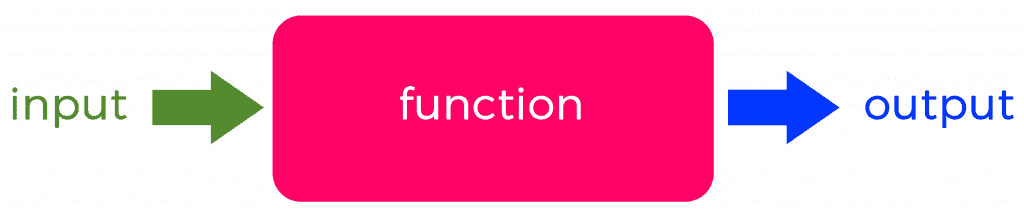
Inputs are the information you give the function. The function performs an action on the input and outputs a result. For example, consider the function x = y2 + 1:

If we input y = 3, the function does the math and outputs x = 10:
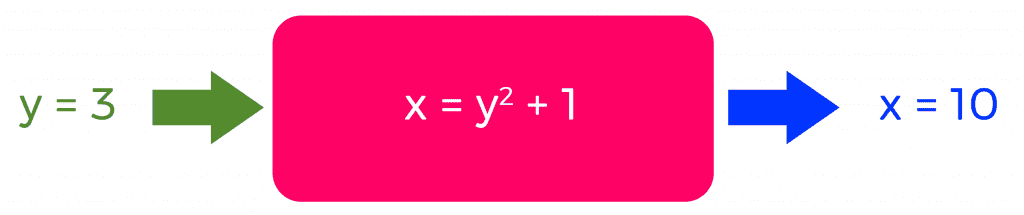
In programming, we say that this function returns a value of 10.
How to Use Functions in an Arduino Program
Every function has a return type. The return type is the data type of the value the function returns. So if the function returns an integer, the return type of the function is called int:
int functionName() {
}
For functions that don’t return any values the return type is called void:
void functionName(){
}
The function’s code goes inside the curly brackets. You can use any Arduino code inside of a function:
void functionName(){
// function code goes here
}
Using a function in a program is known as a function call, or calling a function. To call a function, write the function name, open and closed parentheses, and a semicolon like this:
void loop(){
functionName();
}
Here we are calling the functionName() function in the loop section, but functions can also be called in the setup section.
Providing an input to a function is called “passing it an argument”. When we pass arguments to a function, we’re giving it the input it needs to perform its task. For example, the digitalWrite() function takes two pieces of information – the pin number and the pin mode:
digitalWrite(pin, mode);pin and mode are called parameters. Parameters are the types of data the function takes as an input. The arguments are the actual values you provide. For example, say we are using the digitalWrite() function to set pin 10 high:
digitalWrite(10, HIGH);pin and mode are the parameters, but 10 and HIGH are the arguments.
Not every function takes parameters. Some functions like the millis() function will return a value without any arguments.
Example Project
LEDs are a good way to demonstrate this topic since they can be replaced by any other device that can be controlled by the 5V signal from an Arduino. So let’s make the functionName() function blink a green LED and a blue LED.
These are the parts you will need to build this project:
- Arduino Uno
- Jumper wires
- Breadboard
- SN74HC14N Schmitt trigger
- Tactile push button
- 10K Ohm resistor
- 1 uF capacitor
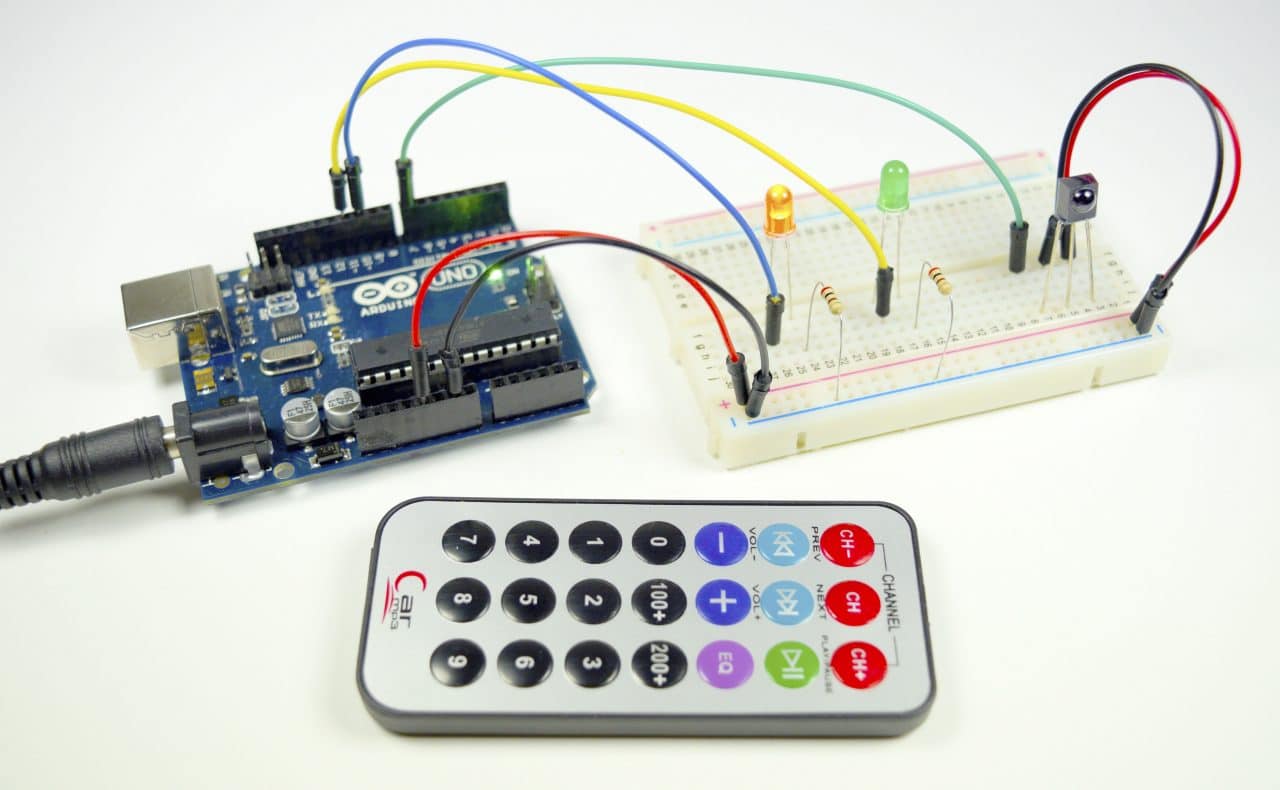
Here’s how to connect the circuit:
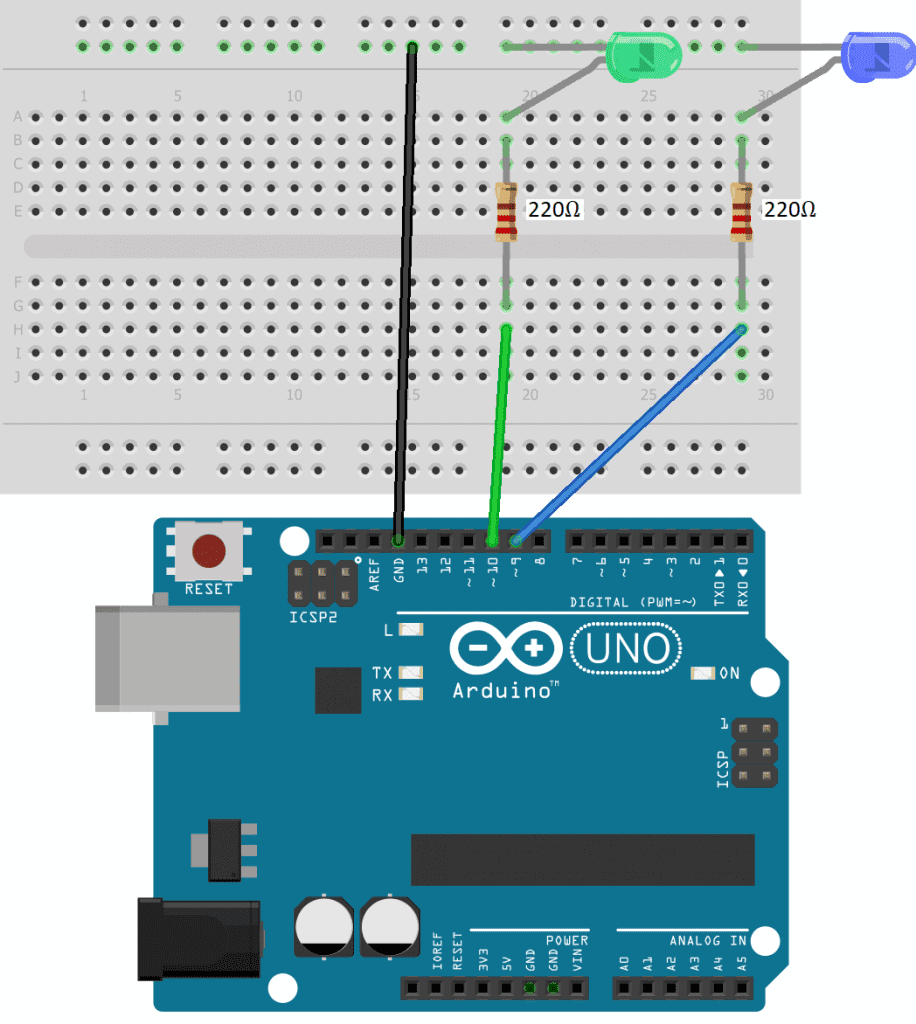
Once the circuit is connected, upload this code to the Arduino:
void setup() {
  pinMode(9, OUTPUT);
  pinMode(10, OUTPUT);
}

void loop() {
  blinkLED(9, 500);
  blinkLED(10, 1000);
}

void blinkLED(int pin, int duration) {
  digitalWrite(pin, HIGH);
  delay(duration);
  digitalWrite(pin, LOW);
  delay(duration);
}
Explanation of the Code
In the setup() section, we set the pin mode of pins 9 and 10 as outputs.
In the loop() section we call the blinkLED() function twice – once for each LED pin. Each time the function is called, the Arduino jumps down to where the blinkLED() function is defined with void blinkLED(int pin, int duration).
Two parameters are defined in the blinkLED() function – an int variable called pin and an int variable called duration. The pin variable will store the Arduino pin number entered as the first argument of the blinkLED() function. The duration variable will store the length of the LED blinks in milliseconds. This value is set in the second argument of the blinkLED() function.
When the first blinkLED() function is called in the loop() section, the number 9 will be stored in the pin variable and the number 500 will be stored in the duration variable.
In the definition of the blinkLED() function, we digital write the pin variable high, then delay by the length of time stored in the duration variable. Then we digital write the pin variable low and delay again for the time stored in the duration variable. This will make the LED connected to pin 9 blink on and off every 500 milliseconds.
Now that all of the code inside the blinkLED() function has been executed, the Arduino exits the function and returns to the next line of code in the loop() section.
The next line of code in the loop() section is the second blinkLED() function. So now 10 is stored in the pin variable, and 1,000 milliseconds is stored in the duration variable. This makes the LED connected to pin 10 blink on and off every 1,000 milliseconds.
Hope this article gives you some insight on how to use functions on the Arduino. If you have questions about anything, be sure to leave a comment below and we will try to answer it!


how do i connect the atmega 328 device into a project, without having to use the development board in each and every project