So you were browsing CircuitBasics.com, and you stumbled upon our article A History of Raspberry Pi Boards. After reading the article, you decided to try your hands on the Raspberry Pi. You rushed out to get yourself the latest Raspberry Pi 4 Model B. After coming back home with your brand new ARM-based board, you ask yourself, “Now what?”. This article will help you get started with your Raspberry Pi. We will discuss the hardware needed, and we will also familiarize ourselves with the GPIO pins.

Hardware Set-Up
To get started setting up a Raspberry Pi, we need to have the necessary hardware. We will need a Raspberry Pi board, an SD card, a power supply, an HDMI display, a USB keyboard, and a mouse. Also, but optional, are a case and ethernet cable.
Raspberry Pi Board

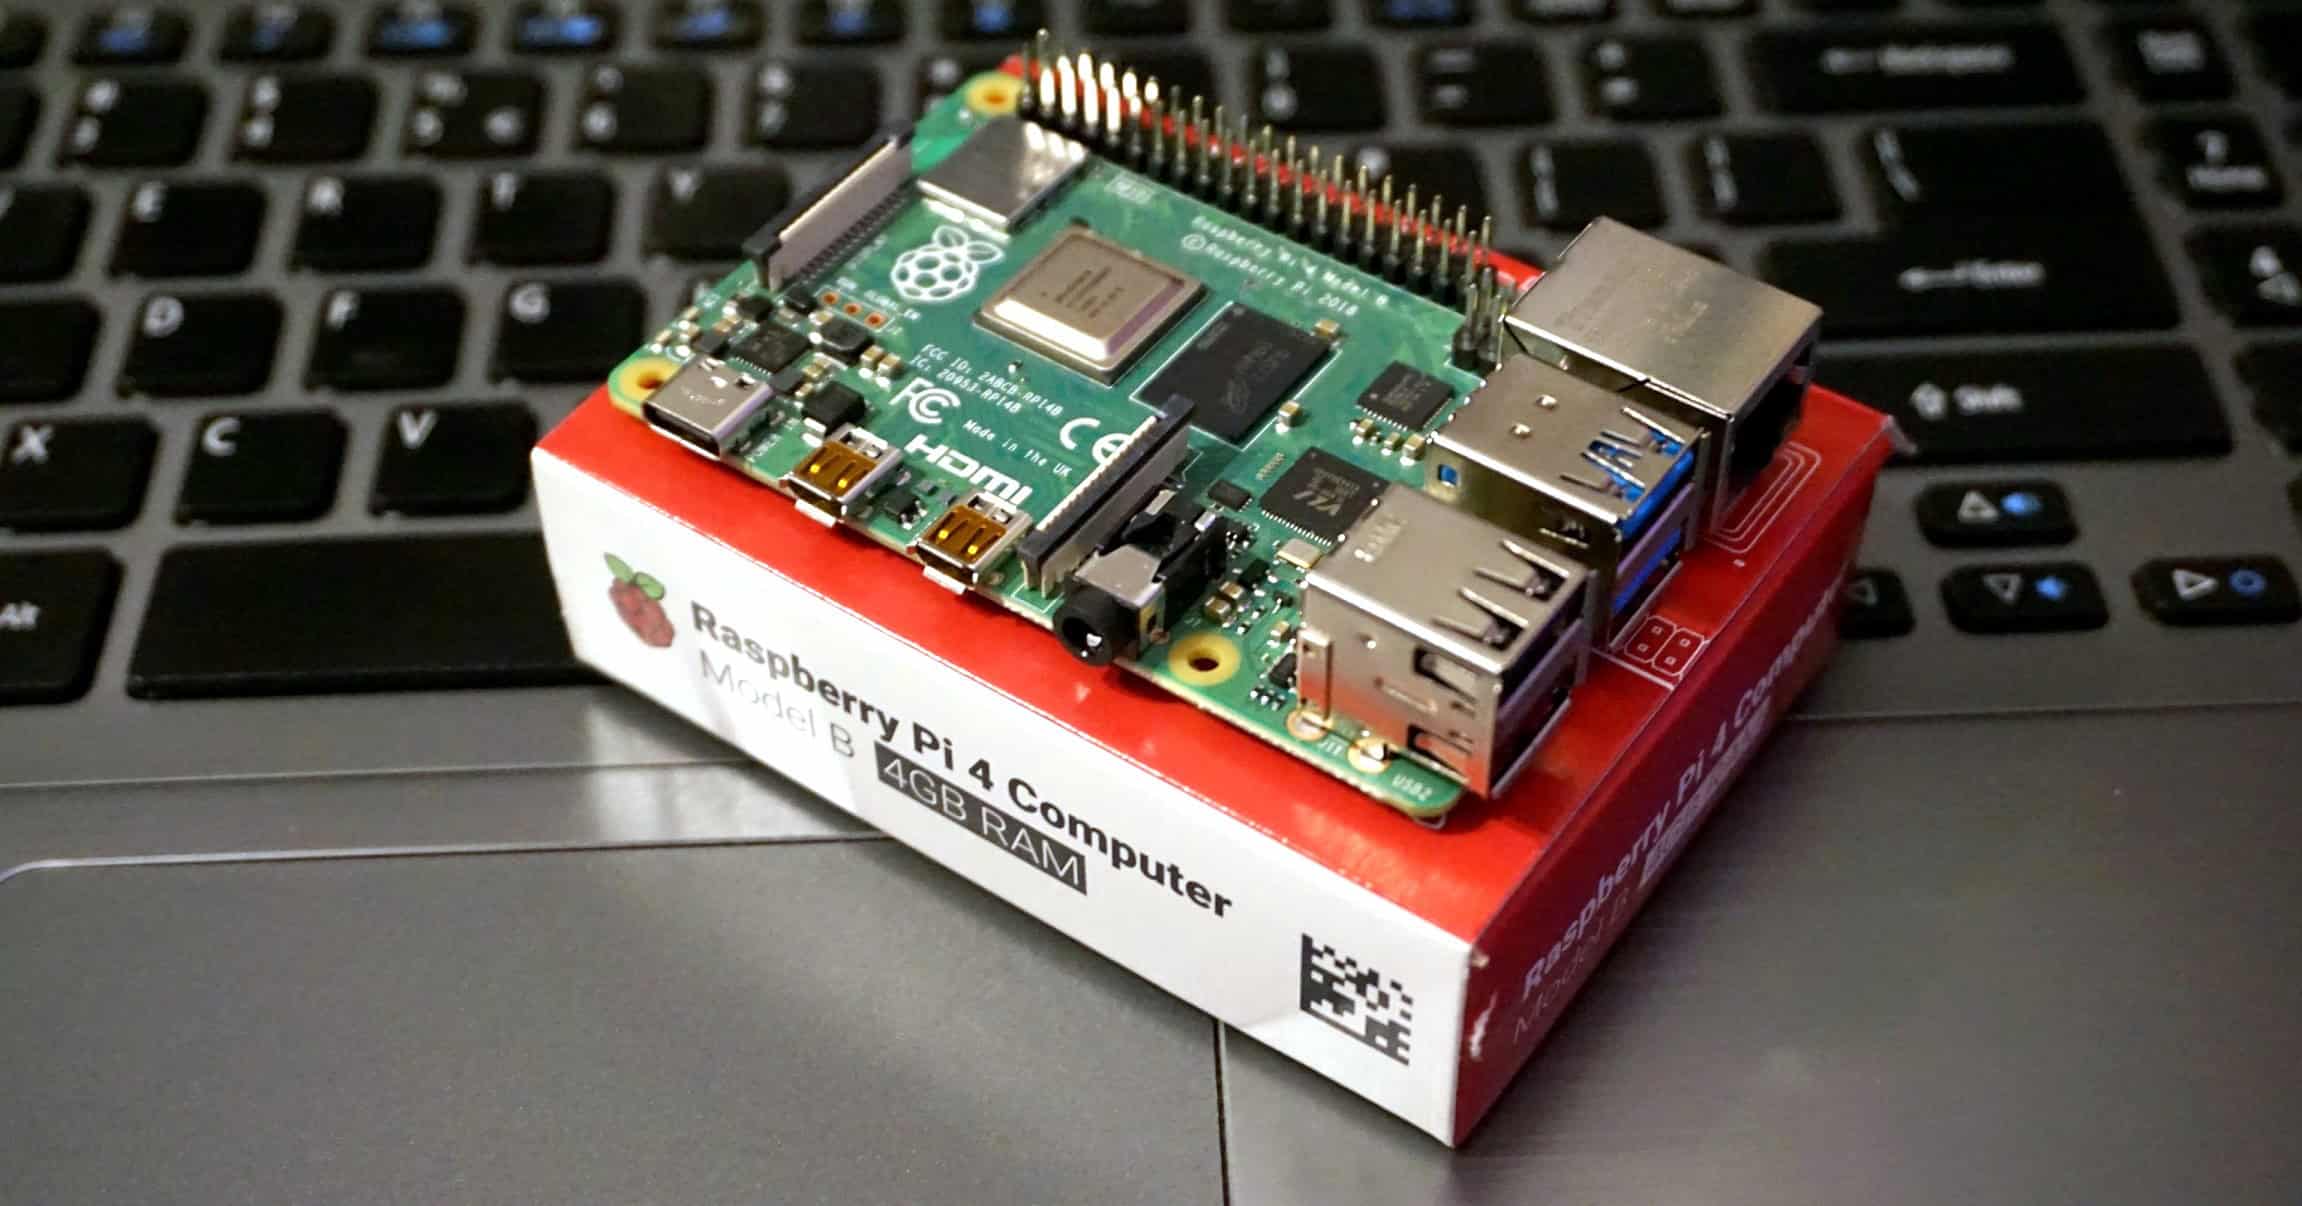
The first thing we need is, of course, a Raspberry Pi. There are multiple models available, and it all depends on your project’s needs. Our previous article, A History of Raspberry Pi Boards, explains the different models available today. For this article, we will use the latest board, which is a Raspberry Pi 4 Model B.
micro-SD Card
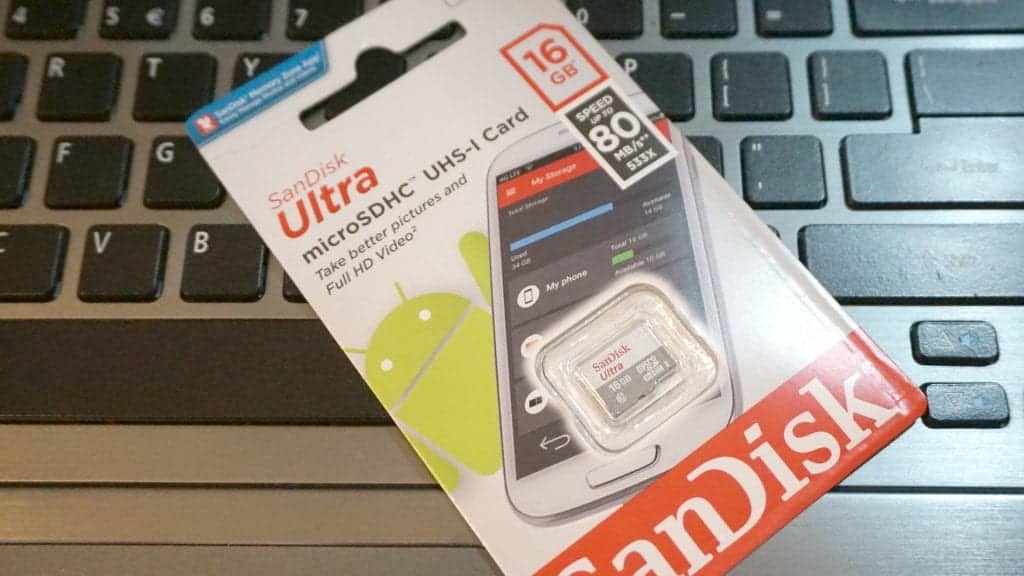
The next component we need is a microSD card which we will use to store an Operating System (OS).
Capacity
microSD card capacity is categorized into five types.
| Standard Capacity | SDSC | up to 2GB capacity |
| High Capacity | SDHC | up to 32GB capacity |
| eXtended Capacity | SDXC | up to 2TB capacity |
| Ultra Capacity | SDUC | up to 128TB capacity |
Speed Class
microSD cards are also categorized based on their speed class. This class refers to the read/write speed at which the card can successfully make. It is important because this affects how fast the Pi runs. The quicker the Pi can read/write on the microSD card, the faster it can boot and run processes.
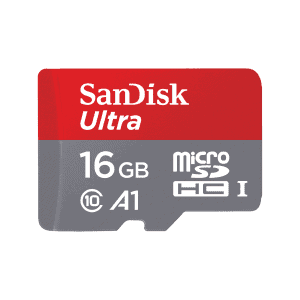
The class is marked on the microSD card via a number written inside a letter “C”. Recently, there are additional notations to mark the cards’ intended use. For example, “V” for video and “A” for applications. The Raspberry Pi developers recommend Class A1 cards. A1 means the card supports at least 1500 read operations and 500 write operations per second.
Power Supply
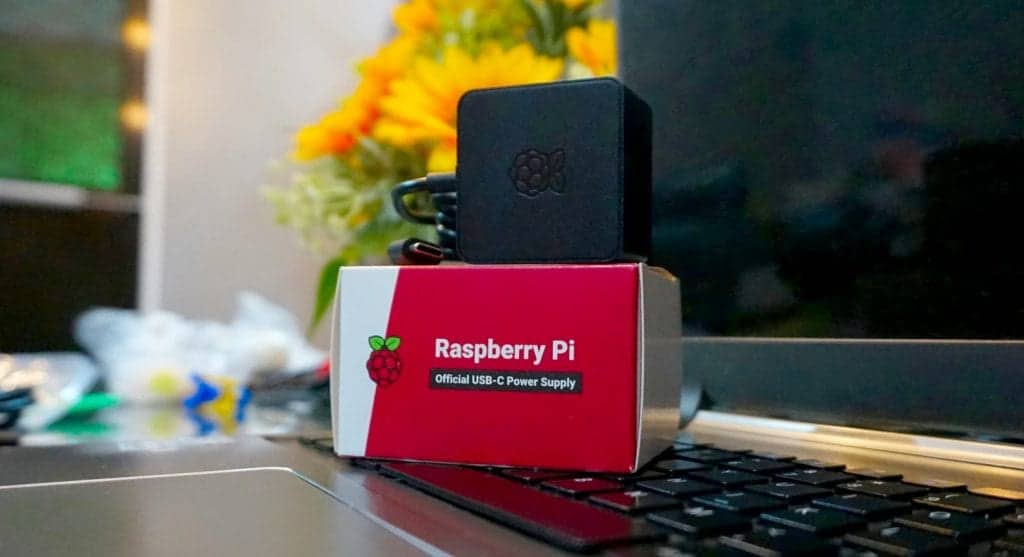
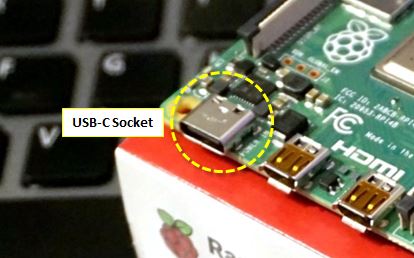
To energize our Raspberry Pi 4 Model B, we need a power source that can give 5 Volts DC and a minimum current of 3 Amperes, as mentioned in the official Raspberry Pi website. We can connect the Raspberry Pi to the power supply in one of two ways. One way is from the USB-C socket, and the other way is from the dedicated pins on the GPIO (by using one 5V pin and one ground pin). Use only one connection when powering the board.
Display, Keyboard, and Mouse
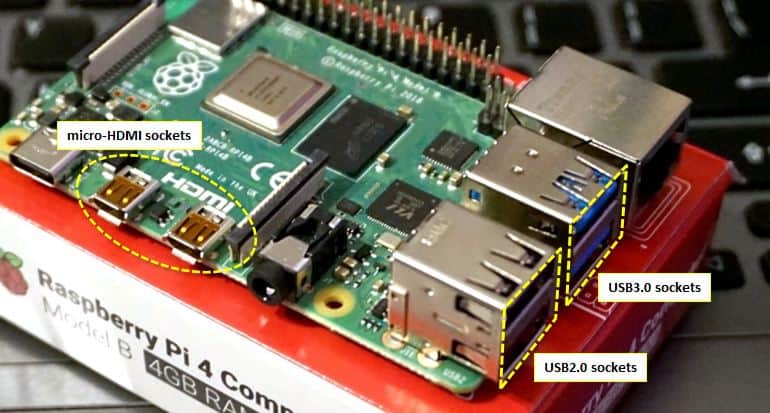
Like in any other computer, we need to connect a display, keyboard, and mouse to our Raspberry Pi. The latest Raspberry Pi board can accommodate two 4K displays (via the two micro-HDMI ports) and four USB peripherals (via the two USB2.0 ports and two USB3.0 ports).
Headless Set-up
There is also another way to use our Pi without connecting a display, keyboard, and mouse called headless. A headless setup means the Raspberry Pi board is not connected physically to a screen, keyboard, and mouse but is connected to a network. To work with the board, we connect to it remotely (e.g., via SSH).
Using a headless setup is useful for projects that do not require the Raspberry Pi to be always connected to a display or just merely for the reason that you do not have an extra set of keyboard, mouse, and display lying around. For example a drone that has an embedded Pi board, or Raspberry Pi web servers.
Optional Hardware #1: Case
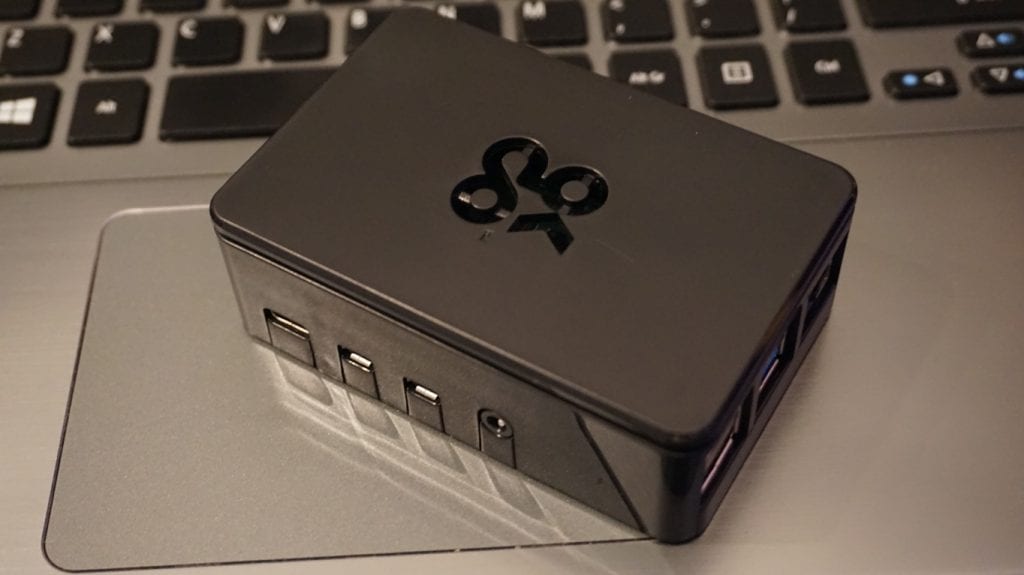
Using a Raspberry Pi case can be an option or a necessity. Some projects that need protection would require a case. An example is a Raspberry Pi flying drone. And there are also situations wherein having a case is only a preference. There are lots of nice Raspberry Pi cases available to purchase, but you could also build one using a 3D printer.
Optional Hardware #2: Ethernet Cable
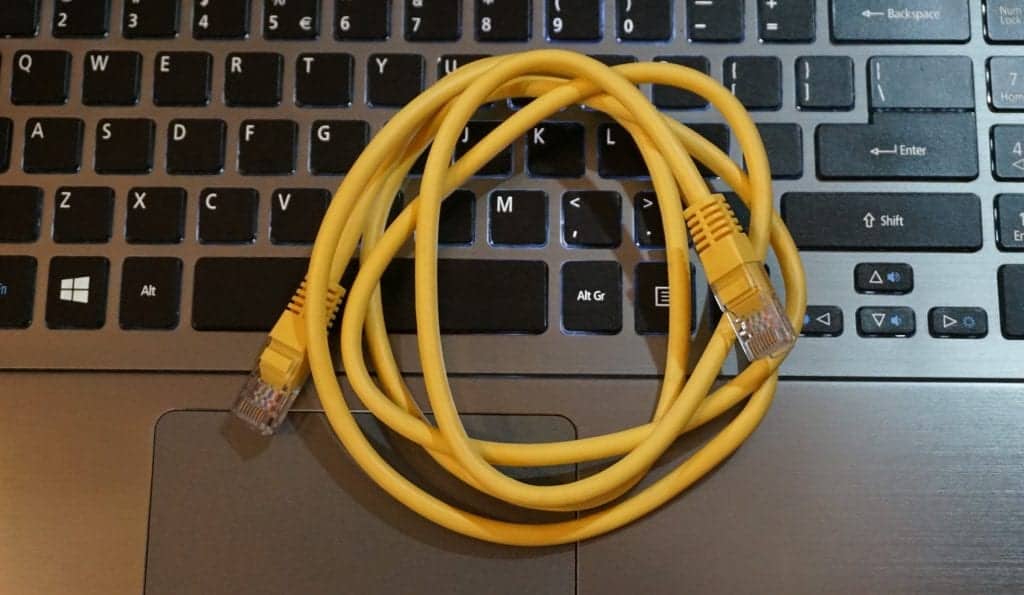
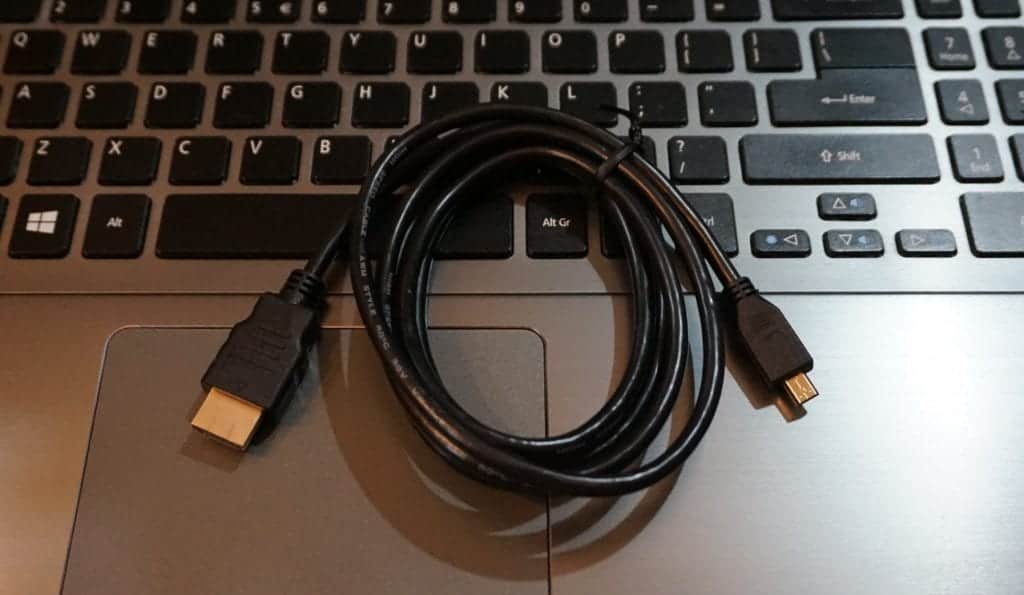
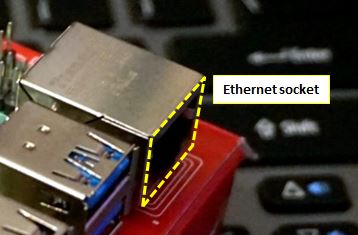
Raspberry Pi can be connected to a network via wired-LAN or wireless-LAN. A wired-LAN connection is more reliable because it doesn’t suffer from weak signals that plague wireless-LANs. But wireless-LAN is more convenient if your Raspberry Pi is not near an ethernet socket or is always mobile like in the case of drones. If you choose to go with the wired-LAN, you will need an ethernet cable to connect via the ethernet socket on the Raspberry Pi.
Raspberry Pi GPIO Pins
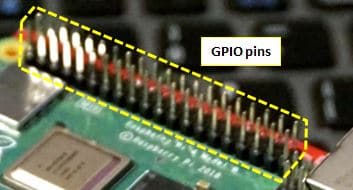
The Raspberry Pi’s GPIO (General Purpose Input/Output) consists of 40 pins arranged in two rows. This is a feature that separates the Raspberry Pi from a regular computer. These pins are very useful in prototyping and testing projects by providing several types of interfaces that can be used to connect external components. Each pin has one or more functions (Alt0~Alt5) that can be set programmatically. The table below is a pinout reference for the Raspberry Pi 4 Model B and describes what each pin can do.
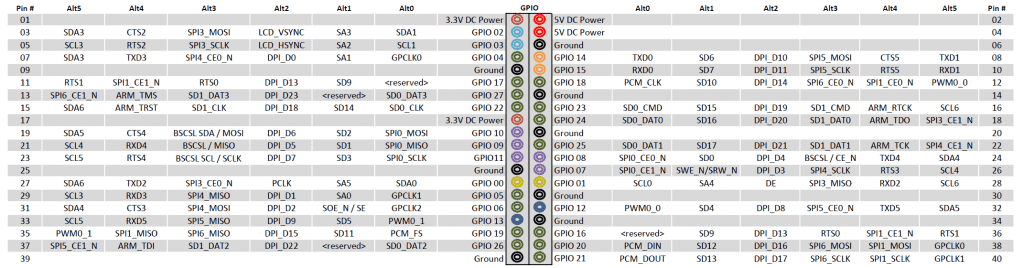
The Raspberry Pi 4 Model B received a significant upgrade in the GPIO department compared to its predecessors. The latest model now has four additional sets of each UART, SPI and I2C interfaces.
The latest Raspberry Pi 4 Model B offers beginners and veterans alike a cheap computer that can do dual-displays out of the box and have enough communication interfaces in the GPIO pins to handle almost all common electronic projects.
Thanks for reading and leave a comment below if you have any questions!


