The serial monitor is usually used to display data from the Arduino on a computer monitor. But it can also be used as an input device that takes input from a user and sends it to the Arduino. This is useful for creating serial monitor based menus, calculators, and password logins, where the user is asked to input information and the Arduino performs an action based on that input.

In this article we will first learn how to get user input from the Arduino’s serial monitor. Then we will look at a few example programs to see how to make a menu, a weight calculator, and a password login interface.
Watch the video for this tutorial here:
How to Get User Input From the Serial Monitor
To get a user’s input from the serial monitor, the first step is to prompt the user for information. This could be a question like “how many times do you want the LED to blink” or “choose an option from the menu”. It’s just text to tell the user they need to enter something. The code for the prompt could be a simple Serial.print() function that prints the question to the serial monitor. Users can enter int, float, or string data types, but you will need to know in advance what data type the user will be entering.
The next step is to use the Serial.available() function in an empty while loop. The Serial.available() function returns the number of bytes available to read from the serial port. When there is no user input, Serial.available() will return a value of zero. When the user inputs data and presses Enter, Serial.available() will return a non-zero value. This is used as the condition of an empty while loop to make the program wait until there is an input from the user:
while (Serial.available() == 0) {
}
The condition of the empty while loop is Serial.available()==0. When there is no input from the user, the Serial.available() function returns a zero value, making the condition true. The sketch stays inside the while loop until the user inputs something and the Serial.available() returns a non-zero value.
The final step is to read the information entered by the user and perform an action based on that input. To do that, we have to parse (read), the information stored in the serial buffer. To parse the information stored in the serial buffer, we can use one of these three functions:
Serial.parseInt()Serial.parseFloat()Serial.readString()
The data type of the information input by the user determines which function you should use. If the user will be entering an int, use Serial.parseInt(). If the user will be entering a float, use Serial.parseFloat(). And if the user will be entering a string, use Serial.readString().
Before these functions can be used, we need to declare a variable to store the parsed data. The data type of that variable needs to match the data type of the input data. For example, to parse an integer, you could declare an int variable called integerVariable and set it equal to the Serial.parseInt() function like this:
int integerVariable = Serial.parseInt();To parse a float, you could declare a float variable and set it equal to the Serial.parseFloat() function like this:
float floatVariable = Serial.parseFloat();To parse a String, you could declare a string variable and set it equal to the Serial.readString() function like this:
String stringVariable = Serial.readString();Let’s see how this works with a few examples.
How to Parse Integer Data Types
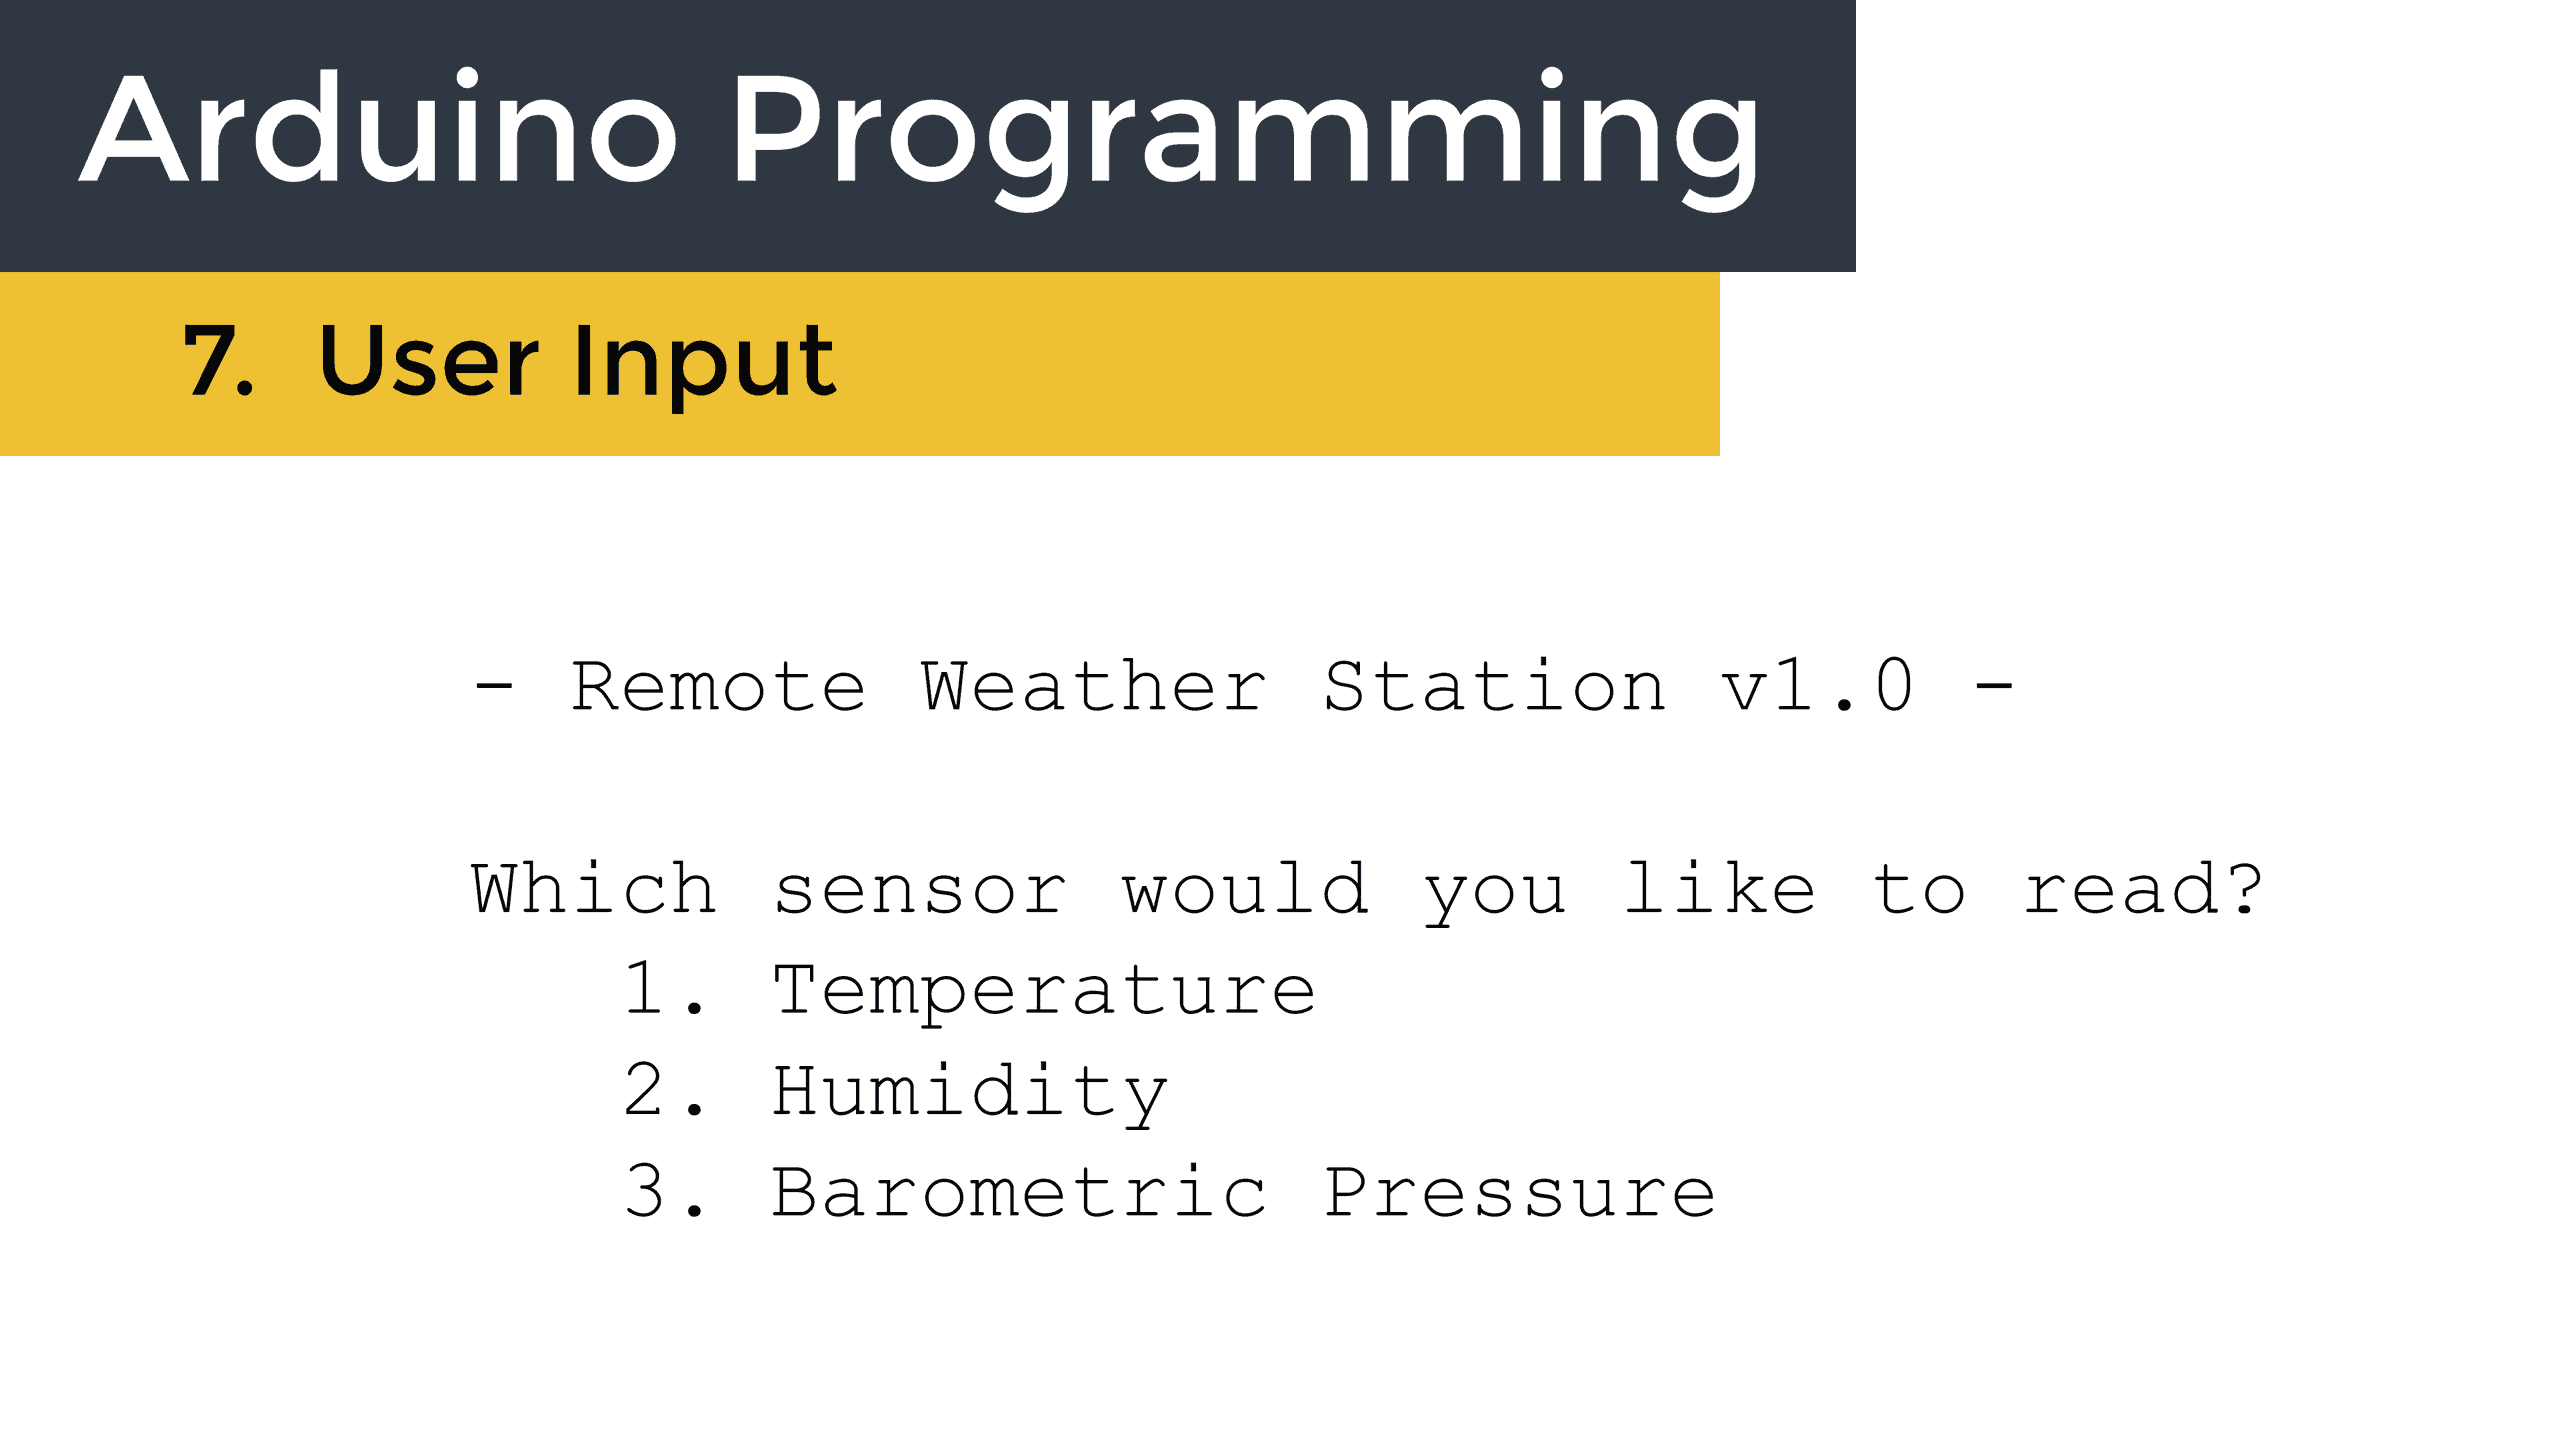
As an example of how to get integers from serial monitor user inputs, let’s take a look at a sketch that makes a menu asking the user to choose a measurement from a barometric pressure and humidity sensor:
int temp;
int Rh;
int pressure;

void setup() {
  Serial.begin(9600);

  Serial.println("1. Temperature");
  Serial.println("2. Humidity");
  Serial.println("3. Barometric Pressure");
}

void loop() {
  Serial.println("Which sensor would you like to read? ");

  while (Serial.available() == 0) {
  }

  int menuChoice = Serial.parseInt();

  switch (menuChoice) {
    case 1:
      // temp sensor code goes here
      Serial.print("The temperature is: ");
      Serial.println(temp);
      break;

    case 2:
      // humidity sensor code goes here
      Serial.print("The humidity is: ");
      Serial.println(Rh);
      break;

    case 3:
      // pressure sensor code goes here
      Serial.print("The barometric pressure is: ");
      Serial.println(pressure);
      break;

    default:
      Serial.println("Please choose a valid selection");
  }
}
For simplicity, the code to control the sensor is not included in this sketch. But check out our article on How to Setup the BMP180 Barometric Pressure Sensor on an Arduino. After getting to know how to setup the BMP180, it will be easy to incorporate the sensor code into this sketch.
At the top of the sketch, we declare some variables to store the sensor readings. There is a variable called temp that will store the temperature reading, a variable called Rh that will store the humidity reading, and a variable called pressure that will hold the pressure reading.
In the setup() section, we start by initializing the serial monitor with the Serial.begin() function. Then we have a few Serial.print() functions. These will print the menu options to the serial monitor. Option one is temperature, option two is humidity, and option three is barometric pressure.
In the loop() section, we first prompt the user to enter a menu choice. So we have a Serial.println() function that will print the text “Which sensor would you like to read?” to the serial monitor.
Now we just need to wait for the user to enter a selection. We do that with an empty while loop. The condition of the while loop is Serial.available()==0. The Serial.available() function returns the number of bytes that are sent from the serial monitor. The function returns a zero when there is no serial data, so the sketch stays in the while loop until the user enters something. When the user does enter a selection, Serial.available() returns a non-zero value, so the sketch will exit the while loop and continue on with the rest of the sketch.
Next, we need to read the data that was entered by the user, and to do that we need to parse it. Since this is a menu, the user will be entering an integer to make the menu choice. So we need to use Serial.parseInt(). We will store the parsed data in an int variable called menuChoice.
At this point, we’ve prompted the user to enter a menu choice. We’ve waited for them to enter a selection. And we’ve parsed that selection and stored it in a variable. Now, all we need to do is make something happen with that selection.
Since there are three different menu options, we could use three different if statements to control what happens when the user enters a selection. But a more efficient way would be to use a switch case statement. So in the sketch above there is a switch statement with the menuChoice variable in parentheses.
Then there are three different case statements – case 1, case 2, and case 3. If the user enters a 1, the sketch will execute the code in the first case statement and print the reading from the temperature sensor. If the user enters a 2, the sketch will execute the code in the second case statement, which prints the humidity reading from the sensor. If the user enters a 3, the sketch will execute the code in the third case statement, which prints the barometric pressure reading to the serial monitor.
If the user enters a number other than one, two, or three, we can use the default statement to print an error message that prompts them to enter a valid number. In the sketch above, if the default statement is executed, some text that says “Please choose a valid selection” is printed to the serial monitor.
How to Parse Float Data Types
Now let’s see an example of how to get a float data type from a user. This sketch is a calculator that will convert a weight in kilograms to a weight in pounds:
void setup() {
  Serial.begin(9600);
  Serial.println("**** Kilograms to pounds calculator ****");
}

void loop() {
  Serial.print("Please enter weight in kg: ");

  while (Serial.available() == 0) {
  }

  float weightKg = Serial.parseFloat();

  Serial.println(weightKg);

  float weightLbs = weightKg * 2.2046;

  Serial.print("Weight in pounds: ");
  Serial.println(weightLbs);

}
In the setup() section, we first initialize the serial monitor. Then we print some text that says “Kilograms to pounds calculator”.
In the loop() section, we prompt the user for information by printing “Please enter weight in kg:”.
Then we have an empty while loop with Serial.available()==0 as the condition, so the sketch will wait until the user enters a number.
Now, since the kilograms to pounds calculation could result in a fractional number, we declare the weightKg variable as a float. Then we set it equal to the function Serial.parseFloat(). Next we print the weightKg variable to the serial monitor.
Now we do the math to convert from kilograms to pounds. There are 2.2046 pounds in one kilogram, so we can multiply the weightKg variable by 2.2046 to get pounds and store that value in a new float variable called weightLbs. Then we serial print some text that says “Weight in pounds: “, followed by the weightLbs variable.
How to Parse String Data Types
Now let’s see how to work with string inputs. This sketch will prompt the user for a password. If the password is correct, it will print “password correct”. If the password is incorrect, it will print “password incorrect”:
String password = "ABCDEF";

void setup() {
  Serial.begin(9600);
}

void loop() {
  Serial.println("Please enter your password: ");

  while(Serial.available() == 0){
    }

  String input = Serial.readString();

  if(input == password){
    Serial.println("Password correct");
  }
    else
      Serial.println("Password incorrect");
}
The first thing we do is define the password. At the top of the sketch there is a string variable called password that is set equal to the password that will be used. In this case it’s ABCDEF.
In the setup() section we initialize the serial monitor with Serial.begin(9600);.
In the loop() section, we first use the Serial.println() function to print some text that says “Please enter your password: “. Then there is an empty while loop with Serial.available() == 0 as the condition, to make the sketch wait for the user to input the password.
The value stored in the password variable is a string, so we need to use Serial.readString() to read the string from the serial buffer. The output of the readString() function is stored in another string variable called input.
Now we just need to compare the password stored in the input variable to the password that was defined in the sketch. This is a good place for an if else statement. The condition of the if statement is input == password. If the condition is true, the sketch will enter the body and execute the Serial.println() function to print “password correct” to the serial monitor. Inside of the if statement is where you put the code that reacts to the password being correct. For example, instead of printing text to the serial monitor, you could switch a digital pin high to turn on an actuator to unlock a door.
If the password input by the user doesn’t match the password that was defined in the sketch, the else statement will be executed. Inside of the else statement is a Serial.println() function that will print “password incorrect” to the serial monitor.
Hope you found this article helpful! Feel free to leave a comment below if you have any questions…

Hi. Is the serial port used here like a standard RS232 one? What would the user use to perform this interaction – a terminal prompt on a connected computer?
Do you know why if I enter the right password, it says password incorrect?
The password in the example code should be written as “ABCDEF\n”. Just need to add the \n at the end. This extra character is automatically added to the sent password when using the serial monitor. The strings do not match if this is not added to the end of our password. Open source!! ^_^
My thinking the string needs to be trimmed. I believe there is a LF or CR character at the end