In this article, we will learn how to use another type of conditional statement on the Arduino called the switch case statement. The switch case statement replaces the need for multiple if statements when you have multiple conditions that need to be tested. The code is simpler, faster, and more optimized.

Switch case statements are useful when you have multiple ranges of inputs, and need to do something different for each range.
Watch the video for this tutorial here:
Let’s take a look at an example sketch to understand this better. This sketch will take a reading from a temperature sensor and print low, medium, or high to the serial monitor depending on the temperature reading:
const int thermistorPin = A0;
void setup() {
Serial.begin(9600);
}
void loop() {
int temp = analogRead(thermistorPin);
temp = temp / 341;
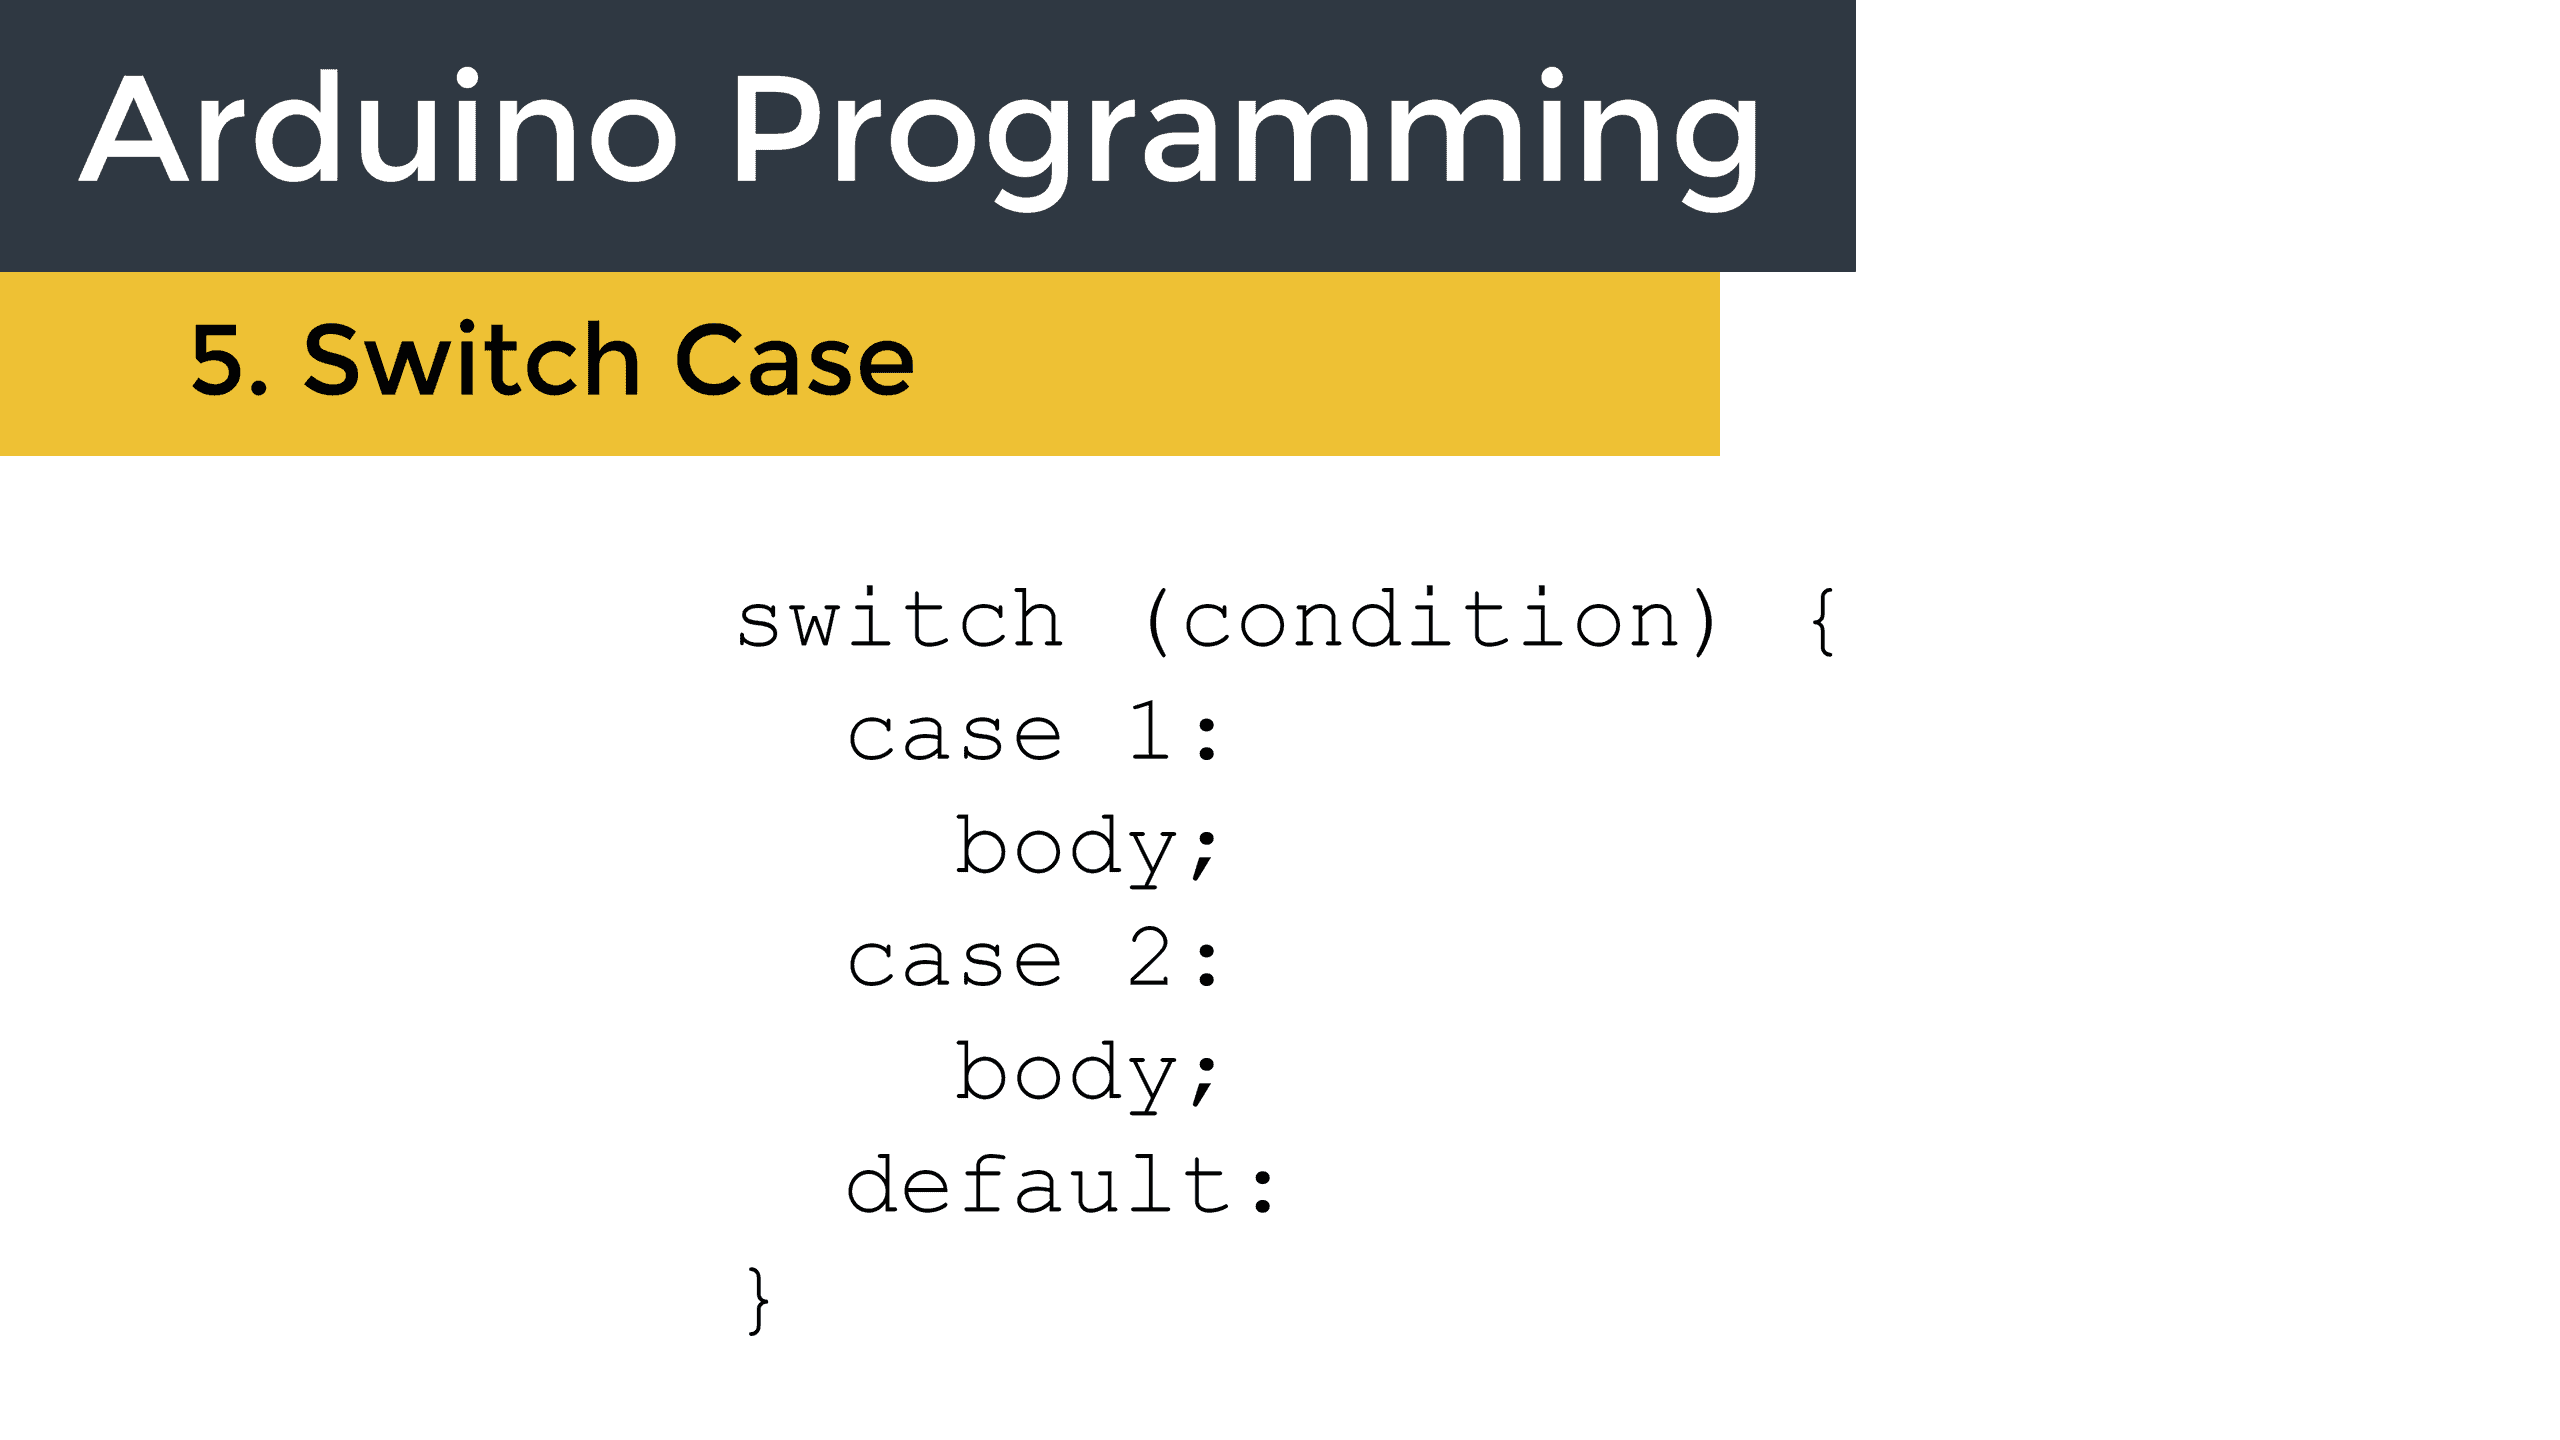
switch (temp) {
case 1:
Serial.print("Temperature is low");
break;
case 2:
Serial.print("Temperature is medium");
break;
case 3:
Serial.print("Temperature is high");
break;
default:
Serial.print("Sensor error");
}
}At the top of the sketch we declare a pin variable called thermistorPin and set it equal to analog pin A0.
In the setup() section, we initialize the serial monitor. Analog pins are assumed to be inputs so we don’t need to use the pinMode() function here.
In the loop() section, we declare a variable called temp to store the analog read value from the thermistorPin. The Arduino will take a reading from the thermistorPin and store the value in the temp variable. The value will be between 0 and 1023, depending on the temperature it measures.
Next we use temp = temp / 341; to convert the value stored in temp to either one, two, or three. These numbers represent the low, medium, and high temperature ranges, respectively.
The switch statement looks at the variable inside the parentheses (temp) and compares it to each one of the case statements. If the value stored in the variable matches the case number, the code inside the body of the case statement will be executed. For example if temp equals two, case 2 will be executed and “Temperature is medium” will be printed to the serial monitor. If temp equals three, case 3 will be executed and “Temperature is high” will be printed to the serial monitor.
Each case statement ends with the break keyword. The break keyword makes the program exit the switch statement after the case statement has been executed. It prevents the program from checking all of the other case statements against the switch condition after it has found a match.
The switch case statement ends with a default statement. The default statement will be executed if none of the case statements match the switch condition. It is optional but it can be useful. For instance, if none of the case statements are executed there could be something wrong with the sensor. So the code inside the default statement prints out “Sensor error” to the serial monitor.
Hope this has helped you understand what switch case statements are and how to use them when programming the Arduino. If you have any questions, be sure to leave a comment below…