A text editor is a software that edits text. They are often used in making system configuration files and program sketches. There are two kinds of text editors you can use on a Raspberry Pi – desktop graphical editors and command-line editors.

Desktop Graphical Editors
Desktop graphical editors are text editors that have a GUI (Graphical User Interface). These are the text editors you’re probably aware of. They are the ones you see on the start menu, but they can be accessed via terminal as well. More importantly, the main difference between graphical editors and the following kind is that they require both mouse and keyboard to operate properly.
Some of the desktop graphical editors that you can use on a Raspberry Pi are:
- Text Editor
- Thonny
- Geany
- Mu
- GVim
Command-Line Editors
Command-line editors, as you may have guessed, can only be accessed via the command line. These make them more convenient for embedded applications. Because unlike desktop graphical editors, command-line editors can be used with only a keyboard. As an alternative to the point-and-click interface of graphical editors, command-line editors use keyboard shortcuts.
Some of the command-line editors you can use on a Raspberry Pi are:
- Nano
- Vim
- Vi
- Emacs
In this tutorial, we are going to explore Mu and Nano as a quick demonstration of graphical editors and command-line editors.
Mu
Mu is a text editor, and an IDE (Integrated Development Environment) especially made for Python programming. It is known for being easy-to-use as its target users are beginner users, just like the Raspberry Pi.
Installing Mu
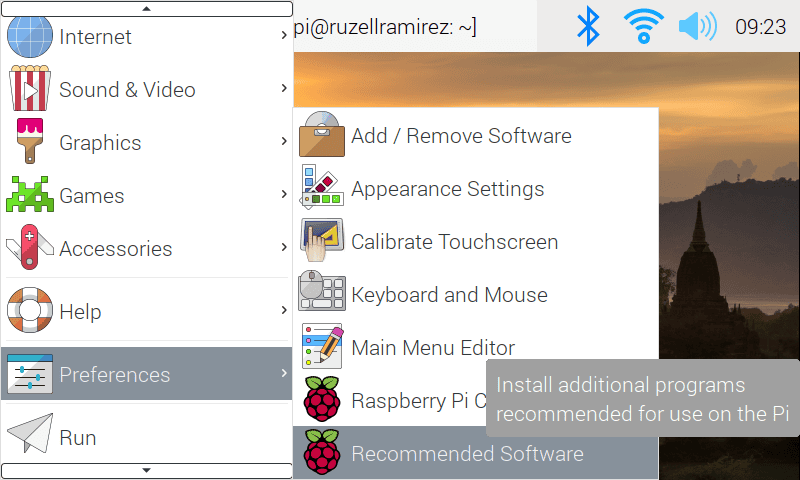
Before you install Mu, make sure your Raspberry Pi OS is up to date by entering sudo apt-get update and sudo apt-get dis-upgrade in the command line. There are two ways you can install Mu in your system. The first one is by accessing the Menu on the top left side of your desktop.
Under the Menu, go to Preferences, then choose Recommended Software.
A list will pop up that displays all recommended software for the Raspberry Pi. If you don’t see Mu, just enter Mu on the search bar on the bottom right of the window.
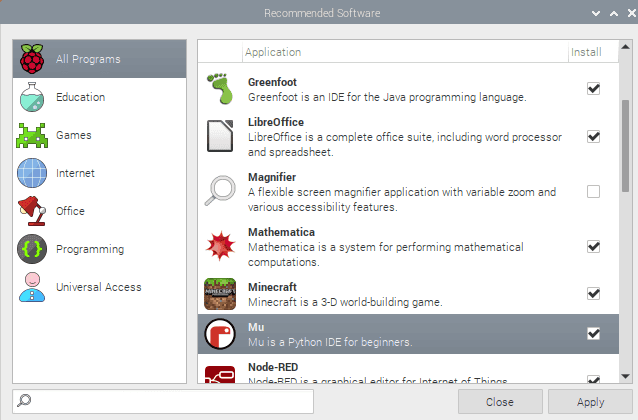
Click install (I already have Mu so an install button didn’t appear on Figure 2).
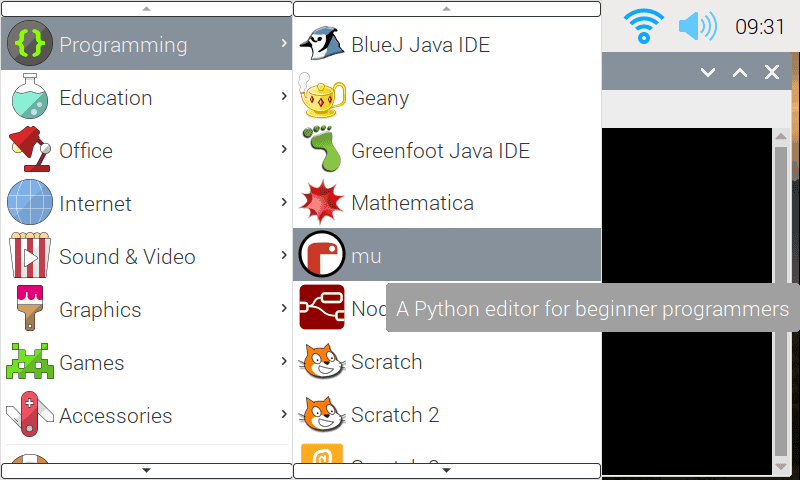
After installation, you can start Mu by going to Menu > Programming > Mu.
You can also get Mu by using the CLI (Command Line Interface). On your desktop, start the terminal by clicking the blackboard icon in the quick launch toolbar. Alternatively, you can open it by pressing CTRL + ALT + T.
In the terminal, enter sudo pip3 install mu-editor to install mu.
You can start Mu by simply entering mu-editor.
Mu Modes
The current version of Mu offers four modes. You can change them depending on what you intend to use Mu for. For now, we are going to use it for Python programming.
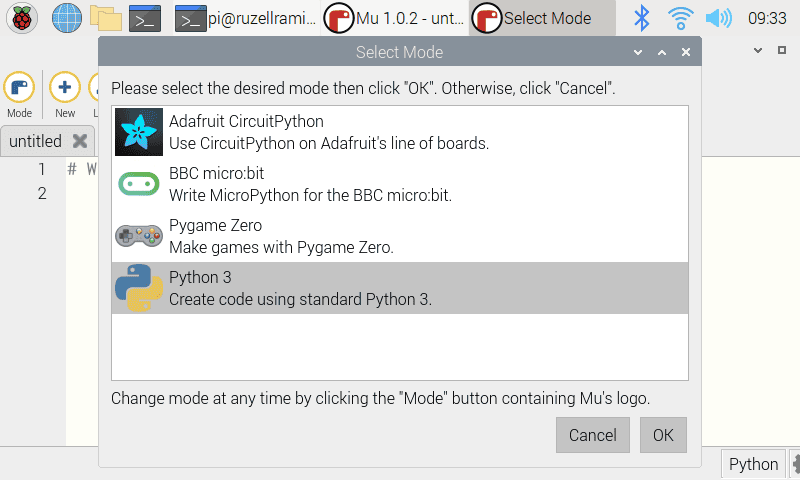
Select the Python 3 mode and click OK.
Writing Code in Mu
Let us now write our first program. Copy the line below and save your file. No need to add .py on the file name as Mu already assumes the file type when you set the mode to Python 3.
print("Hello World")Press Run to execute the program. The output will be visible on an integrated Python shell below the text editor.
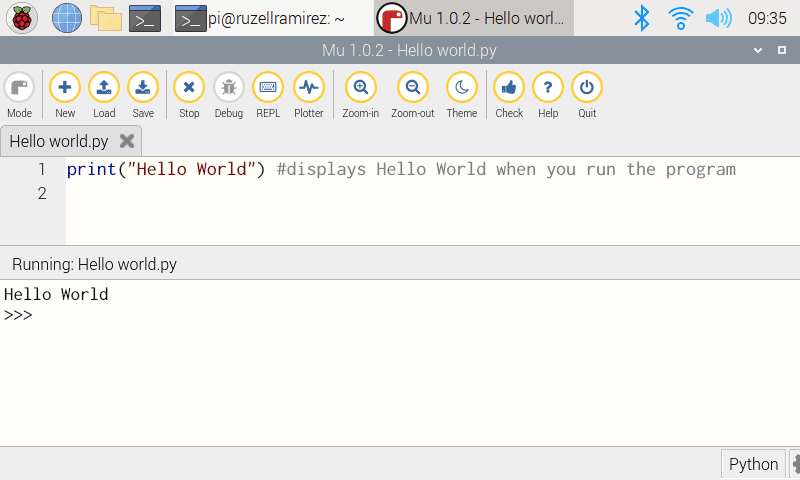
To stop the program, click Stop.
Useful Mu Features
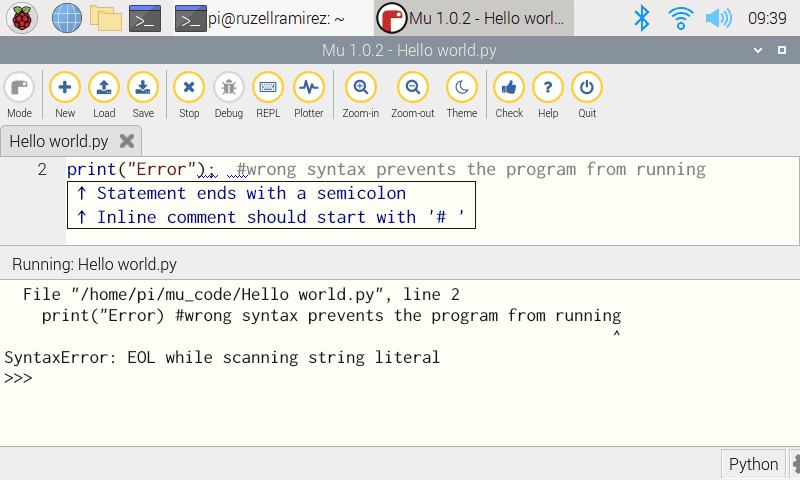
One useful feature of Mu is error highlighting. Mu checks for errors and highlights them in red so you can detect coding mistakes without any problem.
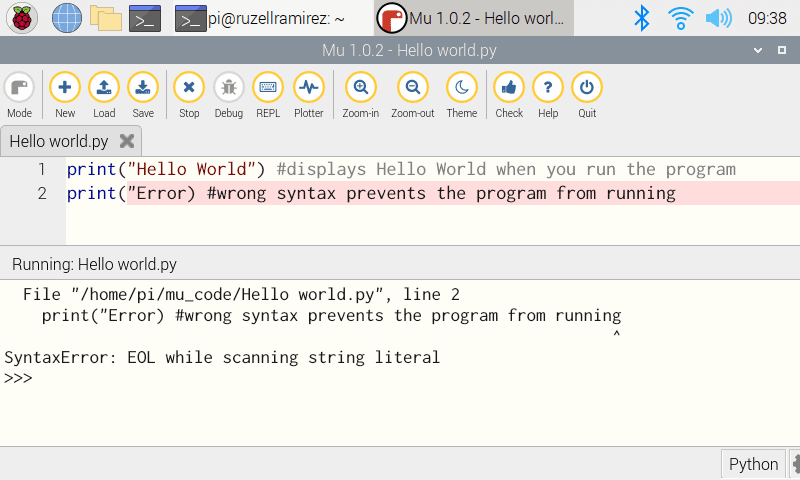
Additionally, you can click Check to search for errors on your code without running the program.
GNU Nano
GNU Nano is the native text editor of most Linux distros. It’s easy to use and offers a myriad of keyboard shortcuts, which are useful when writing in a computer’s CLI (Command Line Interface).
Nano comes with the Raspberry Pi OS as default, and you can start it by simply entering nano.
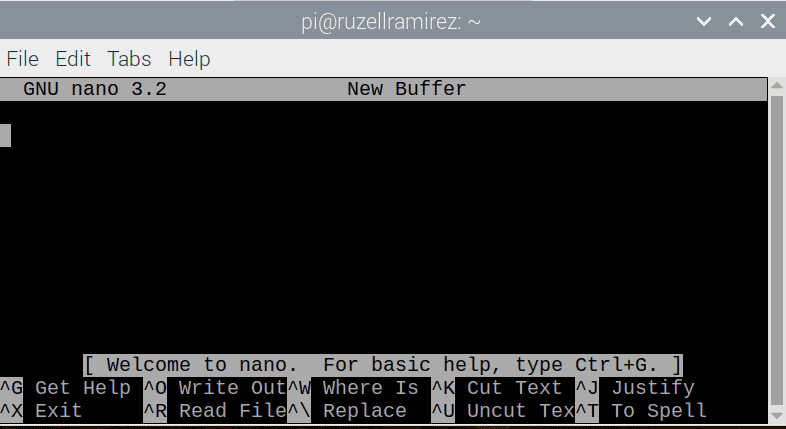
The best thing about Nano is that it is very convenient. You type text directly, and the keyboard shortcuts are always visible. The carets on the shortcuts stand for the CTRL button. So, for example, if you need help, just press CTRL + G. Same goes with the other shortcuts. If you want to cut a selected text, simply type CTRL + K.
One thing to note about, though, is that cutting and pasting using Nano shortcuts won’t let you get the text out of Nano to another software and vice versa. To do that, you must press the Shift and Right Click button. This will bring out the usual copy-cut-paste options you see on standard word editors. Using these, you can get the text in and out of Nano.
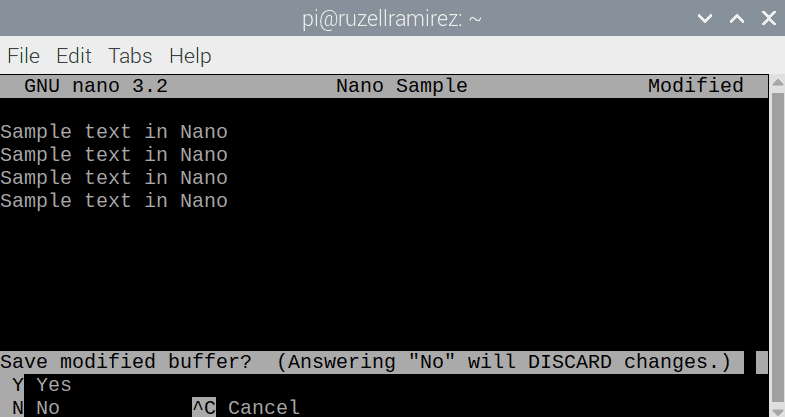
Furthermore, a new and unnamed file will display a new buffer on the title bar. After changing the text, the title bar will display Modified at the top right side.
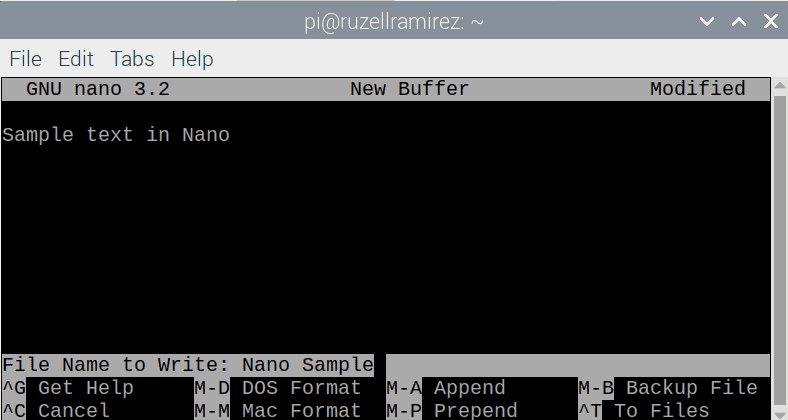
I wrote a sample text for demonstration and saved it using the shortcut CTRL+O.
Hope this article has helped you understand how to edit text file on the Raspberry Pi. Leave a comment below if you have a question about anything!


