Conditional statements are one of the most useful tools in Arduino programming. They let you control the flow of a program based on certain conditions that you can define in the code.

Conditional statements are like a test – they check to see if a condition is true or not. If the condition is true, the code inside the conditional statement is executed. If the condition is false, the code doesn’t get executed. The most commonly used conditional statement is the if statement.
Watch the video for this tutorial here:
If Statements
If statements are usually placed in the loop() section where they are evaluated once each cycle through the loop.
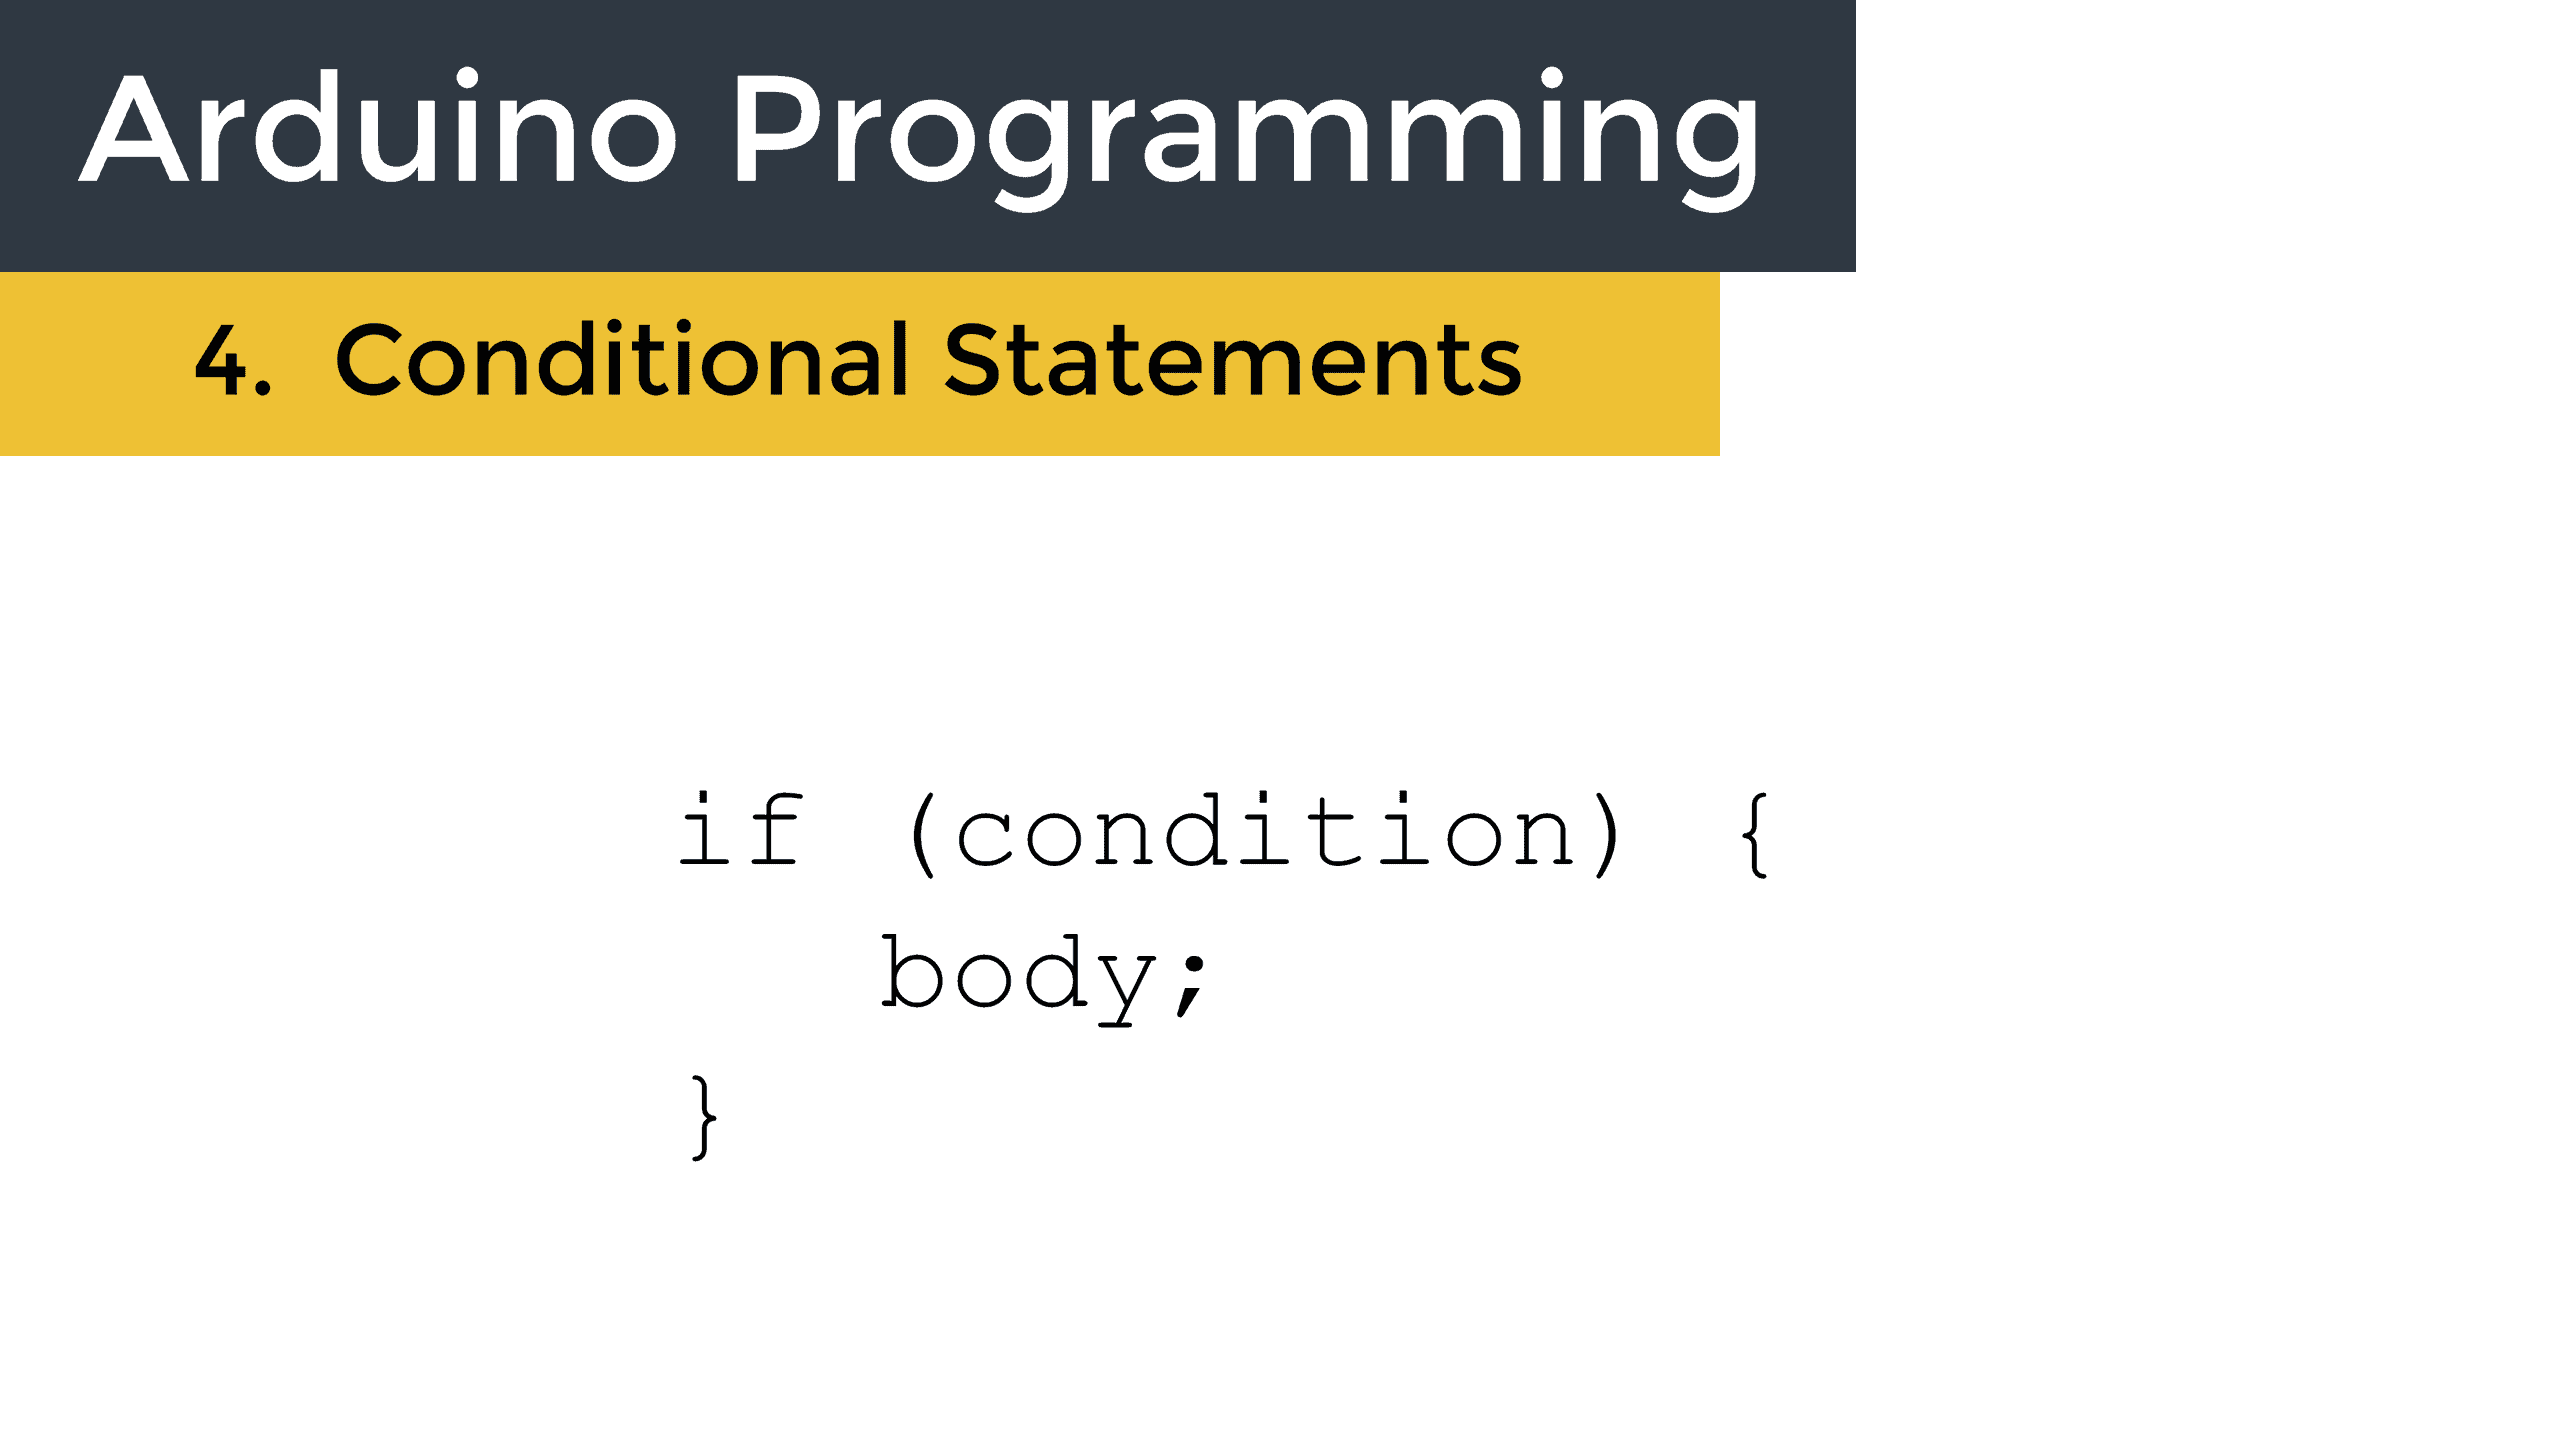
The code for an if statement looks like this:
if (condition) {
   body;
}
The condition is what determines if the code in the body gets executed. Usually the condition is written to check if a variable is less than, greater than, or equal to some number. Whatever condition is used, it must evaluate to a true or false value.
If the condition is true, the program will enter the curly brackets and execute the code inside the body. If the condition is false, the program skips over the code and continues on to the line of code after the closing curly bracket.
For example, take a look at this if statement that prints “x is less than y” to the serial monitor when x is less than y:
if (x < y) {
   Serial.println("x is less than y");
}
The condition of this if statement is x < y. Say x equals 2 and y equals 4. 2 < 4 is a true statement, so the program will enter the curly brackets and execute the code in the body. The body code will serial print “x is less than y” to the serial monitor.
If x equals 10 and y equals 4, 10 < 4 is a false statement, so the program will skip the code in the curly brackets and nothing will be printed to the serial monitor.
Relational Operators
Relational operators are very useful for writing conditional statements. Relational operators are used to compare two or more numbers or variables. For example, equal to, greater than, and less than are some common relational operators. They are the most common way to set the condition in an if statement.
Below is a list of all relational operators that can be used in conditional statements:
x > y: x is greater than yx < y: x is less than yx >= y: x is greater than or equal to yx <= y: x is less than or equal to yx == y: x equals yx != y: x is not equal to y
If the comparison results in a true statement, the body of the conditional statement will be executed.
If else Statements
Another useful conditional statement is the if else statement. Here’s how an if else statement is written:
if (condition) {
   body; // executed if the condition is true
}
else{
   body; // executed if the condition is false
}
Like if statements, if else statements first evaluate the condition. If the condition is true, the code inside the body of the if block will be executed. If the condition is false, the code in the else block will be executed.
If else if Statements
The if else if statement lets you test for two conditions. Here’s the code for an if else if statement:
if (condition 1) {
   // code executed if condition 1 is true
}
else if (condition 2) {
   // execute code only if condition 1 is false and condition 2 is true
}
The program first checks condition 1 in the if statement. If it’s true, the code in the body of the if statement is executed, then the program exits the entire if else if block.
If condition 1 is false, the program checks condition 2 in the else if block. If condition 2 is true, the code inside the body of the else if section will be executed, then the program will exit the if else if block.
The if else if statement is similar to having two if statements, but there’s a subtle difference. If else if only executes one block – the if block or the else if block. The first block that has a true condition gets executed. With two if statements, both would be executed if both of the conditions were true.
Nested if Statements
If statements can be nested, or placed inside of each other. Nested if statements let you test for multiple conditions and perform different actions when one of them is true. A nested if statements is like saying “if x is true, perform this action, and then if y and z are true, perform this other action”.
Nested if statements are frequently used when working with sensors. For example, a nested if statement can check if a sensor is transmitting data before reading the data from it. The code below uses a nested if statement to see if a temperature sensor is sending data to the Arduino before checking if the temperature is above or below a threshold value:
int input = digitalRead(sensorPin);

if (input == HIGH) {
   digitalWrite(ledPin, HIGH)
   if(temp < 20) {
      Serial.print("Low Temperature!");
   }
   if(temp > 20){
      Serial.print("High Temperature!");
   }
}
The voltage state of the sensorPin is read with a digitalRead() function and the value is stored in the input variable. When the sensor is sending data to the Arduino, the sensorPin will be high, so input will have a high value stored in it.
The first if statement checks the value stored in input. If input has a high value, the Arduino enters the if statement and executes the digitalWrite() function to send a high signal to the ledPin.
The next two if statements are nested inside the first if statement. If the temperature is less than 20 degrees, the code in the first nested if statement will be executed and “Low temperature!” will be printed to the serial monitor.
If the temperature is greater than 20 degrees, the second nested if statement will be executed and “High temperature!” will be printed to the serial monitor. In this example, the nested if statements are only evaluated when the sensor is sending data to the Arduino.
Hope this article helps you to use conditional statements on the Arduino. Feel free to leave a comment below if you have any questions!


Great articles about Arduino. Finally someone who explains that clearly. Can’t get enough. I’ve been working with Arduino for a while but just now starting to understand it. Thanks, I hope there are many more articles about Arduino programming coming out. Super Super!!
Thank you so much for a clear explanation about conditional statements in Arduino. God bless you more so you can continue to be of blessing to other people.